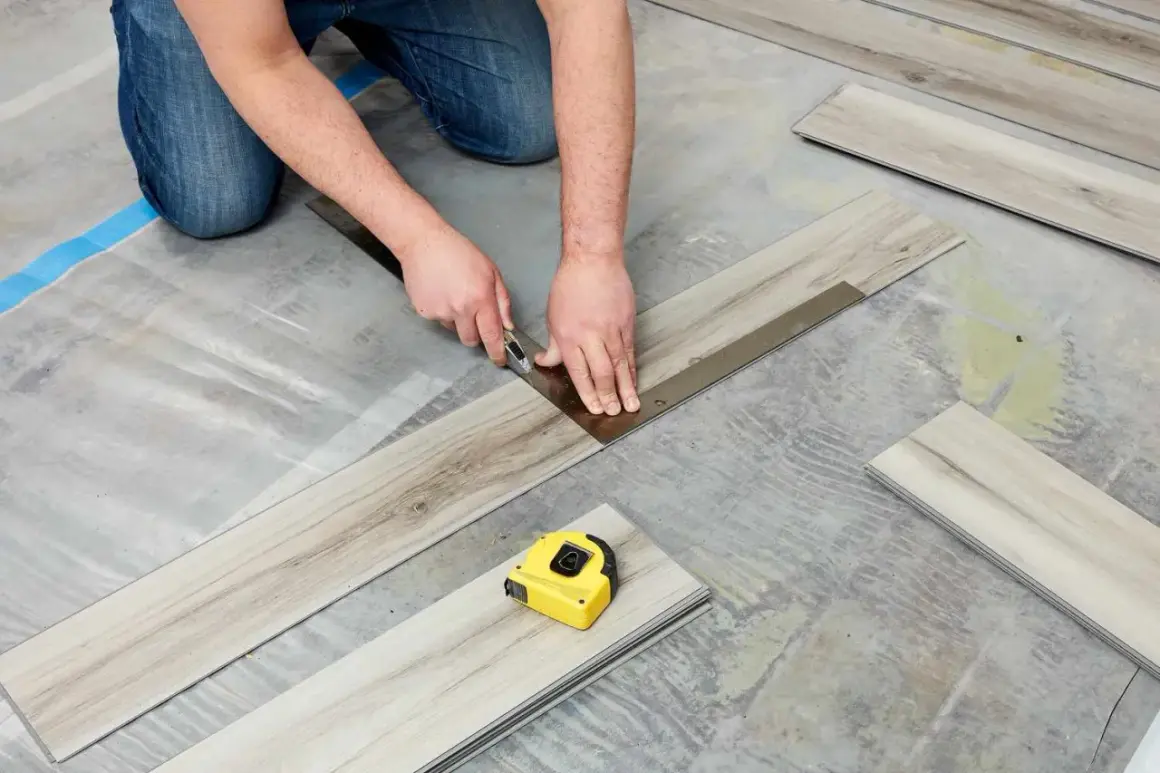
The fastest way to diagnose a stubborn vinyl plank install
- Most flatness problems begin with the subfloor, not the finish layer.
- Many vinyl systems want a substrate that is flat within about 1/8 inch over 6 feet or 3/16 inch over 10 feet, but the product guide always wins.
- A plank that needs force to sit flush is usually showing you a high spot, a damaged lock, a bowed board, or an adhesive timing problem.
- Glue-down floors fail fast when the adhesive is spread too wet, too dry, or over a contaminated surface.
- Forcing the next row almost always creates a seam problem that shows up later.
What the floor is telling you
When a plank will not sit flush, I do not start with the assumption that the plank is bad. I start by reading the symptom. A floor that rocks at one corner is usually telling you there is a high spot, debris, or a bowed edge under it. A seam that opens again after you press it closed usually points to a lock that never fully engaged, a row that is under tension, or a subfloor problem that is flexing the joint.
Glue-down floors speak differently. Bubbling, skating, edge lift, or a hollow sound after rolling usually means the adhesive, not the plank, is the weak link. In vinyl work, the visible defect is often the last thing to fail and the first thing the installer notices.
| What you see | What it usually means | Best first move |
|---|---|---|
| Plank rocks at one corner | High spot, dust, or a curled plank edge | Remove it, clean the area, and check the subfloor with a straightedge |
| Joint opens after being clicked together | Crushed lock profile, debris in the joint, or a row under tension | Back the row out and inspect the tongue-and-groove edges |
| Floor peaks at a seam or doorway | Missing expansion gap or movement stress | Restore the perimeter gap and relieve the pressure point |
| Bubbles or lift in a glue-down area | Wrong adhesive timing, poor coverage, or contamination | Pull back the plank and reset the adhesive correctly |
| Grout line or ridge shows through | Subfloor is not flat enough, or the surface was not skimmed | Patch, level, or skim-coat before reinstalling |
That diagnosis matters because the fix is different if the problem is a hump, a hollow, or a joint that never seated properly. Once I know which symptom I am looking at, the repair becomes much more targeted.
Start with the subfloor, because most failures begin there
The fastest test is a long straightedge or level. I check the room in several directions, not just down the middle, because small humps near walls and low spots at seams are easy to miss. For many vinyl systems, a practical target is about 1/8 inch over 6 feet or 3/16 inch over 10 feet, but the product guide still wins if it calls for something stricter.
Flat is the real goal. A floor does not have to be perfectly level, but it does have to be free of abrupt highs, lows, and twists that keep the plank from sitting evenly. If a plank bridges a dip, the joint becomes stressed. If it lands on a ridge, the edge never fully closes.
Concrete needs patching, not hope
On concrete, I look for dust, old adhesive, paint, trowel ridges, and moisture issues before I look for anything else. Grinding a high spot is often faster than trying to float the whole room higher. Low spots usually need a patching or leveling compound, and I never skip dust control when I grind concrete because the cleanup matters as much as the repair.
Wood floors need stiffness as well as flatness
Wood subfloors introduce movement. Loose fasteners, squeaks, swollen panel edges, or seams that telegraph through the underlayment can keep vinyl from lying flat even when the floor looks acceptable at first glance. I fasten loose panels, sand proud seams, and replace damaged sections before I think about the finish floor. If the floor bounces underfoot, the vinyl will eventually show it.
Existing tile needs special attention
Tile can be a good base for vinyl, but only if the surface is sound and flat enough to support it. Deep grout joints, lippage, and loose tiles are all trouble. If I can feel the grout line through my straightedge, I assume the vinyl will feel it too unless the tile surface is properly skimmed or leveled. This is where a lot of installers try to save time and end up with telegraphing later.
Once the base is flat and clean, the next issue is whether the installation method itself is being handled correctly.
Make the right correction before the floor locks or bonds
The repair depends on the system. A floating click-lock floor needs clean, fully engaged edges and enough room to move at the perimeter. A glue-down floor needs the right adhesive, the right open time, and enough contact pressure to bond fully. I see a lot of damage happen when someone keeps pushing after the floor has already told them to stop.
If it is a floating click-lock floor
With click-lock vinyl, I never try to hide a bad joint under extra force. If the plank will not sit flat after the row is backed out and the edges are cleaned, something is usually crushed, misaligned, or sitting over a high or soft spot. The tongue-and-groove profile is precise; once it is damaged, the joint may look closed but still fail later.
- Lift the problem plank and inspect the lock profile for chips, rounding, or debris.
- Check the underlayment seam under the joint; a raised seam can keep the plank from seating.
- Re-engage the plank from the proper angle instead of trying to hammer it level.
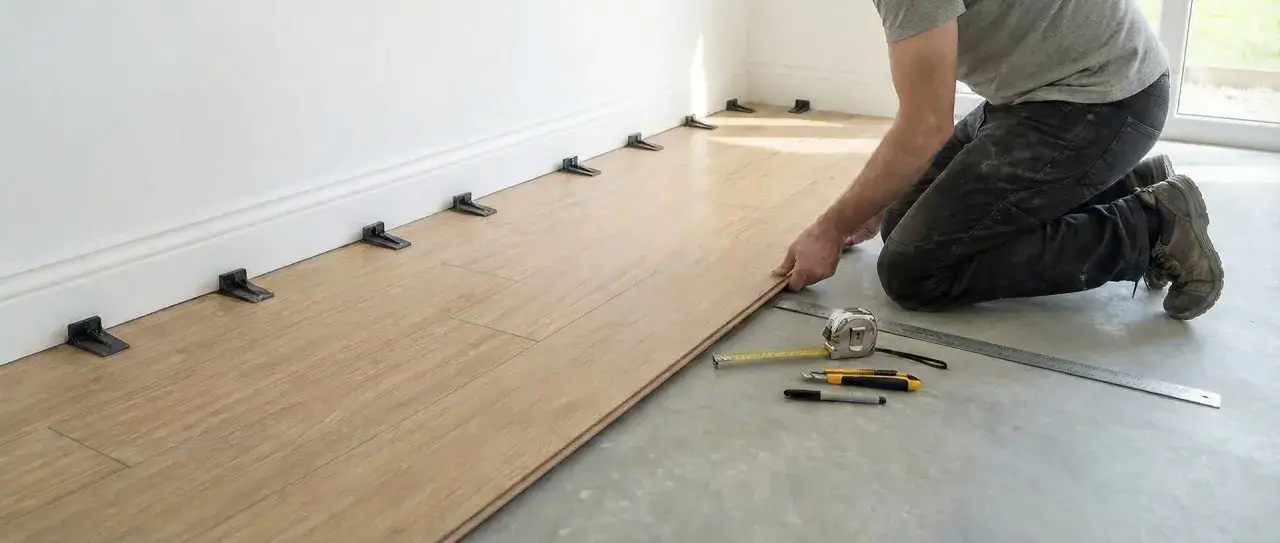
- Keep the expansion gap open around the perimeter and fixed objects.
- Replace a bowed or visibly damaged plank instead of forcing it into the run.
Too much cushion under a floating floor can be just as annoying as too little prep. A soft underlayment may feel comfortable underfoot, but it can also make the floor feel unstable and keep the joints from fully settling. That is why I choose underlayment based on the product instructions, not just on how soft it feels in hand.
Read Also: Perfect Tile Floor Installation - Avoid Costly Mistakes
If it is a glue-down or loose-lay floor
For glue-down work, open time is the waiting window after adhesive is spread and before the plank goes down. If the adhesive is too wet, too dry, or already contaminated with dust, the floor may skate, bubble, or lift no matter how carefully it was placed. In that situation, pressing harder usually makes the problem worse.
- Verify the adhesive is compatible with the product and substrate.
- Use the correct spread rate so you get full coverage without puddling.
- Place the plank within the adhesive window, not before it is ready and not after it skins over.
- Roll or press the floor as directed so the backing makes uniform contact.
- Pull up any piece that has skated, shifted, or picked up debris and reset it cleanly.
Loose-lay systems are simpler on paper, but they still need a flat, clean, and well-supported base. If the board can drift, curl, or bridge a hollow, the subfloor is still the real problem. Once the installation method is under control, the remaining issues usually come from the plank itself or the room conditions.
When the plank, underlayment, or room conditions are the real problem
Sometimes the substrate is fine and the trouble comes from a board that was stored badly, a room that is too hot or too cold, or a product that is not meant to behave the way the installer expects. I have seen brand-new cartons that sat in a garage for a week and came into the room with bowed edges, then behaved like the floor was at fault. It was not.
- Bowed or damaged planks can fight you even on a perfect subfloor. Do not try to flatten a warped piece with adhesive, extra tapping, or wishful thinking.
- Temperature swings matter. Many products want a controlled installation environment, often in the 65 to 85 degree range, but I still follow the specific guide for the flooring line.
- Acclimation requirements vary. Some collections are designed for same-day installation, while others need time in the room before they are laid. The carton or product guide decides this, not habit.
- Underlayment that is too soft can let rigid-core planks flex at the joints and never sit as cleanly as they should.
- Telegraphing, which is when a ridge, seam, or grout line shows through the finished floor, is a sign that the base was not flat enough for the material above it.
Direct sunlight and radiant heat deserve special mention. A room that bakes in the afternoon can change how vinyl behaves within hours, especially near glass doors or large windows. If the floor is under stress from heat, expansion gaps and perimeter details become part of the flatness story, not just a finishing detail.
That leaves the question every installer has to answer sooner or later: keep going, or stop and reset?
Know when to stop instead of forcing the next row
My rule is simple: if the plank needs real force to behave, I assume something is wrong below it or inside the joint. Vinyl is forgiving in a lot of ways, but it is not a material you can bully into becoming flat. If I keep adding pressure to make one bad section look right, I usually create a larger failure that shows up later as peaking, gapping, or a soft spot.
- The same area rocks after two or three attempts to reset it.
- A click edge is cracked, rounded over, or visibly crushed.
- The adhesive has already skinned over or picked up dirt.
- A low spot is wide enough that the plank still bridges it after patching.
- The seam keeps peaking even after the perimeter gap is corrected.
Stopping feels slower in the moment, but it is usually the cheaper decision. A few extra minutes pulling up a bad section and fixing the base will save hours later if the seam fails, the adhesive lets go, or the floor starts telegraphing every mistake in the substrate. That is why I would rather reset one stubborn area than spend the next year staring at it.
The prep habits that keep the next room flat from the first row
If I had to reduce the whole job to one habit, it would be this: prepare the substrate until it is boring. The cleaner and flatter the base, the less the rest of the installation has to compensate. I like to dry-fit the first rows, sort planks for shape and color, and walk the room with a straightedge before I commit to the first permanent run.
- Vacuum, scrape, and wipe the substrate before each major step.
- Mark high and low spots with pencil, then fix them in one pass.
- Keep cartons in the room only as long as the product guide recommends.
- Do not bridge dips with extra adhesive, extra underlayment, or extra force.
- Recheck flatness after grinding, patching, or pulling up a failed row.
- Use dust control and proper protection any time you grind concrete or old adhesive.
If the floor still refuses to sit flat after those checks, the problem is usually under the visible surface, not in the plank itself. Correct the base, replace any damaged pieces, and the rest of the installation gets much easier.