Lock-together flooring is a practical middle ground between glued-down surfaces and traditional nail-down floors: it installs faster, creates less mess, and can still look polished when the subfloor is right. In this guide, I break down how snap in flooring works, which materials use it, where it performs well, and the mistakes that usually lead to gaps, squeaks, or premature wear.
The locking system matters more than the product label
- Floating floors lock to each other, not to the subfloor, so the seam design is critical.
- Vinyl handles moisture best, laminate usually wins on price, and engineered wood brings the most natural look.
- Flat, dry, and stable beats expensive. A mediocre plank over a poor subfloor still fails.
- Most projects need an expansion gap around the perimeter, plus careful seam staggering and the right underlayment.
- In the US, a realistic budget must include prep, trims, transitions, and waste, not just the planks themselves.
What a locking floor actually is
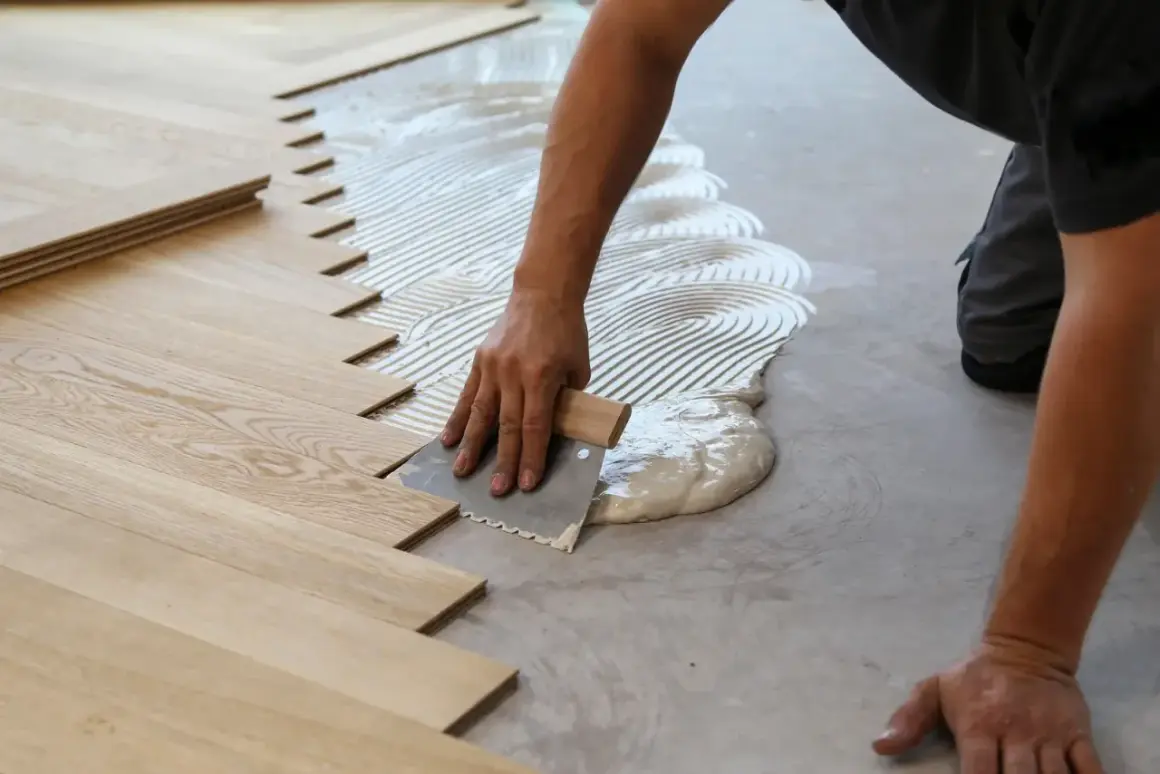
A locking floor is built so each plank or tile connects to the next through a shaped edge profile, usually a tongue-and-groove or a similar click system. The finished surface becomes a floating layer, which means it is not fastened directly to the subfloor with nails or adhesive. That floating movement is the whole point: the floor can expand and contract as temperature and humidity change without being pinned in place.
I think this is where many homeowners get confused. The word “locking” sounds like the floor becomes rigid in the way tile does, but it does not. The seams hold the field together while the entire assembly still moves as one unit. If that movement is blocked, the floor can peak, gap, or feel hollow underfoot.
Read Also: LVP Flooring Direction - How to Lay Luxury Vinyl Plank
Common locking styles you will run into
- Angle-angle systems, where one plank is inserted at an angle and then lowered into place.
- Drop-lock systems, where the long edge locks first and the short edge clicks down.
- Fold-down systems, which rely on a folding motion and are popular in many vinyl products.
Those differences sound small, but they change the installation feel, the tools you need, and how forgiving the system is around doorways and tight corners. That matters even more once you decide where the floor should go.
Where it makes sense and where I would avoid it
In US homes, lock-together flooring is a strong fit for living rooms, bedrooms, hallways, many kitchens, and finished basements where moisture is under control. It is also useful in rentals and remodels because the installation is relatively fast and future replacement is simpler than with glued-down products.Where I would be cautious is any space with frequent standing water, a persistently damp slab, or major temperature swings. A product that is marketed as waterproof may survive spills, but that is not the same as handling repeated flooding or poor drainage. Bathrooms are the classic gray area: a powder room may be fine, but a shower-heavy family bath needs much more judgment.
- Good candidates: dry basements, bedrooms, family rooms, kitchens with normal spill risk.
- Use caution: laundry rooms, sun-exposed rooms, concrete slabs with moisture history, older homes with uneven subfloors.
- Avoid unless the manufacturer explicitly allows it: shower areas, flood-prone spaces, and any room where water can sit for long periods.
If radiant heat is part of the project, I would check the product’s temperature limit before anything else. Many floors work only within a defined surface-temperature range, and exceeding that limit can soften the material or stress the joints. Once you know the room is a candidate, the next question is which material actually belongs there.
Which material fits the room and budget
The locking mechanism is only one part of the decision. The core material underneath it changes how the floor feels, how it handles water, how much it costs, and how long it stays attractive. In practice, most homeowners are choosing among vinyl, laminate, engineered wood, or an interlocking tile format that mimics stone or ceramic.
| Material | Best for | Main strengths | Main tradeoffs | Typical US material cost per sq. ft. |
|---|---|---|---|---|
| Luxury vinyl plank / tile | Kitchens, basements, busy family spaces | Moisture resistance, easy care, broad style range | Can feel less warm than wood; quality varies a lot | $2 to $7 |
| Laminate | Dry living areas and bedrooms | Good visuals for the money, often harder surface wear | Less forgiving around moisture and standing water | $1 to $5 |
| Engineered wood | Main living areas where real wood matters | Authentic wood surface, premium feel, strong resale appeal | Higher cost, more climate sensitivity, less moisture tolerance | $3 to $16+ |
| Interlocking tile-look systems | Rooms where you want a tile appearance without mortar | Faster install, easier removal, cleaner than traditional tile work | Not the same as ceramic or porcelain tile | $2 to $8 |
My rule of thumb is simple: if moisture resistance is the priority, vinyl usually wins; if budget matters most in a dry room, laminate is hard to beat; if the goal is a real-wood look with floating installation, engineered wood earns its place. That comparison only helps, though, if the installation details are handled correctly.
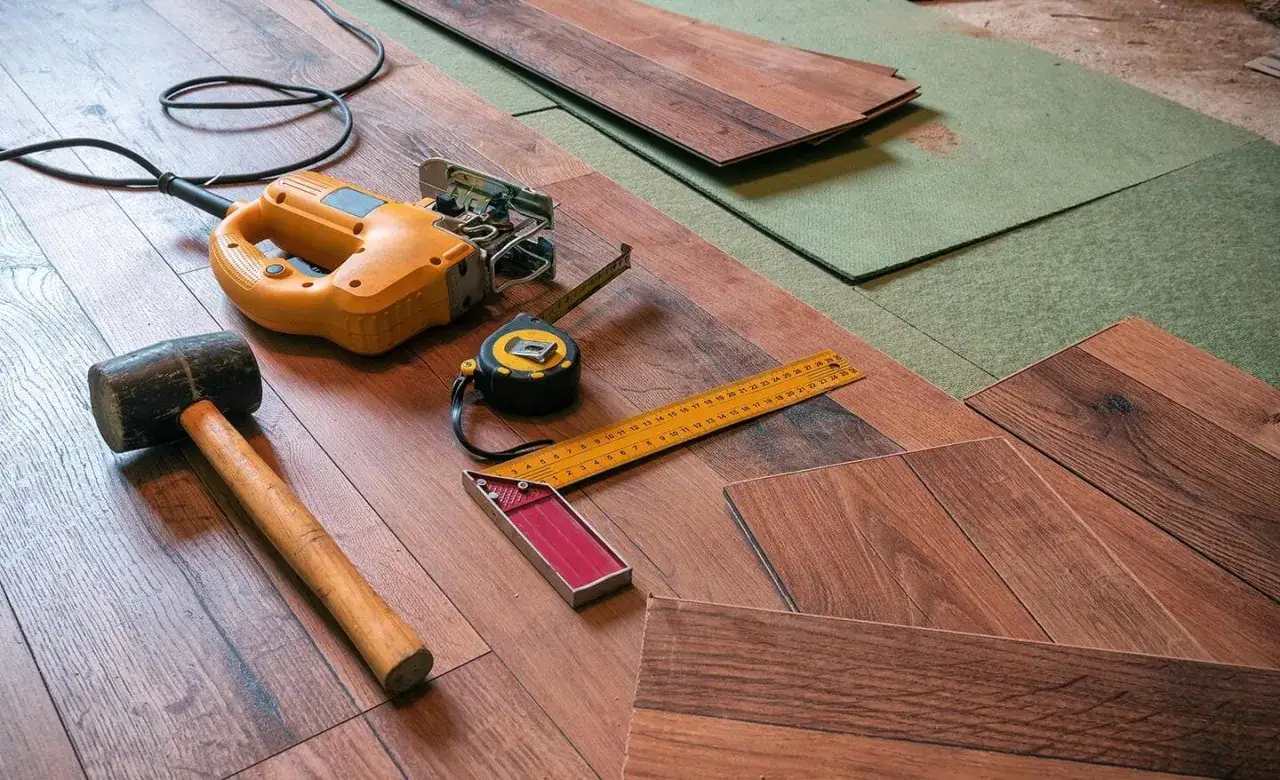
The installation details that keep the floor quiet
This is the part people often underestimate. A floating floor can look easy to install, but the success of the project depends on details that are easy to miss: subfloor flatness, perimeter gaps, seam layout, and whether the room is truly climate-controlled during installation.
In my experience, the subfloor is where most problems start. If the floor underneath is too wavy, the locking joints are forced to flex every time someone walks across the room. That stress shows up later as click failure, edge wear, or hollow-sounding spots.
- Check the subfloor first. It should be clean, dry, and structurally sound. Many manufacturers expect flatness around 1/8 inch over 6 feet or 3/16 inch over 10 feet, unless they specify something different.
- Use the right underlayment. Some products include it, some require it, and some forbid extra padding because it makes the floor too springy.
- Leave expansion space. A perimeter gap of about 1/4 inch is common, but the product instructions control the final number.
- Stagger the end joints. Random-looking seams are stronger and look better than a repeated ladder pattern.
- Lock the joints without forcing them. If you have to beat the boards into place, something is wrong.
- Plan the transitions. Long runs, doorways, and changes between rooms may need transition strips or movement breaks.
I also tell people not to rush acclimation rules. Some rigid-core products are more forgiving than traditional wood, but that does not mean they should be stored in a hot garage and then dropped into a cooled home. Once the mechanics are understood, the next step is learning the mistakes that break those mechanics.
The mistakes that turn a good floor into a noisy one
Most failures are not dramatic. They start as small annoyances: a seam that opens slightly, a spot that feels soft, a board that clicks underfoot, or a line of joints that looks perfectly fine until sunlight hits it. Those symptoms usually point back to installation, not a bad brand.
- Skipping moisture checks. A dry-looking slab is not automatically a dry slab.
- Installing over high spots. One ridge can telegraph through the whole room.
- Forgetting the expansion gap. The floor needs room to move somewhere.
- Using too much padding. Extra softness can make the joints work against each other.
- Mixing too few boxes. Color and pattern repetition becomes obvious faster than people expect.
- Hammering directly on the joint. That is an easy way to damage the locking profile.
Another common miss is choosing the wrong floor for the room and then blaming the install. A laminate floor in a damp basement may fail even if it was installed carefully. The material and the site conditions have to agree. Once that is clear, the budget question becomes much easier to answer.
What I would budget for a US project in 2026
For a typical US homeowner in 2026, I would not budget only for the planks or tiles. The real number depends on prep, room shape, trim work, and whether you are tearing out an old floor first. Still, these ranges are useful for planning:
| Project type | Material only | Installed cost | What usually pushes it higher |
|---|---|---|---|
| Luxury vinyl click-floor | $2 to $7 per sq. ft. | $4 to $13 per sq. ft. | Demo, leveling, stairs, tricky cuts, premium wear layers |
| Laminate click-floor | $1 to $5 per sq. ft. | $3 to $11 per sq. ft. | Moisture remediation, transitions, underlayment upgrades |
| Engineered wood | $3 to $16+ per sq. ft. | $7 to $20 per sq. ft. | Species choice, plank width, subfloor prep, labor complexity |
| Interlocking tile-look floor | $2 to $8 per sq. ft. | $4 to $14 per sq. ft. | Layout complexity, grout-look trims, threshold work |
The last checks I would make before opening the boxes
Before I commit to a lock-together floor, I measure the room twice, check the subfloor in several directions, and confirm the manufacturer’s rules for expansion, underlayment, and moisture. I also look at the color repeat pattern, because some products look rich in the showroom and repetitive once they cover a full room.
I would also keep the installation accessories in the same budget line as the flooring itself. Trims, reducers, stair noses, moisture barrier, and leveling compound can quietly change the total cost more than the flooring sample suggests. If the room is near an exterior door or has strong sunlight, I want to know how the product handles heat, glare, and movement before I start.
The safest approach is practical, not flashy: choose the right material for the room, respect the movement the floor needs, and treat the subfloor as part of the system. Do that, and a floating floor can look clean, hold up well, and stay easy to maintain for years.