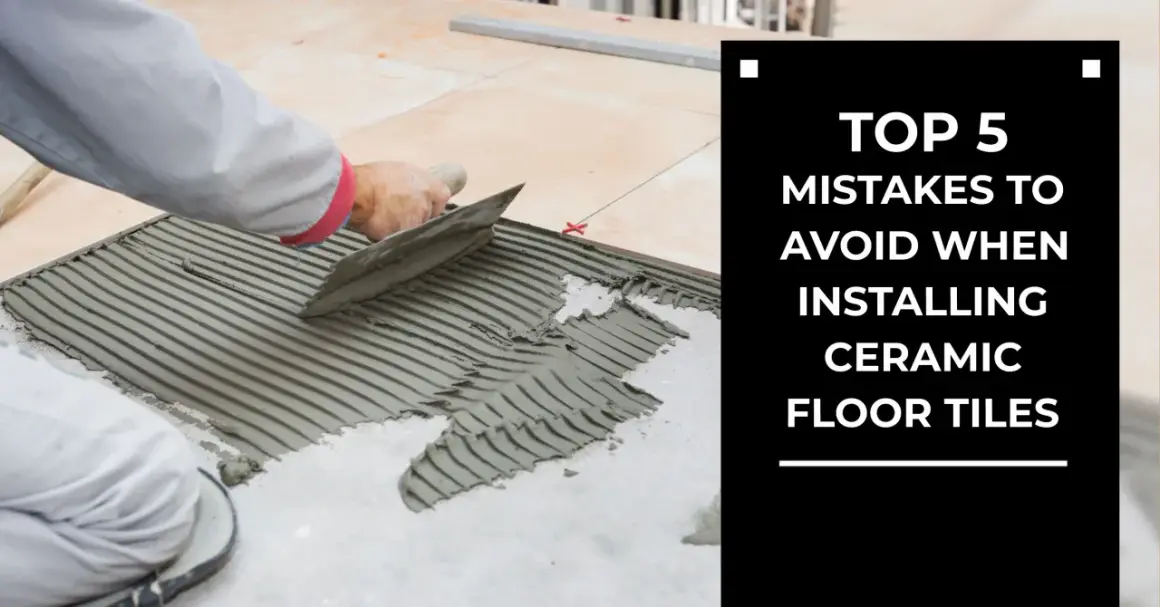
What matters most before you start
- Flatness matters more than levelness; a wavy floor is the fastest way to get lippage and cracked grout.
- Porcelain is usually the safest all-around choice for kitchens, baths, and busy hallways because it is dense and durable.
- Dry layout saves the job by showing you where slivers, awkward cuts, and bad transitions will happen.
- Coverage is non-negotiable; for most floors I want strong mortar transfer, and for wet areas I aim for the higher coverage standard.
- Movement joints are part of the system, not an optional detail you can grout over.
- Budget extra tile for cuts, breakage, and future repairs, especially on diagonal or patterned layouts.
Choose the right tile for the room
The best floor starts with the right material for the space. I think in terms of traffic, moisture, maintenance, and how much forgiveness the tile gives during installation. A kitchen, a guest bath, and a sunroom may all take tile, but they do not want the same product.
| Tile type | Best use | Why I like it | Watch-outs |
|---|---|---|---|
| Ceramic | Dry rooms and lighter-traffic areas | Easier to cut and often easier on the budget | Can be less forgiving in harder-use rooms |
| Porcelain | Kitchens, bathrooms, laundry rooms, hallways | Dense, durable, and a strong all-purpose choice | Harder to cut and usually wants better tools |
| Natural stone | Premium interiors where maintenance is acceptable | Distinctive look with real variation | Often needs sealing and more upkeep |
| Large-format tile | Open spaces and modern layouts | Fewer joints and a clean visual field | Needs a flatter substrate and tighter installation control |
If I had to pick one detail that changes the whole project, it would be tile size. Bigger tile looks calmer, but it exposes every flaw in the floor beneath it. That is why the layout decision comes before the first bag of mortar is opened.
Plan the layout before the first row goes down
I never start setting tile from the most visible wall just because it feels intuitive. I dry-lay enough of the room to understand where the cuts will land, where the focal point should sit, and whether the pattern will force ugly slivers at the doorway. A careful layout is not cosmetic. It determines whether the finished floor feels balanced or improvised.
Use the room’s strongest lines
In practice, I snap reference lines from the center or from the main sightline, not from a wall that may be crooked. Kitchens and bathrooms often need a layout that respects cabinets, appliances, vanity fronts, or a hallway transition. If the room has a clear entry path, I favor that view first, then I let the cuts fall where they are least noticeable.
Leave room for movement and waste
I also plan for the joints, not just the tile size. Perimeter gaps should stay open for movement, and transitions to other floors need thought before the first tile is set. For material quantity, I usually budget 10% extra tile for a straight layout and 15% or more if the pattern is diagonal, herringbone, or cut-heavy. That little bit of overbuying is cheaper than running short in the middle of the job.
Once the room is mapped out, the next problem is the part underneath the tile, because a good layout cannot rescue a bad floor.
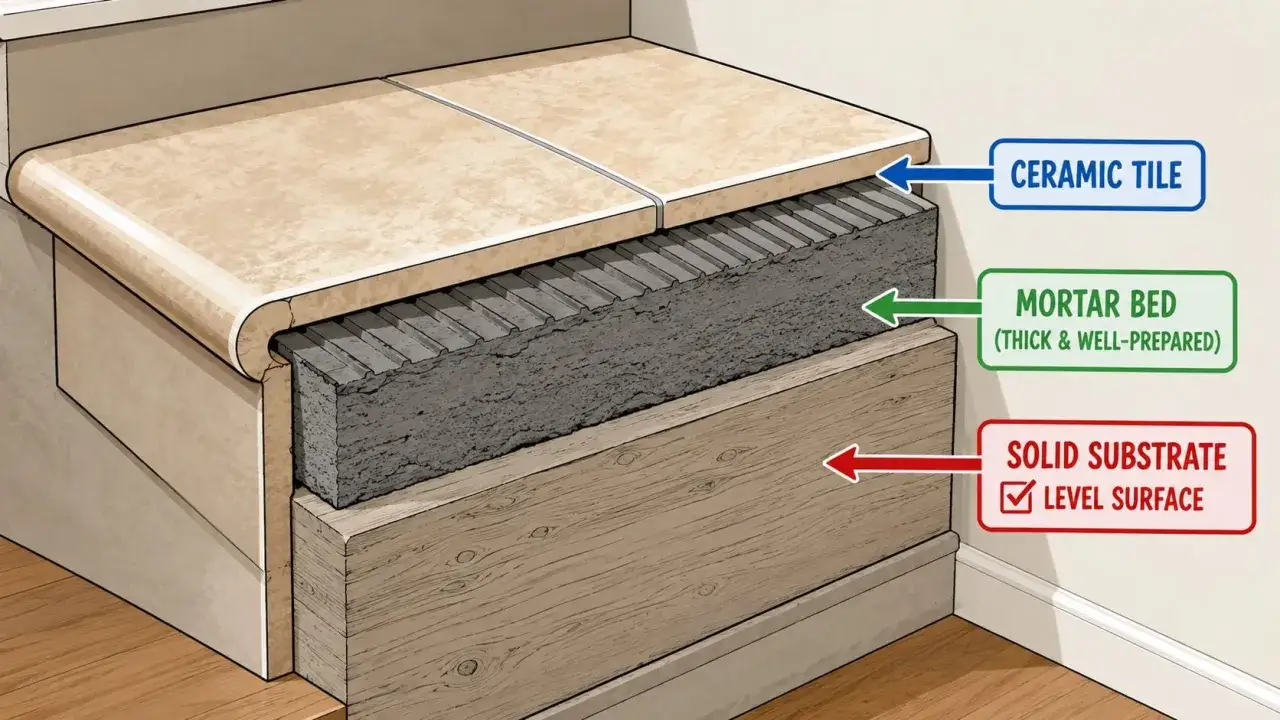
Prepare the substrate like the floor depends on it
The substrate is where tile work succeeds or fails. I want the surface clean, sound, stiff, and flat enough that the tile can sit in full support instead of bridging humps and dips. A floor can look acceptable to the eye and still be wrong for tile if it flexes too much or has low spots that force uneven mortar beds.
Wood subfloors need stiffness first
On wood framing, I check for bounce and loose decking before I think about tile. A tile floor does not like excessive movement, so I want the structure stiff enough for the load. In practical terms, that means the floor cannot feel springy, and the framing has to meet the stiffness expectations for tile, commonly described as L/360 or better. If the subfloor is not ready, I fix that problem before I cover it up.
Read Also: Walk on Vinyl Plank After Install? Know When It's Safe!
Concrete slabs need flatness and moisture control
Concrete can be excellent for tile, but it still needs inspection. High spots should be ground down, low spots filled with a patching or leveling product, and cracks evaluated before they telegraph through the finish. In wet rooms or on slabs with moisture concerns, I use the right membrane system instead of assuming the mortar alone will solve the issue. An uncoupling membrane helps isolate some movement, but it does not make a bad slab magically stable.
For large-format tile, I am much stricter about flatness. A useful benchmark is keeping variation to about 1/8 inch in 10 feet, with even tighter control near the tile itself. That sounds fussy until you see how quickly lippage shows up once the pieces get bigger. With the floor ready, the actual setting process becomes much more predictable.
Set the tile with coverage, not hope
This is the stage most people picture first, but it works best only after the prep is done. I mix the mortar to the manufacturer’s instructions, let it slake if required, and spread only as much as I can cover before the surface skins over. In real work, speed matters less than keeping the mortar fresh and the ridges open.
The basic sequence is simple: key mortar into the substrate, comb it with the correct notched trowel, and set the tile while the mortar is still wet and tacky. For tiles 8 x 8 inches or larger, I back-butter the back of the tile so the contact is more complete and the piece beds evenly. That extra step is one of the biggest differences between a floor that feels solid and one that sounds hollow in places.
- Use the right trowel size for the tile, not the one that happened to be in the bucket.
- Set tiles with a slight twist or beat-in motion so the mortar ridges collapse.
- Check coverage by lifting a tile now and then rather than assuming it is good.
- Work in small sections so the mortar does not skin over before the tile lands.
- Use spacers or a leveling system only as helpers; they do not replace good substrate prep.
For floor work, I want strong mortar transfer across the back of the tile. Industry guidance commonly calls for about 80% coverage in dry areas and 95% in wet areas, and I treat that as a minimum standard, not a target to barely meet. Once the tile is down correctly, the next phase is less glamorous but just as important.
Grout, seal, and protect the work
Grout is not there just to make the joints look finished. It stabilizes the field, helps keep dirt out of the joints, and gives the floor its final visual rhythm. I clean the joints carefully before grouting, then I work the grout diagonally across the tile so the joints fill fully without pulling material back out.
The one rule I never bend is this: do not grout movement joints. Perimeter gaps, changes of plane, and other required movement spaces need flexible sealant or a profile system, not rigid grout. Those joints exist because tile expands and contracts, and if you lock the floor in place, the stress ends up somewhere else.
Sealing depends on the material. Cement grout often benefits from a sealer, while epoxy grout typically does not need one. Porous natural stone usually needs ongoing protection because it can take in stains more easily than porcelain. I also keep the first cleaning gentle; aggressive acids or harsh scrubbers can do more harm than good on a fresh installation.
After that, I let the floor cure properly and avoid loading it too soon. The surface may look done before the assembly is ready for furniture, heavy traffic, or wet cleanup, and that gap between appearance and strength is where a lot of rushed projects go wrong.
What the budget and timeline usually look like in the U.S.
Most homeowners want a straight answer on cost, and the honest one is that the range is wider than it first appears. Recent U.S. cost guides put professional tile work around $15 to $20 per square foot installed, while labor alone often lands somewhere near $3 to $15 per square foot depending on complexity. Straight rooms with large open runs are cheaper; small rooms, lots of cuts, floor leveling, demolition, and pattern work all push the price up.
| Cost driver | Typical impact |
|---|---|
| Tile choice | Porcelain and stone usually cost more than basic ceramic |
| Room shape | More corners, doors, and transitions mean more labor |
| Substrate repair | Leveling, patching, or underlayment can add a lot fast |
| Pattern complexity | Diagonal and herringbone layouts increase cuts and waste |
| Removal of old flooring | Demolition and disposal often change the budget more than people expect |
For timing, I usually think in phases: prep, layout, setting, grouting, and cure time. A simple room may move quickly, but a floor with patching, membranes, or careful cuts can stretch across several days. If the floor is uneven, wet, or structurally questionable, hiring a pro is usually money well spent because the repair cost after a failure is far higher than the labor you saved.
The checks I make before I call the floor finished
Before I call the job done, I walk the floor slowly and look for the details that get missed when everyone is eager to clean up. I want consistent joint spacing, clean edges, no hollow-sounding patches in obvious traffic areas, and visible movement joints that were left open on purpose. I also check the surface in low side light, because lippage is much easier to spot when the light rakes across the tile.
- Perimeter gaps are open and not packed with grout.
- Transitions to other flooring are protected and do not create a trip edge.
- Grout is fully cleaned from the surface before it hardens.
- Any sealer or grout protection is matched to the tile and grout type.
- The room is kept out of heavy use until the system has cured enough to handle it.
A floor like this lasts when the boring steps are treated as the important ones. Flat substrate, deliberate layout, full mortar support, and proper movement handling are what separate a floor that simply looks finished from one that stays tight, quiet, and stable for years.