Ceramic tile on shower walls is a practical choice when you want a durable finish, broad design options, and a surface that cleans up without much drama. The part most homeowners miss is that the tile itself is only the visible layer; the real performance comes from the wall assembly underneath it. In this article, I cover what makes ceramic a good fit, how waterproofing should be handled, which tile formats age well, and where the common failure points usually start.
What matters most before you tile a shower wall
- The waterproofing layer matters more than the tile finish. Tile is decorative and protective, but it is not the moisture barrier.
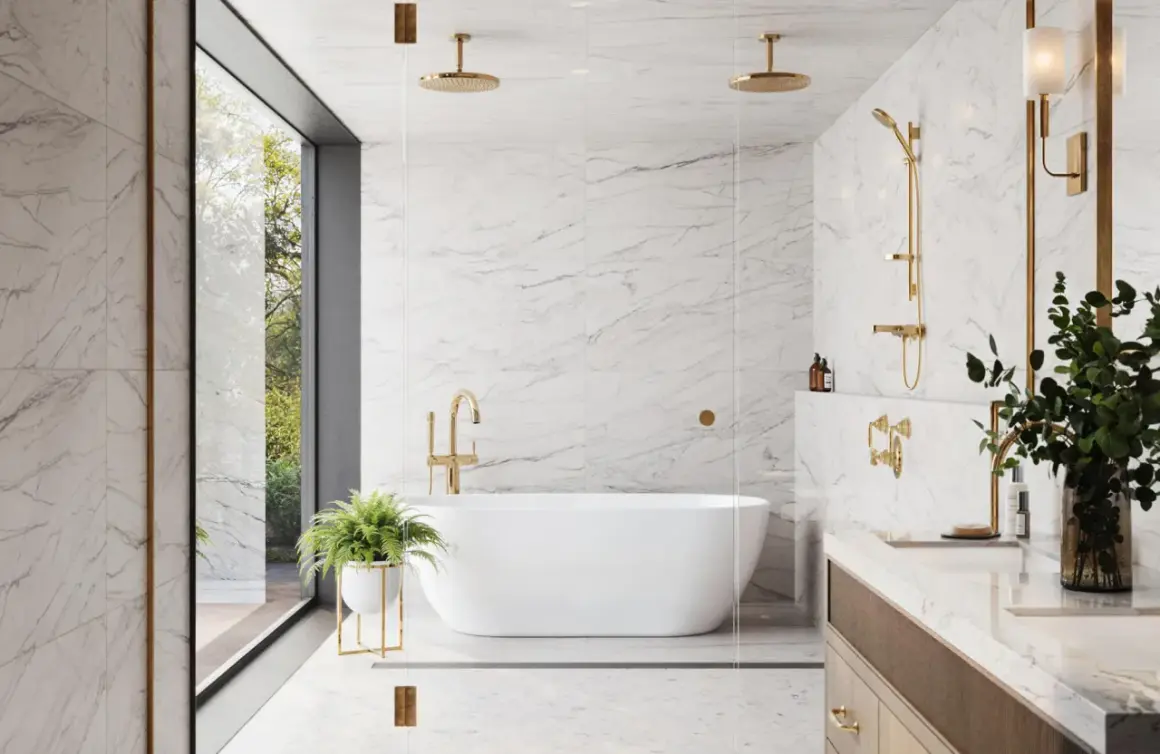
- Glazed ceramic is usually the sweet spot for shower walls. It balances cost, style, and easy cleaning better than many alternatives.
- Thin-set mortar belongs in showers, not premixed mastic. Wet areas need an installation method built for constant moisture.
- Corners and changes of plane should be caulked, not grouted. That is where movement happens and where cracks often start.
- Large-format tile looks clean but demands flatter walls. Small and medium sizes are more forgiving.
- Budget for the whole system, not just the tile. Waterproofing, trim, demo, and wall prep can matter as much as the tile itself.
Why ceramic still makes sense on shower walls
I like ceramic wall tile for showers because it gives me a lot of control without forcing the project into a premium budget. Glazed ceramic comes in subway shapes, elongated rectangles, textured finishes, and more colors than most people expect, so it can feel classic, modern, or somewhere in between. It also cuts more easily than many denser materials, which helps around valves, niches, edges, and odd wall dimensions.
The other advantage is practical: if one tile gets damaged later, the repair is usually localized. I do not have to treat the whole enclosure like a fragile, one-off stone installation. For a standard family bathroom, that combination of price, serviceability, and design flexibility is hard to beat. The one thing I do not pretend ceramic solves by itself is water control, and that leads directly to the part most failures start with.
What actually keeps the shower dry
I always think of a shower wall as a layered system. The framing supports the wall, the backer or foam board creates a tile-ready surface, the waterproofing layer stops moisture from reaching the structure, and the tile is the wear layer that faces daily use. If any one of those layers is wrong, the whole assembly becomes less durable than it looks on day one.
That is why grout, tile adhesive, and tile surface alone should never be treated as waterproofing. The wall needs a proper membrane or a board system designed for wet areas, and the seams, fastener penetrations, inside corners, and niche edges all need to be detailed carefully. In a steam shower, or in a shower that gets heavy daily use, I would be even stricter about the membrane choice and installation method. Once the moisture strategy is right, the tile can do its job without being asked to do too much.
As soon as the wall assembly is understood, the next decision is how the tile itself should be sized and finished so the shower looks good and stays easy to live with.
Choosing the right tile format and finish
For shower walls, I usually narrow the decision down to format, finish, and how much maintenance the homeowner is willing to tolerate. Smaller or mid-size tiles are more forgiving on walls that are not perfectly flat. Large-format tile looks cleaner and reduces grout lines, but it exposes every dip, bow, and corner problem in the substrate. That is fine when the wall is properly prepped; it becomes frustrating when the wall is rushed.
| Tile style | What it does well | What to watch | Best use |
|---|---|---|---|
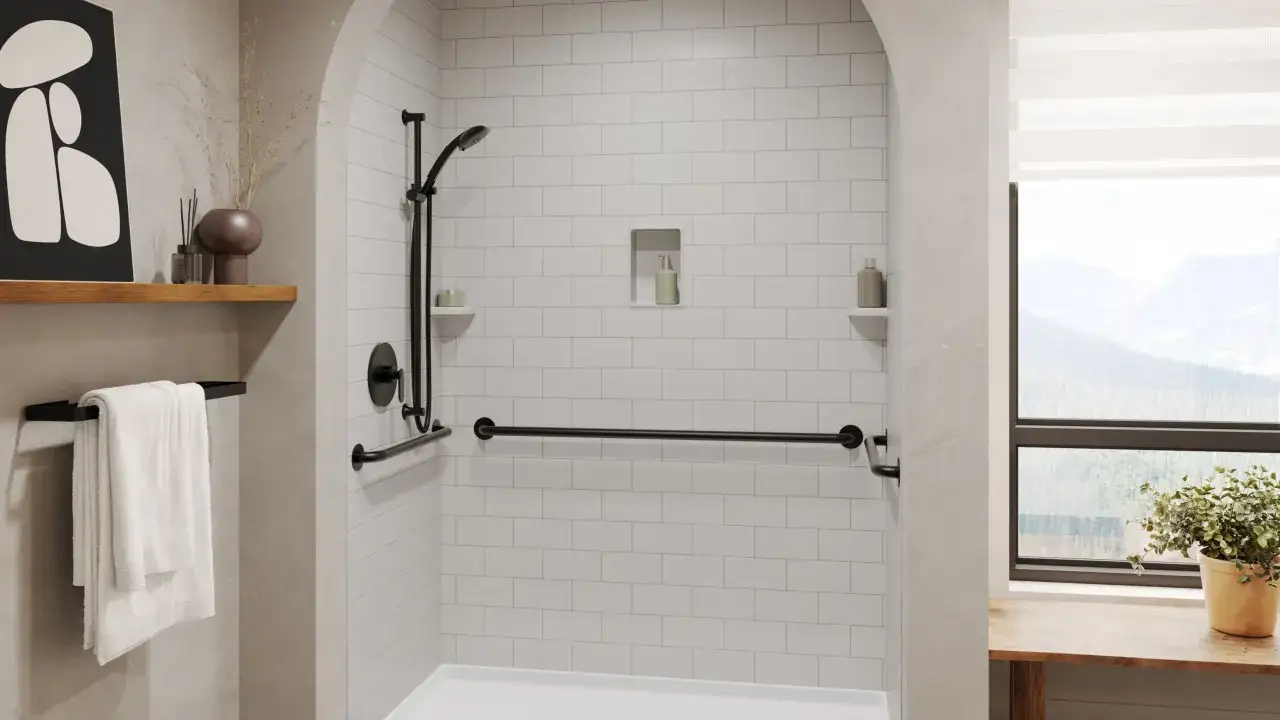
| Classic subway or similar small rectangles | Forgiving, easy to layout, timeless look | More grout lines than large-format tile | Most standard shower walls |
| Long rectangular tile | Clean, modern lines with moderate grout | Needs careful layout to avoid awkward slivers | Main wall fields and niches |
| Large-format tile | Fewer joints, sleek appearance | Requires very flat walls and more precise setting | High-end showers with solid prep |
| Mosaic or small accent tile | Good for curves, niches, and feature strips | More grout maintenance | Detail areas, not usually the whole enclosure |
Finish matters just as much. Glossy ceramic reflects light and wipes clean easily, which is why it remains so common in American bathrooms. Satin and matte finishes feel softer and can hide water spotting better, but they can also make the room feel less bright if the shower is small. I usually choose the finish based on the light level in the bathroom first, then the cleaning tolerance second. Once the format and finish are set, the installation details become the difference between a shower that lasts and one that starts cracking at the edges.
Installation details that prevent callbacks
The biggest shower failures I see are rarely caused by the tile brand. They come from wall prep, movement, and bad joint treatment. If the substrate is out of plane, the tile work becomes harder and the finished wall looks wavy. If the installer uses the wrong adhesive, the bond may not hold up in a wet environment. If the corners are grouted rigidly instead of caulked or profiled correctly, the tile field has nowhere to move when the building shifts.
Start with a flat, rigid wall
Tile is not a wall-leveling system. I want the substrate flat before the first tile goes up, especially if the job uses a larger format. Foam shower boards and well-installed cement backer boards can both work, but they need to be installed according to the system being used. Any shortcut at this stage usually shows up later as lippage, loose corners, or cracked grout.
Use thin-set mortar, not premixed mastic
Shower walls need a setting material that belongs in wet areas. Thin-set mortar is the safe default. Premixed mastic may be fine for some dry interior wall work, but I would not use it as the setting bed in a shower enclosure. Moisture-prone spaces are not where I want to gamble on adhesive performance.
Treat corners and changes of plane as movement joints
Inside corners, wall-to-wall transitions, wall-to-ceiling transitions, and the seam where tile meets the tub or shower base should not be locked together with rigid grout. Those lines need flexible sealant or a movement profile because the assembly expands and contracts. In practice, this is one of the simplest ways to avoid hairline cracks that keep coming back no matter how well the grout is cleaned.
Read Also: Paint Your Tile Backsplash - A Smart Update? Find Out How!
Seal penetrations and niches carefully
Valve openings, shower heads, shelving niches, and tile edges around trim all deserve extra attention. Water loves weak transitions, not broad tile fields. A well-detailed niche and a properly sealed fixture opening often make more difference to long-term performance than a decorative band or a fancy tile pattern ever will.
Once the installation details are right, the shower becomes much easier to maintain, because grout and caulk stop acting like emergency repairs and start acting like normal parts of the system.
Grout and maintenance decide how the shower ages
For me, grout is less about the look on day one and more about how the shower behaves after a year of use. Cement grout is common, affordable, and perfectly workable in a shower when it is used correctly, but it usually needs sealing and periodic attention. Epoxy grout is more stain-resistant and lower maintenance, but it costs more and can be less forgiving during installation. If a homeowner wants the lowest possible upkeep, I lean toward epoxy in the wettest areas and a good silicone sealant in all movement joints.
| Grout type | Strengths | Tradeoffs | My read |
|---|---|---|---|
| Cement grout | Easy to source, familiar, usually cheaper | More porous, may need sealing and periodic refresh | Good value when the owner accepts routine upkeep |
| Epoxy grout | High stain resistance, better moisture performance | Higher cost, installation is less forgiving | Worth it in busy showers or low-maintenance remodels |
For routine care, I keep it simple: use a mild cleaner, avoid harsh scrubbing that beats up grout and trim, and keep the shower ventilated after use. If the grout is a sealed cement product, many installers wait roughly three days before sealing, then check the joints periodically and reseal when water stops beading. That is not glamorous maintenance, but it keeps the enclosure looking intentional instead of tired. With the maintenance side clear, the remaining question is whether ceramic is the best choice compared with porcelain.
Ceramic versus porcelain for shower walls
This is the comparison I get asked about most, and the answer is usually simpler than people expect. Porcelain is denser and usually less porous, so it tends to win when the owner wants maximum toughness or when the same material may be used in more demanding conditions. Ceramic, on the other hand, is often easier to cut, easier to handle, and friendlier on the budget. For many wall-only showers, that is exactly the balance people need.
| Factor | Ceramic | Porcelain |
|---|---|---|
| Price | Usually lower | Usually higher |
| Cutting and handling | Easier for many installers | Harder and more demanding on blades and tools |
| Moisture resistance | Good for shower walls when glazed and properly installed | Typically stronger in moisture-heavy environments |
| Best fit | Standard showers, budget-conscious remodels, decorative wall fields | Steam showers, premium builds, or jobs needing a tougher material |
If I were choosing strictly for a standard shower enclosure, I would not automatically upgrade to porcelain just because it sounds more robust. I would first check the waterproofing system, then the wall flatness, then the maintenance expectations. If those three things are handled well, ceramic remains a very strong wall tile choice. Once the material choice is settled, the last practical issue is the budget and what kind of project scope that budget really supports.
What the budget looks like in the U.S. right now
For a 2026 U.S. project, I would plan around a national installed cost of roughly $17 to $21 per square foot for bathroom ceramic tile, with wall tile installation in a similar range depending on prep and complexity. That is a useful starting point, not a hard quote. A straightforward shower surround can stay near the lower end, while demolition, wall repairs, waterproofing membranes, niches, benches, trim profiles, and custom layouts push the job upward quickly.
For a typical professional shower-tile project, a realistic working budget often lands in the $1,800 to $5,000 range before you start adding major plumbing changes or structural corrections. That spread is wide because shower walls are small enough that labor dominates quickly, and once a contractor has to slow down for layout, waterproofing, or specialty details, the price moves faster than homeowners expect. The cheapest shower is usually the one with the fewest surprises hidden behind the old wall finish.
That is why I tell people to budget for the entire enclosure, not just the visible ceramic tile. If you know the wall is flat, the waterproofing system is appropriate, and the grout-and-caulk plan is reasonable for your maintenance habits, then the tile choice becomes much easier to enjoy. In the end, the best shower wall is the one that looks good, stays dry, and does not ask for constant repair.
The setup I would spec for a shower that has to last
If I were specifying a standard shower today, I would choose a glazed ceramic wall tile, a properly installed waterproof membrane or tile-ready board system, thin-set mortar, and flexible sealant at corners and all changes of plane. I would keep the tile layout simple enough that the installer can maintain clean joints, and I would spend money on wall prep before I spent it on decorative extras. That order matters more than most people realize.
The most durable showers are usually not the most complicated ones. They are the ones where the layers are correct, the corners can move a little, and the maintenance plan matches the homeowner’s tolerance for upkeep. If you get those parts right, ceramic wall tile does exactly what it should: it gives the shower a clean, durable surface without becoming the weak link in the room.