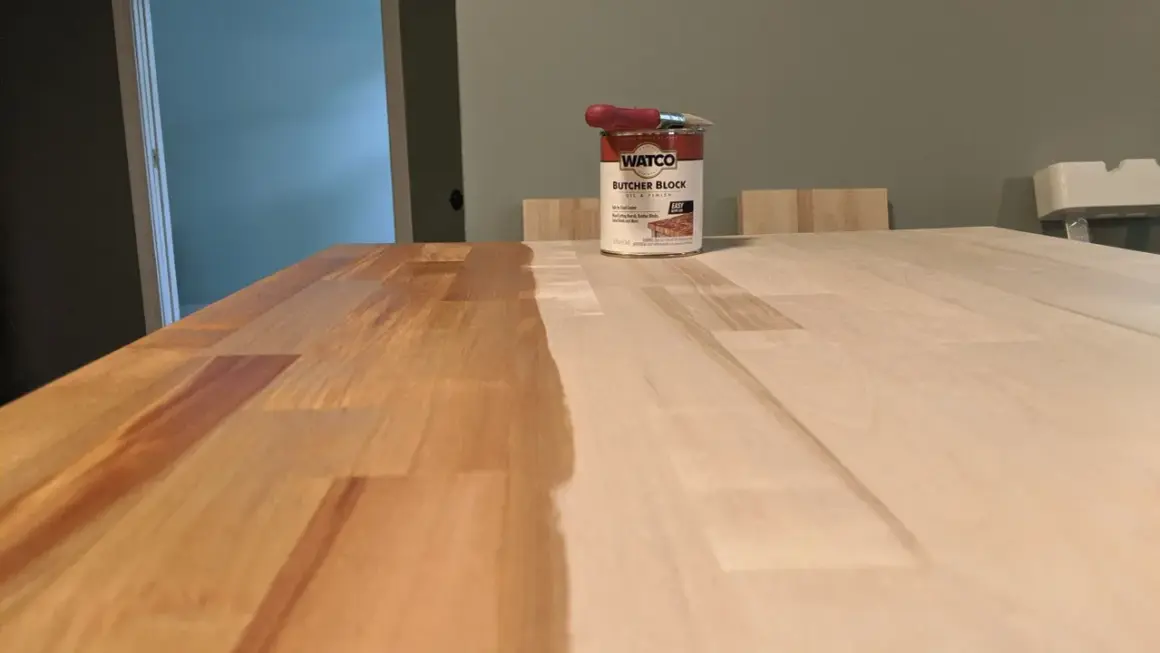
Knowing how to stain butcher block is mostly about controlling the wood, not just changing its color. I treat it as a three-part job: prepare the surface so it absorbs evenly, choose a stain that fits the way the piece will be used, and seal it so the finish can survive daily wear. That approach matters even more on countertops, islands, and built-ins, where looks, moisture resistance, and maintenance all have to line up.
The best result comes from matching prep, stain, and finish to how the butcher block will actually be used
- If the surface will be cut on, I would avoid conventional pigmented stain and choose a food-safe finish system instead.
- For decorative counters, desks, and shelving, the usual sequence is sand, test, stain, and then seal.
- Most blotching problems come from uneven sanding, skipped test spots, or applying too much stain at once.
- Gel stain and shellac-based sealers can help tame thirsty or blotch-prone wood.
- Thin coats and full cure time matter more than a heavy first pass.
Choose the finish based on how the surface will be used
I separate butcher block projects into three buckets: a true food-prep surface, a working countertop that will mostly see dishes and spills, and a decorative surface such as a desk, shelf, or storage top. That distinction changes the finish choice more than color ever will. Stain is a color decision; the topcoat is the protection decision.
| Finish option | Best use | What it does well | Tradeoffs |
|---|---|---|---|
| Oil-based stain plus clear topcoat | Decorative counters, desks, built-ins | Richer color, familiar workflow, durable when sealed well | Not for direct cutting surfaces, slower dry time, can amber over time |
| Water-based stain plus clear topcoat | Lighter tones, low-odor projects, interior furniture | Faster drying, less yellowing, easier cleanup | Can look cooler or flatter, may raise grain if prep is rushed |
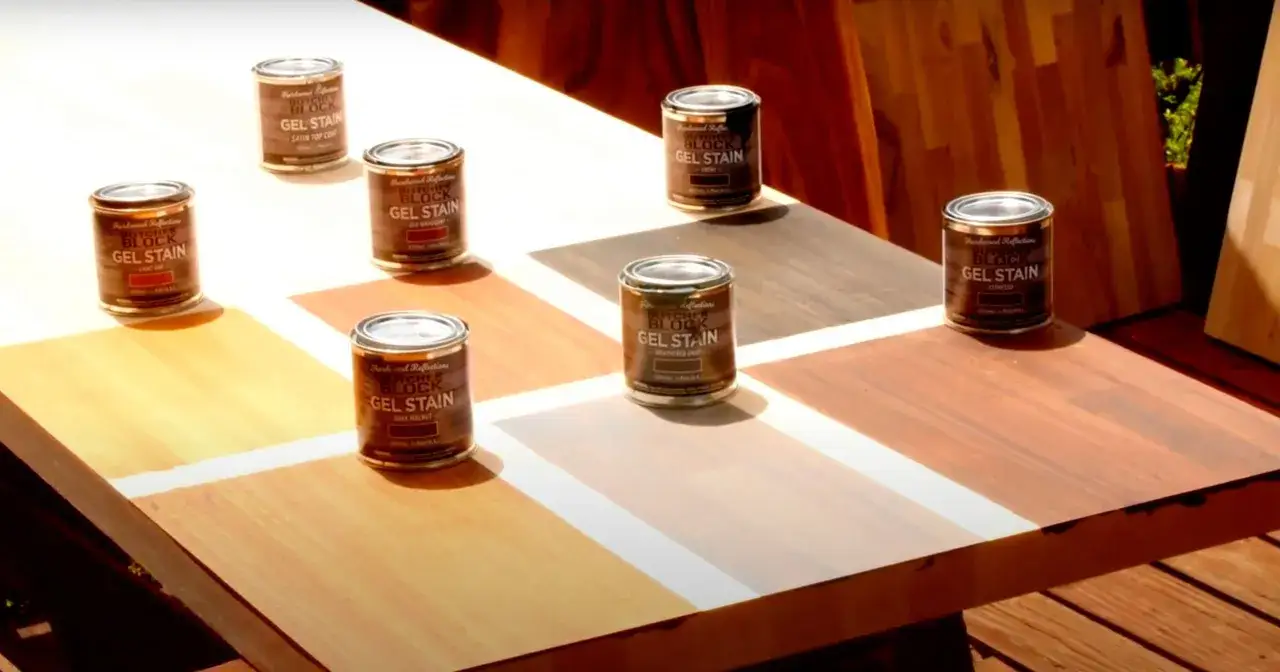
| Gel stain | Maple, birch, and other blotch-prone woods | More even color and better control on difficult grain | Fewer color choices, still needs a compatible finish |
| Food-safe oil or hardwax oil | Cutting surfaces and food-prep areas | Easy to renew, more natural feel, simpler spot repair | Needs regular maintenance and gives only subtle color change |
If the block will be used like a cutting board, I would not force a pigmented stain into it. In that case, I want a finish labeled by the manufacturer for food contact after cure, or I leave the wood tone natural and let the finish do the work. Once the use case is clear, the prep sequence stops feeling arbitrary.
Prep the butcher block so stain goes on evenly
Most bad stain jobs start before the stain ever opens. Butcher block is unforgiving about dust, scratches, old finish, and uneven sanding, because those flaws telegraph straight through the color. If the top is already sealed, I sand it back to bare wood first; stain will not penetrate a film finish in any meaningful way.
- Start sanding at 120 grit if the surface is raw or only lightly marked; go lower only if you truly need to remove a damaged finish.
- Move through 150 grit and then 180 or 220 grit for the final pass. I usually stop around 180 on surfaces that need deeper stain penetration.
- Break sharp edges lightly so the stain does not pool on corners.
- Vacuum thoroughly, then wipe away remaining dust with a lint-free cloth or tack cloth if the product allows it.
- Test your stain on the underside, a scrap offcut, or a hidden edge before you commit to the full surface.
On blotch-prone woods, I am careful with pre-stain conditioner. It can help, but it is not a cure-all. When I want a more even result on maple or birch, I usually get better control from a gel stain or a thin shellac-based sealer than from conditioner alone. After that, the stain itself becomes much easier to control.
Apply the stain without blotches or lap marks
The application step is where patience pays off. I stir the can well, but I do not shake it unless the label specifically says to; shaking can trap bubbles that show up in the wood. Then I work in small sections, usually 2 to 3 square feet at a time, so I can keep a wet edge and avoid patchy overlaps.
Start with a test area you can live with
I never trust the color on the label alone. Butcher block, especially with mixed grain or visible glue seams, can look several shades different once stain actually hits it. A test patch tells me whether the wood is pulling the tone too warm, too muddy, or too dark before I touch the whole top.
Work with the grain and wipe back the excess
I apply the stain with a rag, foam brush, or pad, always along the grain. Then I let it sit only as long as the product recommends, usually somewhere in the 5 to 15 minute range, before wiping off the excess. Leaving it wet too long tends to blur the grain and make the surface look heavy instead of finished.
The edges and end grain need extra attention because they drink color faster than the face grain. I treat them like their own zone and wipe them sooner if they start to darken too quickly. That small adjustment is one of the easiest ways to keep the finish from looking streaky.
Read Also: Attic Ladder Installation - Avoid Costly Mistakes
Let the coat dry before deciding on a second pass
If I want a deeper tone, I let the first coat dry fully before I judge it. Rushing in with a second coat while the first is still soft usually creates the muddy, uneven look people later blame on the stain brand. On many products, overnight is a safer minimum than a few hurried hours, but I still follow the label first.
Once the color is where I want it, the topcoat decides how well the surface will survive real use.
Seal and cure it the right way
Stain alone is not a finish. It colors the wood, but it does not give you meaningful moisture resistance, scratch protection, or spill protection. For butcher block that is not used as a cutting surface, I usually add a compatible clear topcoat after the stain is fully dry.
| Topcoat type | Typical recoat window | Light use | Full cure |
|---|---|---|---|
| Waterborne polyurethane | About 2 to 4 hours | About 24 to 48 hours | About 7 days or more |
| Oil-based polyurethane | About 6 to 12 hours | About 48 hours or more | About 7 to 30 days, depending on the product |
| Hardwax oil | Often overnight | About 24 to 48 hours | About 7 days |
| Food-safe oil finish | Not a film build | Usually after the surface stops feeling wet | Maintenance is ongoing rather than one-time |
Those ranges are practical benchmarks, not a substitute for the label. I still sand lightly between compatible coats when the product allows it, usually with 220 or 320 grit, because that keeps the next layer smoother and helps it bond. I also seal the underside and edges on free-standing tops, since moisture tends to move through the whole board, not just the side you look at.
If the piece will live near a sink, dishwasher, or laundry area, I am even more careful about edge sealing. Water usually wins where finish coverage is thin, and butcher block does not forgive repeated dampness the way laminate does. After the film has cured, the real work shifts to preventing damage instead of repairing it.
Avoid the mistakes that shorten the life of the surface
- Skipping the final sanding step leaves swirl marks and scratches that become obvious under stain.
- Applying stain too thickly turns grain into mud and creates shiny blotches after sealing.
- Ignoring the underside or edges lets moisture enter unevenly and can lead to movement over time.
- Using incompatible products, such as a topcoat that does not bond well to the stain, can cause peeling or soft spots.
- Trying to fix color variation with a heavy topcoat usually makes the problem look worse, not better.
- Putting a decorative stain system on a surface that will be cut on every day is the fastest route to disappointment.
- Rushing cure time makes the finish feel dry before it is actually ready for use.
Most of the repairs I see are not caused by bad products. They come from bad sequencing, and that is good news because sequencing is fixable. If you avoid those traps, there is not much mystery left in the process.
The finish schedule I would use for most butcher block projects
For a countertop, island, or built-in that is not meant to be used as a cutting surface, my default schedule is simple: sand to a clean, even surface around 180 or 220 grit, test the color on a hidden spot, apply one thin stain coat, let it dry overnight, and then build two thin coats of a compatible clear finish. I scuff lightly between coats when the product calls for it, and I leave the surface alone for at least 24 to 48 hours before light use.- If you want a deeper color, do a second stain pass only after the first coat is fully dry.
- If you want a more natural look, stop after the first coat and let the grain stay visible.
- If the piece will be handled as a prep surface, skip pigmented stain and move to a finish meant for food contact instead.
The rule I use is straightforward: the more the surface behaves like furniture, the more freedom I have with stain and topcoat; the more it behaves like a work surface, the more I respect moisture, maintenance, and food-safe requirements. That is the difference between a finish that looks good for a week and one that still looks intentional after years of use.