The best results come from a square opening, the right ladder size, and a tight thermal seal
- Start with opening size, ceiling height, swing clearance, and landing space before you buy a ladder.
- Many U.S. attic ladders are built around standard rough openings such as 22.5 x 54 inches or 25 x 54 inches.
- The frame has to be square within about 1/8 inch or the door may bind and seal poorly.
- A typical professional install costs about $400 to $1,000, with custom work running higher.
- After the ladder goes in, air sealing and insulation matter as much as the carpentry.
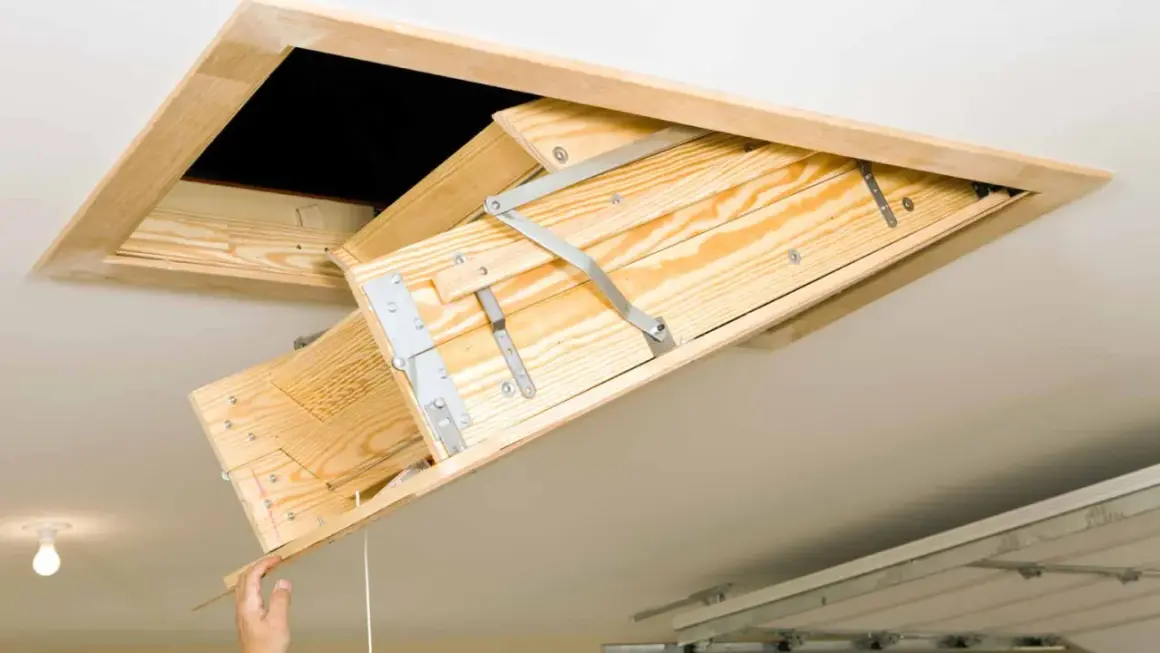
What the project really involves
At a basic level, you are creating a framed ceiling opening, setting the ladder assembly into that opening, and then finishing the hatch so it opens smoothly and closes tightly. In U.S. residential work, the code minimum attic access opening is commonly 22 by 30 inches when the attic qualifies, but the ladder itself is often sold for larger rough openings such as 22.5 by 54, 25 by 54, 25.5 by 64, or 30 by 54 inches. That gap is the first thing people miss: the access opening may meet code, yet still not match a specific ladder model.
Werner's sizing guide breaks the decision into four checks: opening size, floor-to-ceiling height, swing clearance, and landing space. I use the same mental checklist because it keeps the project from turning into a trim-and-shim rescue later. If the ladder will be used for storage, I also think about whether boxes, bins, and insulation will steal the landing zone below the hatch.
The big takeaway is that this is not just a ladder purchase. It is a small framing project that has to fit the room below, the attic above, and the way you actually plan to use the space. Once that is clear, the sizing step becomes much less guesswork and much more mechanical.
Once those basics are clear, the next step is measuring the space the way the ladder actually occupies it, not the way it looks from the floor.
How I size the opening before I buy anything
I start with a tape measure and I do not trust estimates. The rough opening width and length tell me what product family I can use, but the ceiling height and attic clearances tell me whether the ladder will open fully and land where it should. A ladder that is nominally the right size can still fail if the attic truss, roof slope, or stored items block its swing.
| Measurement | What it tells you | Practical note |
|---|---|---|
| Opening size | The rough opening the ladder frame must fit | Common sizes include 22.5 x 54, 25 x 54, 25.5 x 64, and 30 x 54 inches |
| Ceiling height | How long the ladder legs must be | Many residential models cover roughly 7'8" to 10'3" |
| Swing clearance | The attic space needed for the sections to unfold | Some compact units need about 28 inches of height and 44 inches of depth above and behind the opening |
| Landing space | The clear floor area below the hatch | A common 22.5 x 54 aluminum model asks for about 67 inches of landing space and 74 inches of swing clearance |
| Load rating | How much weight the ladder is designed to carry | 375-pound working loads are common on heavier-duty residential units |
I also think about the ladder material before I commit. Wood is easy to trim and often keeps the budget in check, but it is heavier. Aluminum is lighter, rust-resistant, and usually easier to live with on a daily basis. Insulated door models cost more, but they make more sense when the attic is over conditioned space and comfort matters.
If the measurements do not line up cleanly, I would rather change the product choice than force the opening. That is usually the first sign that the framing plan needs a closer look.
How the framing has to be built for the load
The ceiling framing is what keeps the ladder safe, square, and quiet. If the opening lands between joists, the new headers and side framing have to carry the load that the removed members used to carry. If the opening crosses a joist, I stop treating it like a simple cutout and start treating it like structural carpentry.
- Use temporary support boards before removing any joist that falls inside the opening.
- Install double headers at the ends of the new opening so the load has a clean path around the cutout.
- Check both diagonals of the frame and keep them within about 1/8 inch of each other.
- Use shims for fine adjustment, not to cover up a badly laid out opening.
- Pause for engineering or local approval if the layout involves trusses, unusual spans, or anything that looks structurally crowded.
The reason I am strict about squareness is simple: a ladder frame that is even slightly out of square often leads to a door that will not close cleanly, a latch that feels forced, or gaps that show up later as drafts. Good framing saves time in the install phase and saves annoyance every time the hatch opens.
Once the structure is right, the actual installation becomes much more predictable instead of being an extended rescue job.
The install sequence that avoids rework
I prefer a dry-fit first, then a permanent fastening pass, then a length adjustment, and only after that do I move to trim and finish work. That order matters because it gives you one chance to correct alignment before the ladder becomes hard to move.
- Place the ladder assembly on temporary support boards so it sits securely in the opening without bearing full weight.
- Tack the hinge side against the header and center the frame from side to side.
- Open the hatch carefully, then use shims on the opposite side until the frame is square and the diagonals match.
- Drive the permanent fasteners through the pre-drilled points into the framing members. For this kind of work, I would not substitute drywall screws or deck screws for the hardware the manufacturer intended.
- Remove the temporary supports, unfold the ladder, and adjust the length so the feet rest flat on the floor.
- Test the full cycle a few times: open, close, unfold, refold, and check for rubbing at the trim or hinge side.
The most common mistake I see is rushing the squaring step. If the frame is not true, the door may look fine when it is open and still bind when it closes. The second mistake is over-trimming the ladder legs and then trying to make up the difference with a shim or a crooked floor plate. That usually feels acceptable for a day and annoying forever.
For wood models, there is often a little more tolerance in final trimming. For aluminum units, I am much more careful because the adjustment window is narrower and the replacement parts matter more. Either way, I want the ladder to feel planted, not improvised.
How I keep the hatch from leaking air and heat
The Department of Energy treats attic access like an opening to the outdoors, and that is the right mental model. If the hatch is leaky, the room below pays for it in winter drafts, summer heat gain, and dust migration. The ladder can be perfectly installed and still perform badly if the access panel is left under-insulated or unsealed.
| What to seal or insulate | Why it matters | What usually works |
|---|---|---|
| Gap between frame and ceiling | Air leaks around the rough opening | Foam tape, weatherstripping, and tight trim |
| Hatch or door panel | Heat loss and heat gain through the access lid | Insulated cover or a built-up cover box with rigid foam |
| Edges of the dam or cover box | Keeps loose insulation from spilling into the room | Rigid blocking or a permanent insulated curb |
| Latch and closure point | Ensures the panel compresses the seal | Adjust or add latches so the door closes tight |
I like to build the thermal barrier taller than the final insulation depth so the material in the attic does not creep into the opening over time. That detail is boring, but it prevents a common mess: insulation falling back into the living space when someone accesses storage above.
Do not ignore fire safety requirements if your local code treats the hatch as part of a rated assembly or requires specific barrier materials. The best-performing setup is the one that seals well, opens easily, and still satisfies the rules in your area.
Once the air seal is handled, the project becomes much more about budget and scope than about hidden performance problems.
What the project costs and when I would hire a pro
For most homeowners, the labor is the part that shifts the budget the most. A straightforward professional install typically lands around $400 to $1,000, with an average near $500, while simple projects can come in closer to $300 and custom or finish-heavy jobs can climb well above $2,000. If you are modifying framing, repairing drywall, or working around wiring and ducts, the price can move quickly.
| Project type | Typical range | Why it changes |
|---|---|---|
| Basic replacement in an existing opening | About $300 to $700 | Less framing work and fewer finish repairs |
| Standard professional install | About $400 to $1,000 | Includes normal labor for fitting and fastening the unit |
| Custom opening or major framing changes | About $1,000 to $2,300 or more | Joist work, trim repair, permits, and extra labor |
For me, the decision to hire out comes down to three things. First, whether the opening requires joist removal or structural reframing. Second, whether electrical, duct, or plumbing lines are in the way. Third, whether the attic access needs to look finished enough that the trim, seal, and door operation all have to be clean on the first pass.
- If the attic opening already exists and the framing is sound, a skilled DIYer can often handle the job.
- If you need to cut a new opening, I would strongly consider a carpenter or general contractor.
- If the ladder will be used constantly for storage, a pro install usually pays for itself in better fit and fewer adjustments later.
That tradeoff is easy to miss when the ladder itself is the only thing you are comparing, but the framing and finish work are what determine whether the project feels solid for years.
The checks I would make before calling it finished
The last pass is where a good install stops being merely functional and starts feeling built in. I want the hatch to close without rubbing, the frame to stay square, and the ladder feet to sit flat on the floor without rocking or forcing the side rails.
- The door closes tightly and compresses the weatherstripping evenly.
- The diagonals still match within about 1/8 inch after the permanent fasteners are in.
- The ladder reaches the floor without the feet hanging in the air or digging into the surface.
- The swing path stays clear of stored bins, lighting, and doorway traffic below.
- No insulation spills back through the opening when the hatch is opened and closed.
If those checks pass, the project is usually done the right way: the ladder is stable, the opening is sealed, and the attic stays usable as storage without becoming a constant source of drafts or frustration. That is the standard I would want in my own house, and it is the point where the job stops feeling like a repair and starts feeling like a real improvement.