Learning how to caulk cleanly is one of those small home skills that changes how a room looks and how long a repair lasts. I treat it as a finish step, not a gap-filling shortcut: the right bead tightens trim, keeps dust out of closets and built-ins, and gives painted carpentry a crisp edge. This guide walks through product choice, prep, application, cleanup, and the mistakes that turn a simple job into rework.
The essentials before you start sealing gaps
- Pick the sealant for the room, not just the color. Most interior trim jobs want a paintable acrylic-latex or hybrid product.
- Prepare the joint first. Dust, loose paint, and old residue matter more than most beginners think.
- Do not use caulk as structural filler. Deep or wide gaps often need backer rod or a carpentry fix first.
- Keep the bead small and steady. A controlled line usually looks better than a thick one.
- Tool before skinning. Once the surface starts to set, the finish gets harder to save.
- Let it cure on the product’s schedule. Dry to the touch is not the same as fully cured.
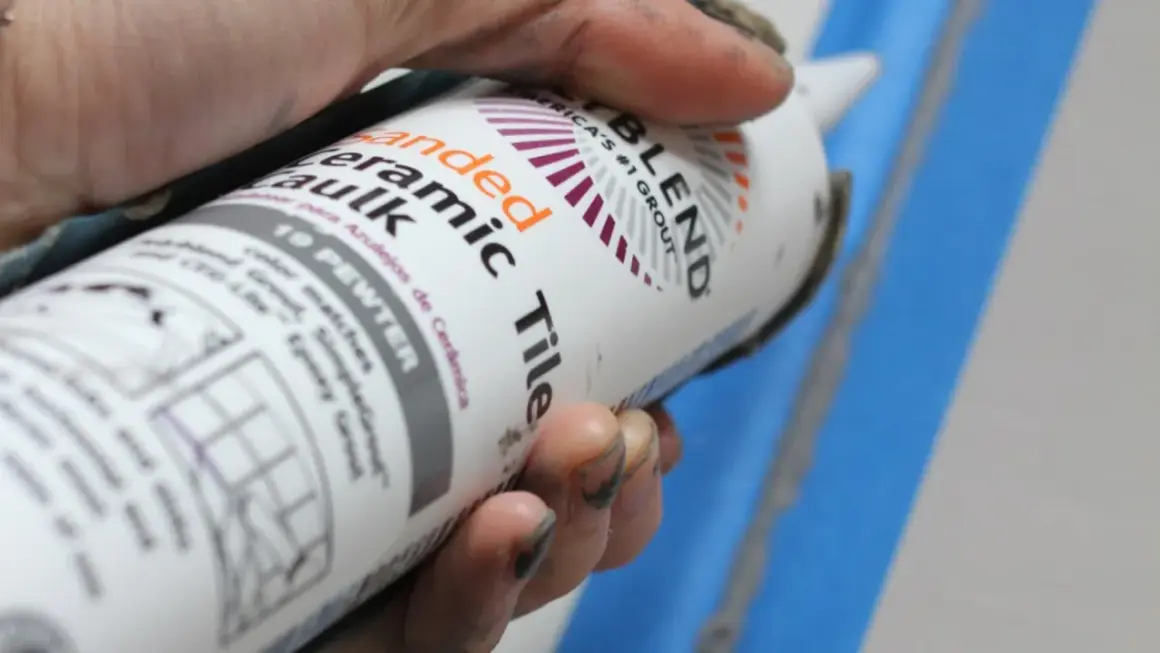
Choose the right caulk for the space
For carpentry and storage work, I start with the job the joint has to do. If the seam is cosmetic and will be painted, a paintable acrylic-latex sealant is usually the cleanest choice. If the joint sees more movement or occasional moisture, a siliconized acrylic or hybrid sealant often performs better. I save 100% silicone for places where water resistance matters more than paintability.
| Type | Best use | What it does well | Watch out for |
|---|---|---|---|
| Acrylic-latex | Baseboards, crown molding, cabinet seams, closet built-ins | Easy cleanup, paintable, forgiving for interior finishing | Less flexible than other options and not ideal for wet zones |
| Siliconized acrylic | Most interior trim with a little movement | Better flexibility while still staying fairly easy to work with | Read the label carefully if you plan to paint |
| 100% silicone | Bathrooms, sinks, splash zones, some exterior joints | Strong moisture resistance and long-term flexibility | Usually not paintable and can be harder to tool neatly |
| Hybrid or polymer sealant | Exterior trim, garage seams, higher-movement joints | Strong adhesion and better durability in tougher conditions | Often costs more and may cure slower |
The product matters because a cabinet seam, a closet corner, and a wet bath joint do not age the same way. Once the sealant matches the environment, the next bottleneck is almost always prep.
Prep the joint so the seal actually lasts
Good caulk fails fast if the surface is dirty or unstable. I clean every joint like I expect the sealant to bond to it for years, not weeks. That means removing loose paint, scraping old caulk, vacuuming sawdust, and wiping away anything oily or waxy that can interfere with adhesion.
For interior carpentry, I also check the joint itself. If the gap is shallow and even, caulk can finish it neatly. If it is deep, uneven, or wider than about half an inch, I stop and rethink the repair. Many sealant sheets cap joint depth at roughly 1/2 inch, and once you go past that, foam backer rod is usually a better move than trying to bridge empty space with sealant alone.
- Remove old, cracked, or loose material completely.
- Vacuum dust from the seam, especially in closets and shelves.
- Let damp areas dry fully before sealing.
- Use backer rod when the joint is too deep for a clean bead.
- Mask painted trim if the profile is sharp and you want a cleaner line.
I like this stage because it tells me whether the job is really a finishing task or a repair task disguised as one. Once the joint is ready, the bead itself becomes much easier to control.
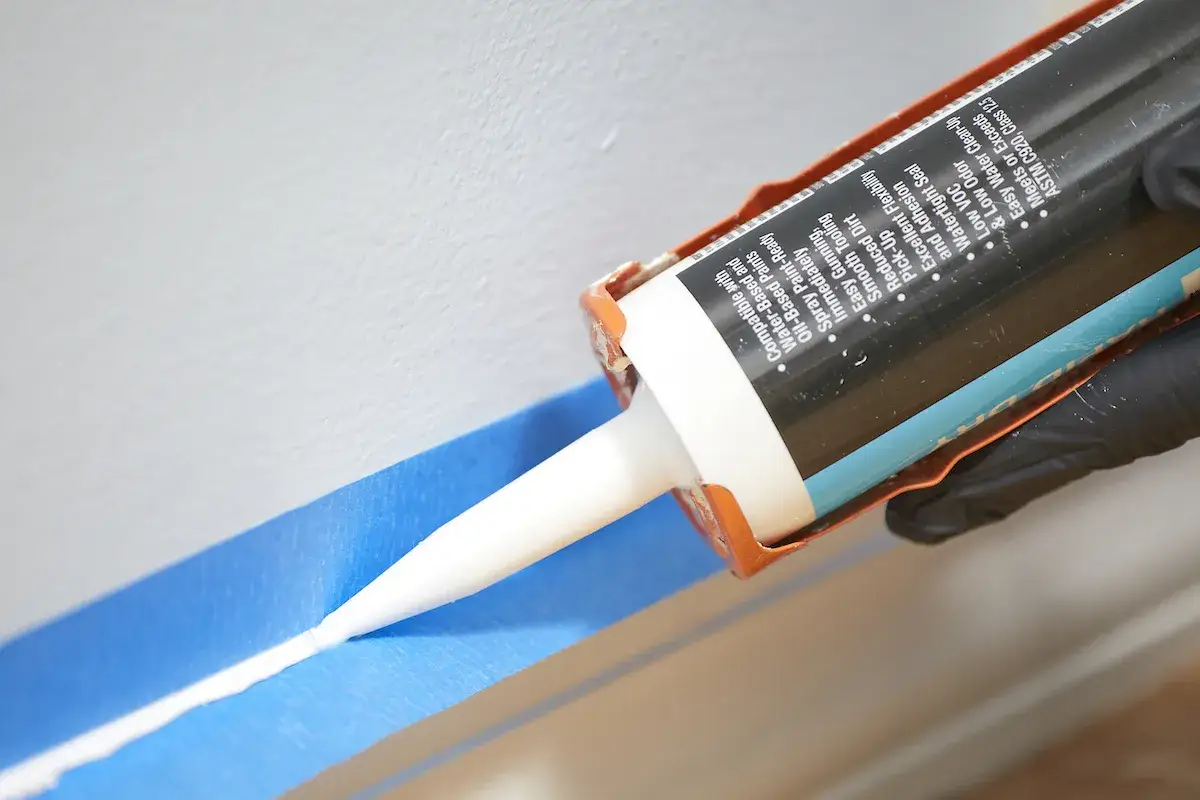
Lay the bead with control, not speed
The cleanest bead usually comes from a modest nozzle cut and a steady hand. I cut the tip smaller than most beginners expect, usually at a 45-degree angle, then open it only as much as the joint needs. A large opening tends to flood the seam, and flooded seams are harder to smooth without leaving ripples.
- Load the tube into the gun and puncture the inner seal.
- Cut the nozzle at a 45-degree angle.
- Test the flow on scrap or cardboard first.
- Hold the gun so the tip stays in contact with both edges of the joint when possible.
- Move in one continuous pass and keep pressure even on the trigger.
- Stop before the bead gets thin or stringy, then restart from the wet edge.
For trim and cabinet work, I usually pull the gun toward me and let the sealant land slightly proud of the surface. That gives me enough material to tool the line without digging through it. A thin bead can look neat for a second, then shrink and expose the gap again. A controlled bead is what actually lasts.
Tool it, tape it, and leave it alone long enough to cure
Tooling is where the line becomes intentional. I prefer a caulk tool for painted carpentry because it shapes the bead without flattening it completely. The goal is a slight concave profile that bridges the gap, grips both sides, and still looks like part of the trim. If I use a damp finger, I keep it light and consistent; too much water just makes a mess and can smear the finish.
Painters tape can help on crisp profiles, but I do not use it as a substitute for control. Tape is there to define the edge, not to rescue a sloppy bead. Remove it while the sealant is still soft enough to release cleanly, then check the line before walking away.
- Tool the joint before the surface skins over.
- Wipe excess material immediately, not after it hardens.
- Keep solvents and cleaners matched to the product label.
- Expect paintable acrylics to be ready sooner than silicone, but still follow the tube.
- Leave wet joints alone until the cure time has passed, especially in high-touch areas.
That curing window matters more than people expect. Some sealants are paint-ready within minutes or a few hours, while many silicone products want about 24 hours or more before water exposure. I always trust the label over habit, because the wrong timing can undo an otherwise clean job.
Where caulk makes the biggest difference in carpentry and storage work
In carpentry, caulk does its best work where two finished surfaces meet and the gap is cosmetic rather than structural. That is why it earns so much value on baseboards, casing, crown molding, cabinet tops, built-ins, shelf returns, and closet trim. It closes the dark line that makes new work look incomplete, and it helps painted assemblies read as one piece instead of a collection of parts.
Storage spaces benefit for a slightly different reason. In closets, pantries, mudrooms, and garage cabinets, a bead of sealant can cut down on dust lines and stop debris from collecting in tiny gaps. It will not fix poor joinery, but it can make a utility space look much more finished with very little material.
| Area | What caulk solves | What it should not be asked to solve |
|---|---|---|
| Baseboards and casing | Small trim-to-wall gaps and paint lines | Warped trim, loose fasteners, or badly cut miters |
| Cabinets and built-ins | Uneven seams where finished surfaces meet drywall | Large gaps that need scribing or filler strips |
| Closets and pantry shelving | Dust control and a cleaner visual transition | Sagging shelves or unsupported spans |
| Garage storage and utility trim | Minor gaps around trim, conduit, and wall transitions | Water intrusion or structural movement |
That distinction keeps expectations realistic. Caulk is a finish material first and a problem solver second, which leads directly to the habits that separate a tidy repair from a sloppy one.
The small checks I never skip on trim and storage projects
I have learned that a professional-looking bead usually comes down to restraint. I do not overload the joint, I do not chase every ridge with extra passes, and I do not try to hide a bad carpentry joint with sealant if the underlying piece needs attention. If the miter is open because the cut is wrong, I fix the cut. If the seam is deep, I add backer rod or rethink the filler approach. Caulk should refine the work, not impersonate it.
- Match the sealant color to the finish plan, especially on painted trim.
- Test one short section first if the surface is textured or unfamiliar.
- Keep a damp rag and a scrap knife nearby for quick cleanup.
- Do not paint or scrub the joint until it has cured enough for the product you chose.
- Store tubes in a cool, dry place so the material does not thicken before the next project.
My rule is simple: if the joint is stable, clean, and properly sized, a careful bead can make the whole room look sharper. If the joint is moving, oversized, or badly built, the right answer is usually carpentry first and sealant second.