Accurate layout is what keeps a fence line, deck footprint, or foundation from drifting out of square before the first board or footing goes in. This article explains what batter boards are, when I use them instead of simple stakes, how I set them up with string and a level, and the mistakes that usually ruin a clean layout. I’ll also cover how to store and reuse the lumber so it stays straight enough for the next job.
What matters most before you start digging
- Temporary layout frames keep your corner lines fixed after the ground starts moving.
- The 3-4-5 method and matching diagonals are still the fastest way to confirm a square layout.
- Deeper trench work needs the reference points set well outside the dig area.
- Call 811 before excavation in the U.S., even for small jobs.
- Dry, flat storage makes the lumber reusable instead of warped and frustrating.
What a temporary layout frame actually does
At its simplest, the setup is a fixed reference system for corners, walls, or post lines. I use it when I need a layout that survives digging, grading, or form work without losing the original footprint. Once the strings are stretched and squared, I can pull a tape, check diagonals, and reset a line without guessing where the building was supposed to sit.
The real value is stability. A few stakes hammered right at the edge of the work area are fine for marking a small project, but they are easy to bump, bury, or destroy during excavation. A board-and-string layout gives me a reference that sits outside the mess, which is why it is so useful for foundations, footings, fence runs, and deck outlines.
That stability matters even more when elevation is part of the job, because a footprint that is square but out of level still creates problems later. With a good layout frame, I can separate those two checks instead of trying to solve both at once.
Where I use this method and where I do not
I reach for this approach on jobs where the layout has to stay true while the site changes around it. It shines when the footprint is large enough that a small drift becomes expensive, or when the excavation will happen before the final forms go in. For tiny, temporary marks, it is more setup than you need.
| Project type | Why I use a layout frame | When I might skip it |
|---|---|---|
| Foundations and footings | It preserves corners after the soil is removed. | Almost never, unless the job is very small and tightly controlled. |
| Decks and fences | It keeps long runs adjustable while I confirm square and spacing. | If I am only checking a single short post location. |
| Patios and slabs | It gives me a reliable perimeter for forms and edges. | For a narrow repair patch where simple stakes are enough. |
| Cabinet or finish carpentry | Rarely needed unless the work ties back to a larger site layout. | Usually I switch to a tape, chalk line, or laser instead. |
On deeper trench work, QUIKRETE suggests keeping the boards about 4 to 5 feet outside the dig area so excavation does not disturb them. That spacing is not a random convenience; it is what keeps the reference line alive while the site turns into a working trench.
That leads naturally to the part most people rush: setting the lines so they stay accurate instead of merely looking tidy.
How I set the lines so they stay honest
My setup is simple, but I am strict about the sequence. If I get the base wrong, every measurement after that is just a faster way to repeat the same mistake. Lowe's recommends the 3-4-5 method for checking square, and I still use it because it is quick, visual, and hard to argue with.
- Mark the rough footprint first and verify the site is clear of buried utilities.
- Drive the support stakes outside the work zone, far enough away that digging will not knock them loose.
- Fasten a level crosspiece to the stakes so the board top gives you a consistent reference plane.
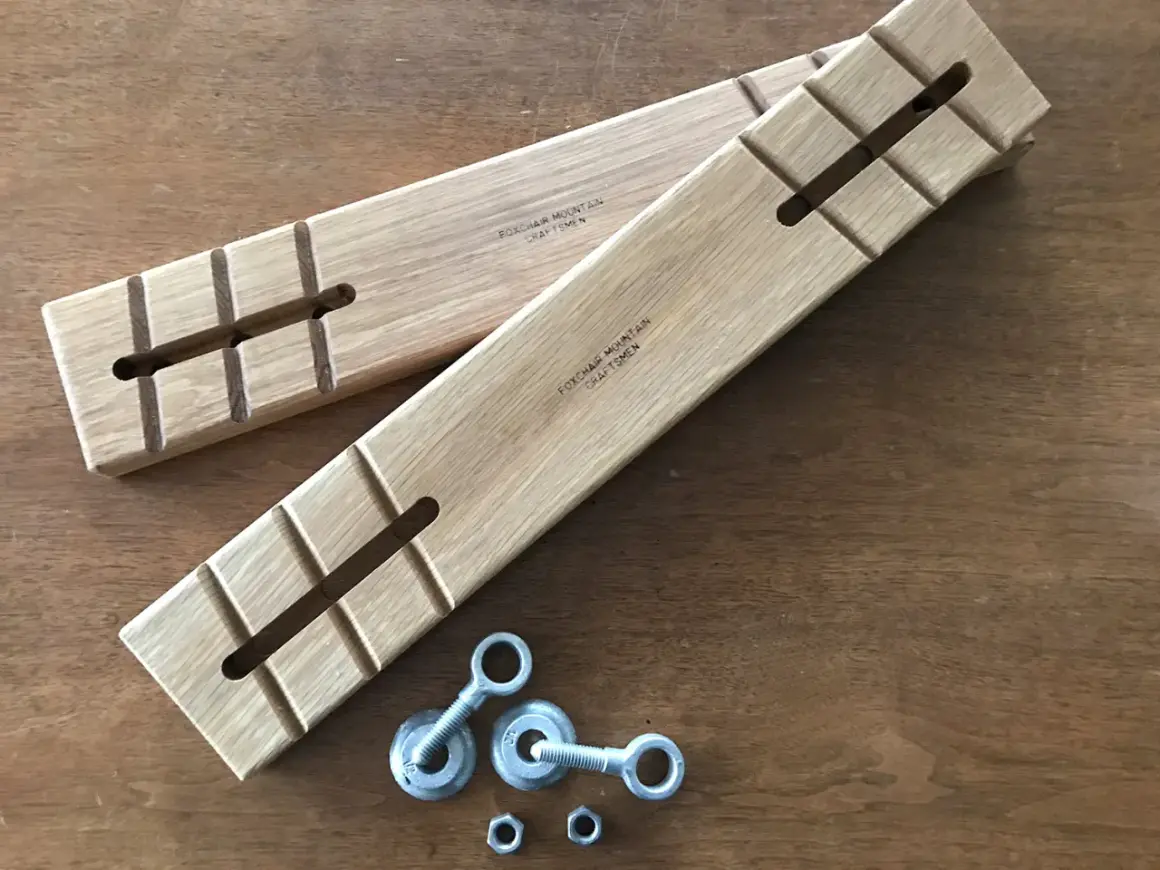
- Stretch mason line between opposing boards and secure it with nails, notches, or screws that can be reset.
- Check the rectangle by measuring diagonals from corner to corner; if the numbers match, the layout is square.
- Use the 3-4-5 method on the corners that need fine adjustment, then confirm the whole footprint again.
- If the corner stakes will disappear during excavation, transfer the corner location with a plumb bob before the dig starts.
I also mark the board faces so I can re-string the same lines later without rebuilding the entire setup. That small habit saves time, especially on projects that pause between excavation, inspection, and form work.
When the sequence is followed carefully, the system feels almost boring. That is a good sign. The layout should be stable enough that the next step is about work, not rework.
The mistakes that cost time and concrete
The biggest failures are rarely dramatic. They are usually small oversights that compound once the shovel hits the ground. I see the same errors again and again, and they are all avoidable.
- Setting the boards too close to the excavation. If the dig wall or a loader bucket can hit them, they are too close.
- Using bowed or twisted lumber. Straight reference lines depend on straight boards.
- Letting the strings sag. Slack line changes the line position and makes every measurement less trustworthy.
- Checking only one diagonal. A single check can hide a skewed rectangle.
- Ignoring elevation. Square corners do not help if the reference plane is not level.
- Forgetting to recheck after site changes. A layout that was correct before excavation may need a final verification after the trench or base is in.
There is also a safety mistake that is easy to avoid: digging before the utility locate is complete. In the U.S., I never start excavation without the 811 call already done. That one step does not take long, and the downside of skipping it is obvious.
The better I control these basics, the less likely I am to lose time later with a crooked form, a fence line that wanders, or a footing that no longer matches the plan. Good layout is mostly discipline.
Keeping your layout gear straight between jobs
Because this is a practical carpentry tool, storage matters more than people expect. If the lumber warps in a damp garage or the stakes get buried under heavy material, the next project starts with junk. I keep the pieces flat, dry, and easy to reach so I can reuse them without fighting the material.
- Store the boards off the concrete floor so moisture does not wick into the wood.
- Keep the longest pieces flat, not leaned in a corner where they can bow.
- Label the corners or mark repeat-use lengths so you do not have to remeasure every time.
- Replace split stakes before they fail under string tension.
- Keep mason line, line levels, and the plumb bob in a small tote so the set stays together.
For very small carpentry jobs, I will skip the full setup and use a tape, chalk line, or laser if that is the cleaner choice. But when the footprint matters and the site is going to be disturbed, I still trust batter boards when I need a reference system that survives excavation and lets me reset the lines without starting over.