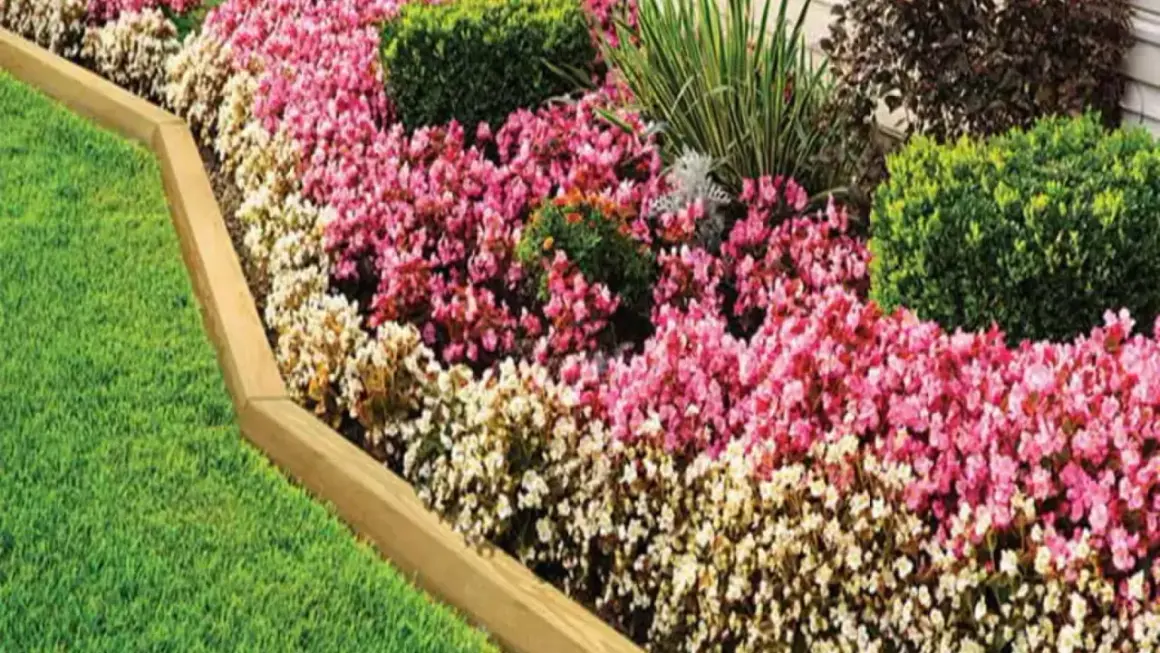
Timber borders are one of the fastest ways to make a yard look intentional, but they only work well when the base, fastening, and drainage are handled correctly. Knowing how to install landscape timbers the right way keeps the line straight, the wood stable, and the finished edge from leaning, heaving, or rotting early. I’m focusing on the parts that matter most in real projects: choosing the right layout, preparing the ground, locking the timbers in place, and avoiding the mistakes that cause trouble later.
The choices that keep a timber project straight and dry
- Use pressure-treated timbers for ground contact; untreated lumber breaks down too fast outdoors.
- Call 811 before digging anywhere in the U.S., even for a shallow trench.
- Edging, raised beds, and retaining walls are not built the same way, so match the method to the job.
- A level, compacted base matters more than stain, trim cuts, or surface finish.
- For 2026 budgeting, a standard 8-foot timber often runs about $4 to $10 before fasteners and gravel.
- Drainage is optional for a decorative border, but it is essential for a wall that holds back soil.
Choose the right timber layout for the job
I start every project by deciding what the timbers are actually supposed to do. A simple border around a flower bed has very different demands than a small retaining wall on a slope, and that decision changes the depth of the trench, the type of fasteners, and whether drainage gets built in.| Project type | Best use | What matters most | Typical difficulty |
|---|---|---|---|
| Decorative edging | Defining beds, holding mulch, shaping walkways | Straight layout and solid anchoring | Low |
| Raised bed | Planting soil above grade for flowers or vegetables | Corner strength and wood condition | Moderate |
| Low retaining wall | Holding back a small slope or leveling a yard edge | Base stability, drainage, and tie-in fasteners | Moderate to high |
| Terraced section | Breaking a steep yard into smaller planting zones | Drainage between levels and consistent setbacks | High |
If the timbers are only defining a bed, I keep the build simple and clean. If they are actually resisting soil pressure, I treat the job like a structural element, not a decorative one. That distinction saves a lot of rework, and it sets up the prep work that comes next.
Prepare the site and gather the right materials
Good timber work starts before the first board goes down. In the U.S., I always call 811 before digging, because even a shallow trench can run into utility lines. The rule is simple: mark the area, wait for the utility locates, and dig carefully around anything that gets flagged.
For most home projects, I look for pressure-treated pine landscape timbers in standard 8-foot lengths. In 2026, a typical 8-foot timber often lands around $4 to $10, while a small garden border may stay in the $50 to $300 range for materials. A medium raised bed can move into the $200 to $800 range once you add fasteners, gravel, and extra courses. That is usually still cheaper than stone or block, but the savings disappear fast if the base is sloppy.
Here is the short list I keep on hand:
- Pressure-treated timbers
- 3/8-inch or 1/2-inch rebar, or galvanized landscape spikes
- String line, stakes, and a tape measure
- Shovel, trenching spade, and hand tamper
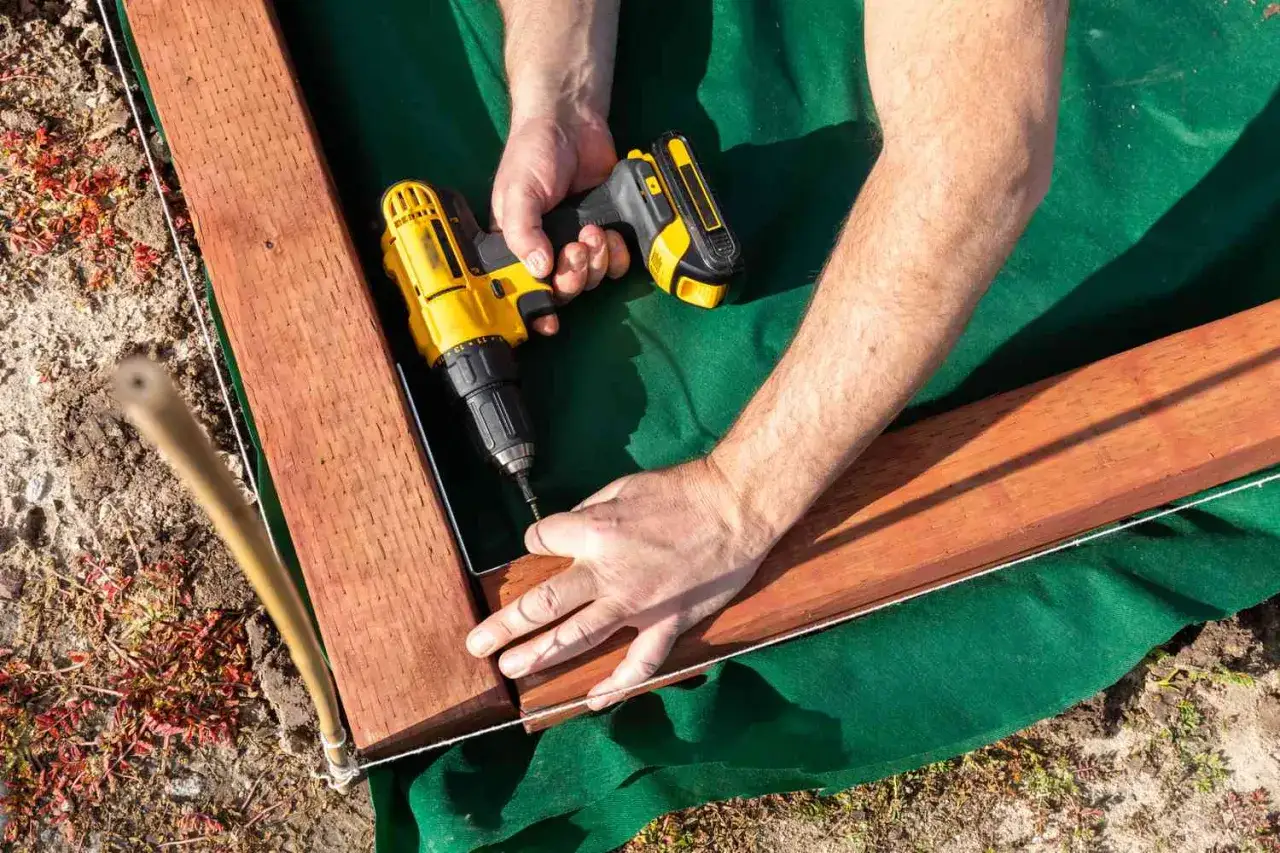
- Drill with a bit sized for the chosen fasteners
- Circular saw for trimming ends
- Gravel for drainage and leveling where needed
- Safety glasses and work gloves
I also seal freshly cut timber ends if I trim them on site. End grain soaks up moisture faster than the factory-cut faces, and that is one of those small details that affects how long the wood lasts. Once the material is ready, the actual installation goes much faster.
Set the first course so the border has something to hold onto
The first course does most of the work. If that row is level and anchored well, the rest of the project usually behaves. If it is out of level or sitting on loose soil, every course above it inherits the problem.
- Mark the final line with a hose, string, or paint line so the border follows the shape you actually want.
- Remove sod, roots, and loose topsoil from the trench area.
- Dig a shallow trench and compact the bottom. For a simple edging course, I want the timber to sit partly below grade instead of perching on top of the soil.
- Set the first timber and check it with a level in several spots, not just at one end.
- Drill pilot holes near the ends and at regular intervals, then drive spikes or rebar into the ground to lock the timber in place.
- At corners and joints, add extra fasteners because those points take the most stress.
- Backfill both sides, then tamp the soil so the timber cannot wiggle loose after the first rain.
For decorative runs, I prefer a clean line with tight joints and hidden fasteners. For small beds, 3/8-inch holes with rebar or landscape spikes work well when the ground is firm. If the soil is soft, I widen the trench slightly and compact more than I think I need to. That small bit of patience usually prevents a season of movement later.
Once the first row is locked down, the next question is whether you are building height or just creating an edge. That is where retaining-wall details start to matter.
Build a low retaining wall with drainage, not just stacked wood
A timber retaining wall is a different animal from edging. The wall is fighting soil pressure, and water is what usually wins if you ignore drainage. I do not treat drainage as an accessory on these jobs; I treat it as part of the structure.
For a low wall, I start with a level trench on firm, compacted ground. The first course goes in below the finished grade so the wall has a stable footing. Then I fasten through predrilled holes with long galvanized spikes or rebar, usually near the ends and at regular spacing across the run. On longer walls, I also stagger the joints so the seams do not line up from one course to the next. That overlap helps the wall resist shifting.
Give water a clear exit
Behind the first course, I like to leave room for a drainage layer of clean gravel and a 4-inch perforated drain pipe when the wall is holding back meaningful soil. The pipe should slope to a safe outlet so water does not collect behind the timber. If water has nowhere to go, pressure builds up and the wall starts to bow or rot from the wet side first.
Read Also: Build a Pergola on a Deck - Do It Right, Make It Last
Use setback and tie-ins for extra stability
A slight backward batter, or setback, helps the wall lean into the slope instead of standing perfectly vertical. On larger jobs, buried tie-backs, often called deadmen, can be added to lock the wall into the hillside. A deadman is simply a buried timber that runs back into the slope and ties the visible wall to firmer ground. For anything tall, heavily loaded, or close to a structure, I stop thinking in DIY terms and start thinking in structural terms.
If the wall is more than about 3 feet high, supports a driveway, or sits where failure would be expensive, I would rather see proper engineering or a professional build than a hopeful weekend stack of wood. That is the point where timber can still be a good material, but the margin for error gets small.
Avoid the mistakes that shorten the life of timber work
Most timber failures I see are boring, predictable, and preventable. They usually come down to one of a few mistakes that are easy to avoid if you slow down early.
- Skipping 811 and digging blind.
- Using untreated lumber instead of ground-contact pressure-treated wood.
- Setting the first course on loose soil instead of compacted ground.
- Fastening only the ends and leaving long middle sections free to move.
- Lining up joints from one course to the next instead of staggering them.
- Backfilling a retaining wall with heavy, wet clay that holds water.
- Leaving cut ends unprotected after trimming timbers on site.
- Building too tall a wall without drainage or a tie-back system.
There is also a common aesthetic mistake: trying to hide movement with more mulch, more soil, or more paint. That does not solve the problem. If the base is weak or the wall is holding water, the fix has to happen underneath the surface. Once those weak points are removed, the maintenance side becomes much easier.
The small upkeep habits that make timbers last longer
Timber borders and walls do not need constant attention, but they do need a quick annual check. I look for loose fasteners, soft spots in the wood, gaps opening at joints, and places where water keeps pooling after a storm. The earlier you catch those changes, the cheaper they are to correct.
A few habits make a noticeable difference:
- Re-drive any fasteners that have backed out.
- Keep mulch and soil from piling high against exposed wood longer than necessary.
- Top up gravel where drainage zones have settled.
- Touch up cut ends if they were exposed during installation.
- Replace a failing timber before the whole section starts shifting.
If the border is part of a planting bed, I also think about moisture load. Shadier, wetter spots wear timber down faster than dry, sunny ones, so I expect shorter life in those conditions and plan accordingly. For vegetable or edible beds, I prefer to keep the structure simple and the growing soil slightly separated from the outer wood edge rather than overcomplicating the build.
In practice, the best timber projects are not the ones that look the most elaborate on day one. They are the ones built on a compacted base, fastened where it counts, and designed so water can leave instead of sit. If you get those details right, the border or wall will usually stay straight long after the first season has passed.