A DIY rain barrel is one of the simplest upgrades I recommend for a home garden: it captures roof runoff, reduces splashback near the foundation, and gives you free water for beds, containers, and shrubs. The trick is not the barrel itself but the details around it, because a good setup depends on a stable base, a screened inlet, a reliable overflow path, and fittings that do not leak after the first storm. In this guide, I walk through the build, the parts worth buying, how much water you can realistically store, and the maintenance that keeps the system useful season after season.
The details that make the barrel work
- Start with a food-grade 55-gallon barrel and skip any container that held cleaners, fuel, or pesticides.
- Plan the overflow first; a full barrel needs a safe path that sends water away from the house.
- Raise the barrel on a level, rigid base, because a full 55-gallon unit weighs about 460 pounds.
- Expect a half-inch rain to fill a 50- to 55-gallon barrel, so overflow is not an edge case, it is part of the design.
- Keep the inlet screened and the lid secured to cut down on debris, mosquitoes, and safety hazards.
- Drain and disconnect before the first hard freeze if you want the barrel to last more than one season.
What a backyard barrel really needs to work well
I treat a rain barrel as an irrigation helper, not as a general water source. For landscape use, it only needs to do four things well: catch roof runoff, keep debris out, store water safely, and release overflow without flooding the foundation or walkways.
The parts sound simple, but each one matters. A screened top keeps leaves and mosquitoes out. A tight lid keeps children, pets, and debris away from standing water. An elevated base gives you usable pressure at the spigot. And a properly sized overflow prevents the barrel from becoming the weak point during the first decent storm.
That is also why the location matters. I want the barrel close enough to a downspout to capture water cleanly, but not so close to the house that a leak, spill, or overflow becomes a drainage problem. Before I drill anything, I also check local stormwater or HOA rules if I plan to route overflow into a swale or rain garden. If you already know where the barrel should sit, the next question is which container and fittings are worth your money.
Materials and barrel types I would actually use
For most homeowners, the smartest choice is still a food-grade 55-gallon plastic barrel. It is common, sturdy, and easy to fit with a spigot, overflow, and screen. Decorative barrels can look better in a visible front yard, but they cost more and often need extra sealing or custom fitting.
| Option | Best for | Pros | Trade-offs |
|---|---|---|---|
| Food-grade screw-top drum | Most DIY builds | Easier to clean, easier to install fittings inside, widely available | Usually less decorative |
| Food-grade closed-top drum | Compact setups | Common and often affordable | Harder to reach inside for fitting work and cleaning |
| Decorative whiskey-style barrel | Visible landscape areas | Looks good near patios and front beds | More expensive, sometimes trickier to seal and modify |
| Repurposed storage container | Only if safety is confirmed | Low upfront cost | I usually skip it unless I know exactly what it held and whether it can support the water load |
The tools list is short: drill, hole saw or jigsaw, spigot or hose bib, bulkhead fitting, window screen or fine mesh, silicone or plumber's putty, Teflon tape, and a solid base made from concrete blocks, pavers, or a framed stand designed to handle the weight. As a planning range, I usually think in terms of about $35 to $75 if you already have a usable barrel, and roughly $100 to $150 if you are buying a clean food-grade drum and a better diverter or decorative finish.
There are a few things I would not cut corners on. I would not use a barrel that once held cleaners, fuel, or pesticides, and I would not use a flimsy trash can just because it is available. Water is heavy, and the container needs real structural strength.
Once the barrel and fittings are chosen, the build itself is straightforward. That is where I would focus next.
How I build and install one step by step
Before I cut anything, I set the barrel on a flat surface and mark every opening. That sounds basic, but it prevents the most common mistake I see: a system assembled around the barrel instead of around the water path.
- Pick the downspout and test the spot. I choose one downspout, make sure the ground is level enough for a stable base, and check that the overflow can drain away from the house.
- Mark the barrel openings. The spigot hole usually sits 2 to 3 inches from the bottom edge, and the overflow hole belongs near the top, at least 2 inches below the rim.
- Cut the inlet and drill the fittings. A hole large enough for a screened opening, colander-style cover, or downspout inlet works well. I leave enough rim for the screen to fasten securely and smooth every cut so the gasket seats cleanly.
- Install the spigot and overflow fitting. I wrap threads with Teflon tape, seat the gasket on the inside where required, and tighten everything by hand first so I do not cross-thread the plastic.
- Add a screen and secure lid. The screen keeps out mosquitoes and debris. The lid matters too, because a barrel with an open top is an avoidable safety problem.
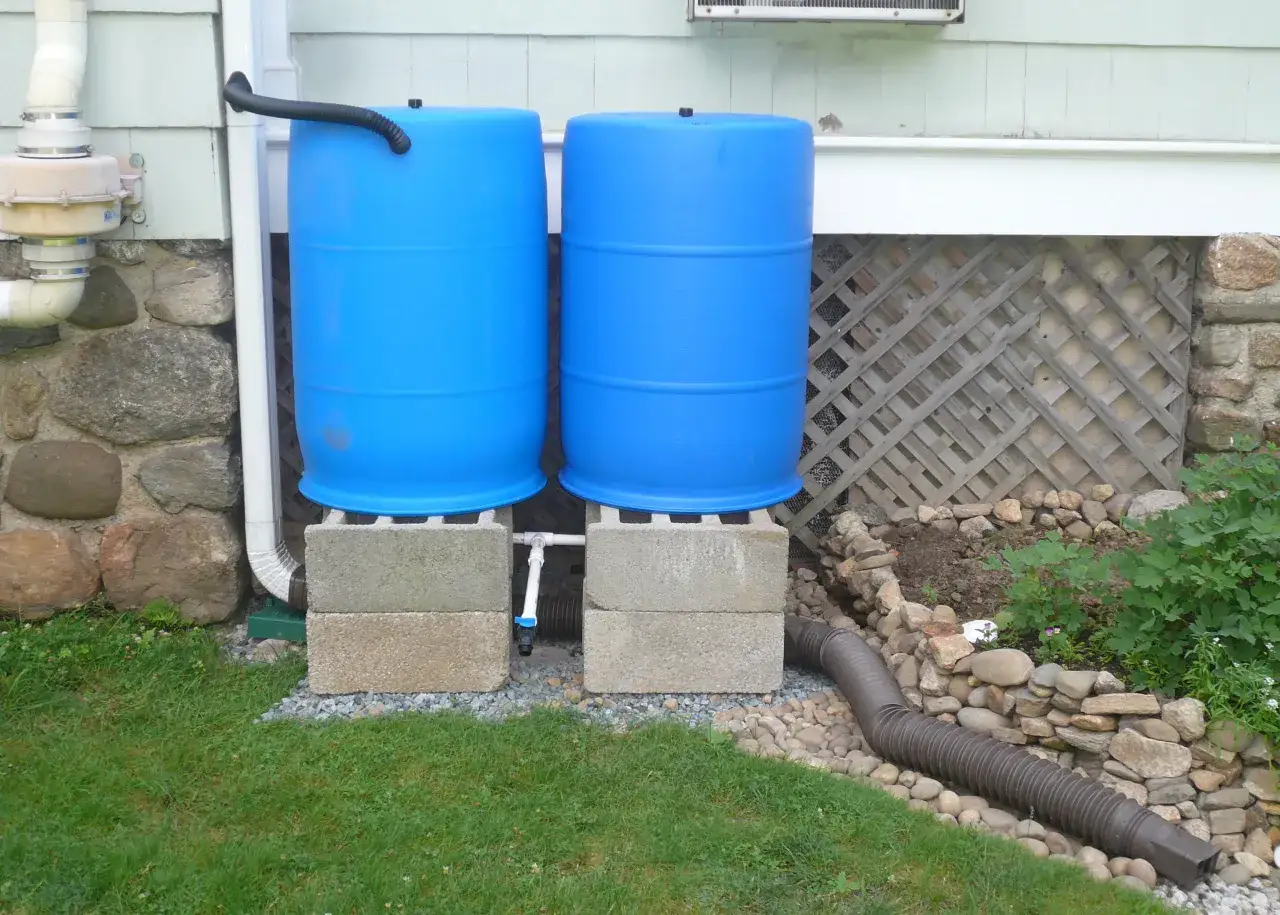
- Raise the barrel and connect the downspout. I place the barrel on level concrete blocks or another rigid stand, trim the downspout, and route the overflow through hose or pipe so it drains at least 10 feet from the foundation.
- Test it with a hose. I run water into the barrel, check every joint, and make sure overflow begins before water reaches the top seam.
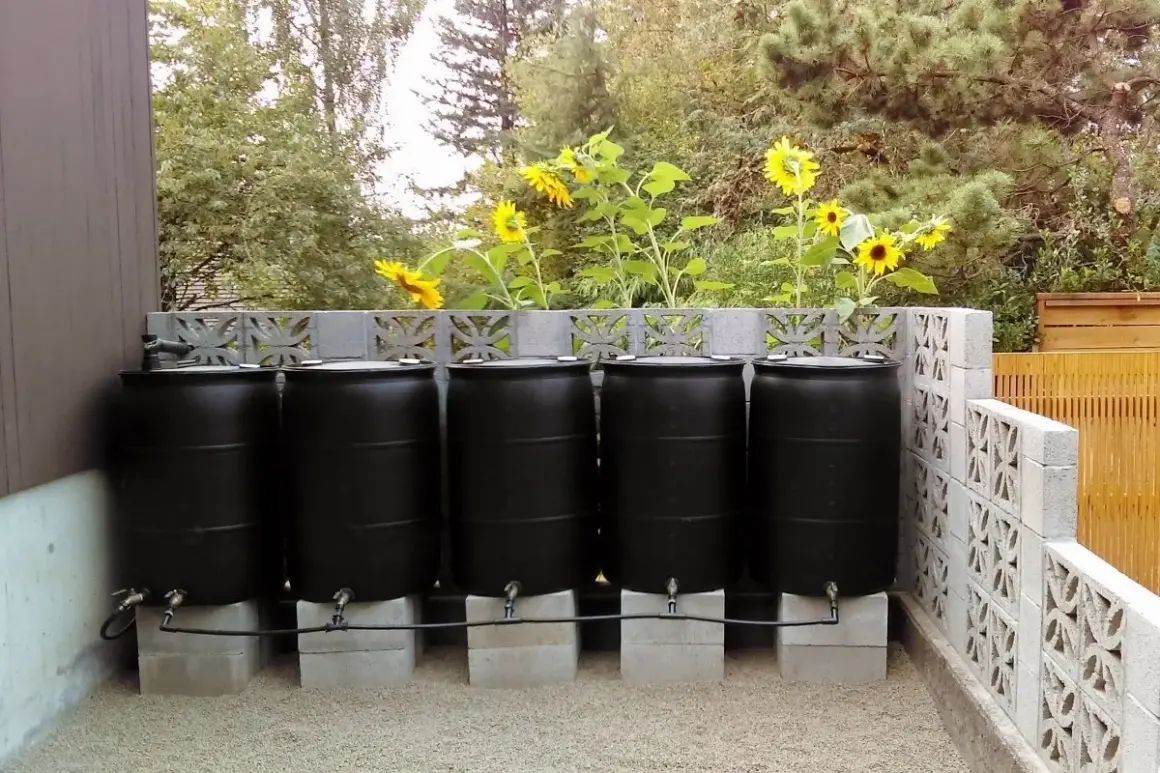
If I am building more than one barrel, I connect them with hose or pipe at a matching height so the water level equalizes. That is usually the cleanest way to expand capacity without rebuilding the whole setup from scratch.
How much water you can expect and where it should sit
A single barrel fills faster than most people think. A typical half-inch rain event can fill a 50- to 55-gallon barrel, which is one reason overflow is not optional. During heavier storms, a small system will hit capacity quickly and start pushing extra water out through the overflow path.
I also pay attention to the roof itself. I avoid harvesting from old tar-and-gravel roofs, asbestos shingle roofs, or treated cedar shake roofs. If the catchment area is dusty, tree-covered, or full of debris, I lean harder on screening and gutter cleaning.
Placement matters just as much as roof choice. I want the barrel where a hose can reach the bed or container garden I actually plan to water, but the overflow still has room to drain harmlessly. A few feet of bad positioning can turn a water-saving project into a damp foundation problem.
For landscaping, I like using the stored water on shrubs, ornamentals, container plants, and established beds. I am more cautious with edible crops, and I would never treat the barrel as drinking water unless the system was designed and approved for that purpose.
That practical caution leads straight into the mistakes that make otherwise good builds fail.
The mistakes that cause leaks, mosquitoes, and foundation trouble
- Leaving the inlet open lets mosquitoes, dirt, and small debris move straight into the barrel.
- Skipping the overflow is the fastest way to send water toward siding, crawl spaces, and walkways.
- Putting the barrel on an unstable base can crack fittings or tip the unit when it is full. A full 55-gallon barrel weighs about 460 pounds, so the stand has to be serious, not improvised.
- Using a barrel with the wrong history is a bad trade. Anything that held harsh chemicals can leave residue you do not want near the garden.
- Ignoring standing water after draining leaves enough moisture for mosquito development if the screen or lid is compromised. Even a partially empty barrel can still support breeding if water lingers for 7 to 10 days.
- Forgetting the gutters makes the whole project underperform, because the barrel can only collect what the roof and downspout deliver.
Most of these failures are preventable with a 10-minute inspection after heavy rain. I look for wet joints, loose screens, clogged gutters, and overflow that is cutting into soil instead of dispersing water cleanly.
After that, maintenance is mostly seasonal discipline rather than constant work.
How to maintain it through the seasons
My routine is simple. After a storm, I check the screen and clear any leaves or grit. At least once a year, I rinse sediment from inside the barrel and inspect the spigot, gasket, and overflow for wear. If the barrel is feeding from a roof with a lot of leaf litter, I clean the gutter side more often, because that is where the system usually gets clogged first.
Mosquito prevention is mostly about sealing and timing. A closed barrel with tight fittings and fine mesh is the best defense, and regular use helps too. The longer water sits, the more attractive it becomes to insects, so I prefer a setup that turns over quickly rather than one that stores water for weeks on end.
Before the first hard freeze, I drain the barrel, leave the faucet open, and disconnect the downspout. If I have indoor storage room, I move the barrel inside. If not, I invert it or cover the inlet securely so freeze-thaw cycles do not split the fittings. That one habit does more to extend the life of the system than any fancy accessory.
If the barrel still works smoothly after winter, you are in good shape. If not, the next section is where I usually improve the system rather than replacing it.
What I would add after the first storm
The first storm tells you a lot. If the barrel fills too quickly, I add capacity with a second barrel or a linked pair. If the overflow is splashing soil, I route it into a mulch basin, rain garden, or another area that can soak it up instead of eroding. If the inlet is catching too much debris, I add a better screen or a first-flush diverter so the dirtiest roof runoff does not enter the storage tank immediately.
- Second barrel or linked pair when the first one empties too fast.
- First-flush diverter when tree litter, dust, or roof grit is a recurring issue.
- Drip irrigation connection when you want steadier watering pressure for beds and containers.
- Rain gauge or simple marker when you want to know how quickly the system actually refills.
If I were starting from zero, I would keep the first version simple, prove that the placement and overflow work, and only then add extras. That approach costs less, leaks less, and gives you a system that fits the yard instead of fighting it.