Learning how to use a stud finder is less about chasing a beep and more about reading the wall correctly. The goal is simple: locate the stud, confirm the center, and trust the result before you drill, hang a shelf, or fasten a cabinet. In practice, that means choosing the right tool, calibrating it properly, and knowing when the wall type is working against you.
Key things to know before you start
- Most U.S. stud layouts are 16 inches on center, but 24-inch spacing is also common enough that you should verify.
- Electronic finders need a flat, slow pass and a fresh calibration on the wall before they are reliable.
- One reading is not enough; I always confirm the stud at more than one height.
- Magnetic tools find fasteners, not wood itself, which makes them useful but less direct.
- Heavy shelves, cabinets, and TV mounts should land on a confirmed stud line, not a guess.
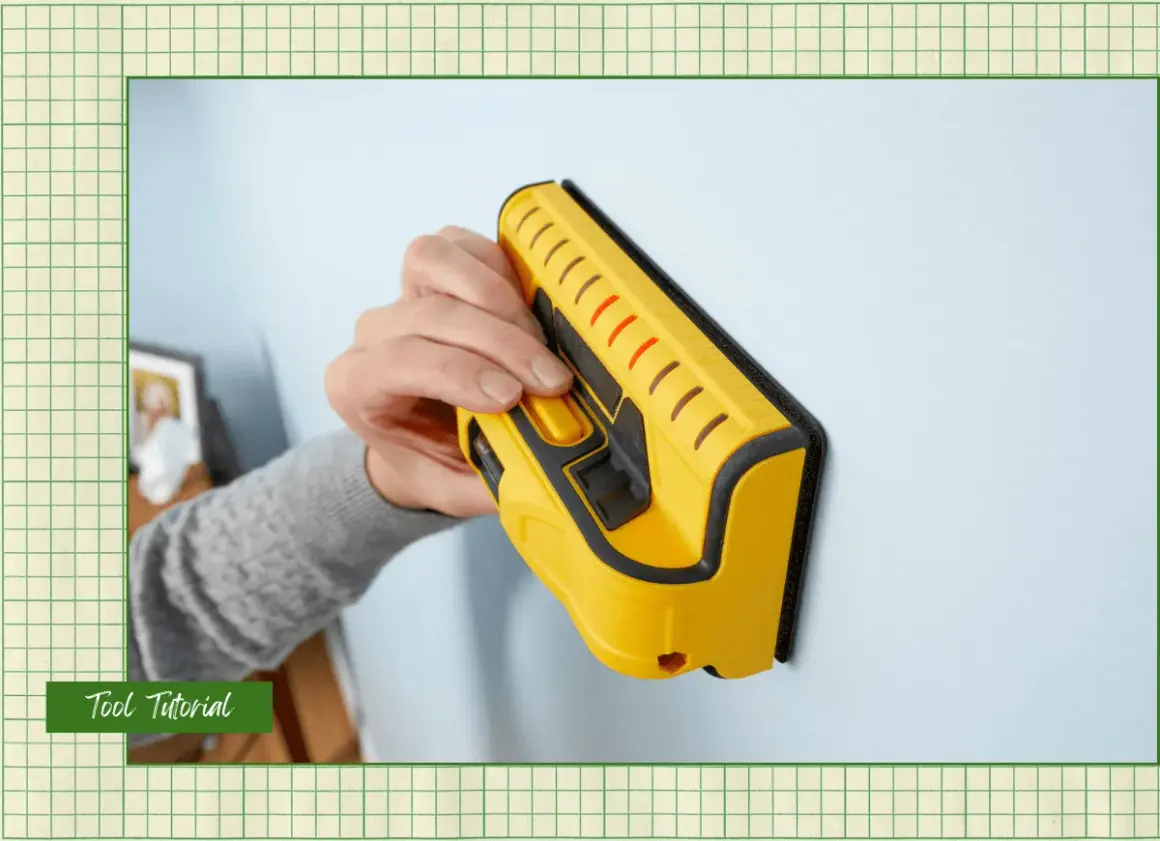
Pick the finder that matches the wall and the job
Not every stud finder behaves the same, and that matters more than most people expect. On standard painted drywall, a basic electronic model is usually enough. On older plaster, heavy texture, or walls with metal elements, the tool can be less predictable, so the mode you choose affects the result more than brand marketing does.
| Type | Best use | What to expect |
|---|---|---|
| Magnetic finder | Quick checks, backup locating, and simple drywall jobs | It looks for nails or screws in the stud, so it is cheap and quiet but slower to interpret |
| Edge-finding electronic finder | Most everyday wall-mounting tasks | It usually marks the edges of the stud, which means you still need to calculate the center |
| Center-finding or whole-stud finder | Beginners, heavier installs, and faster marking | It gives a clearer center signal, but it still needs a steady hand and a clean wall surface |
I usually tell people to start with the simplest tool that fits the wall. A magnetic model can be enough for a picture frame, but for shelving or cabinet work I prefer an electronic finder that gives me edges or a center signal. Once you know which style you are holding, the next step is getting the wall and the tool into a state where the reading is trustworthy.
Set the wall and the tool up for a clean reading
Most bad readings start before the first pass. I calibrate on a blank spot of the wall, keep the sensor flat, and move the tool slowly enough that it can actually register density changes. If the finder asks for a reset or starts to flutter, I stop and start over instead of forcing a guess.
- Use fresh batteries and confirm the display or indicator is responsive.
- Clear the scan area of framed art, hooks, and anything that can block a flat pass.
- Start away from corners, seams, and obvious repairs, which can distort the signal.
- Hold the tool level and flush, not tilted or pressed so hard that the sensor rides unevenly.
- Assume 16-inch spacing first, but keep 24-inch spacing in mind if the layout does not line up.

Scan the wall and mark the center
For an electronic finder, I make one slow horizontal pass, then repeat it at the same height before marking anything. That sounds fussy, but it saves me from the most common mistake: marking the first blip and calling it a stud.
- Place the tool flat on the wall and let it calibrate.
- Slide it horizontally at a steady pace until the edge or center indicator appears.
- Keep moving until the signal changes again, then mark both points with painter's tape or a pencil.
- Find the midpoint between the two edges if you are using an edge-finding model.
- Repeat the scan a few inches higher and lower to make sure the line stays vertical.
If the tool gives a center reading directly, I still mark the area above and below it. A true stud should run straight up and down; a stray reading usually does not repeat cleanly. That simple habit is what separates a decent guess from a reliable fastening point.
Confirm the stud before you drill
Confirmation is where I see most DIY projects improve. Once I have a likely stud line, I verify it with spacing, repetition, and a tiny test hole if the final hardware will hide it. If the result makes sense at one height but disappears a few inches away, I treat it as a false positive.
| Check | What it tells you | Why it helps |
|---|---|---|
| Measure 16 inches from a confirmed stud | Whether the layout matches common framing | It quickly tests the most likely next stud location |
| Rescan at two or three heights | Whether the signal stays vertical | A real stud should appear in a straight line, not just at one point |
| Use a small pilot hole | What is actually behind the drywall | A tiny 1/8-inch test hole is easier to hide than a misplaced bracket hole |
| Check the adjacent readout from the opposite direction | Whether the signal is repeatable | It helps rule out a random density change or a hidden patch |
If the wall has an outlet or switch nearby, I am extra careful, because the box is often attached to a stud and can distort the reading around it. That does not make the location unusable, but it does mean I want more than one confirmation before I drill. When the wall does not behave, the problem is often the wall itself, not the tool.
Know when the wall is fighting back
Some surfaces confuse even good finders. The wall is not always wrong, but the reading can be less clean than the manual suggests. I look at the wall type first, because a method that works on fresh drywall can get messy on plaster, tile, or walls packed with metal.
| Wall situation | What happens | Better approach |
|---|---|---|
| Heavy texture or orange peel | The sensor may lose contact and jump around | Move slower, keep steady pressure, and rescan from both directions |
| Lath and plaster | Standard drywall settings may drift or give inconsistent edges | Use a mode that can detect metal fasteners, then confirm the line with repeated passes |
| Tile or masonry backsplash | A drywall tool may not read the surface correctly at all | Use a finder rated for the material or switch to a different locating method |
| Corners and fire blocks | Stud spacing can be interrupted or doubled | Measure from a known stud instead of trusting a single edge reading |
| Metal framing | Wood-stud mode can be misleading | Use a tool that can detect metal studs or fasteners specifically |
When I am dealing with textured or older walls, I do not speed up the scan to compensate. I do the opposite. Slower movement, repeated passes, and a second method of confirmation usually beat a frantic sweep every time. That matters most when the wall is carrying shelves, cabinets, or anything with leverage.
What I check before hanging shelves or cabinets
For storage projects, the stud locator is only one part of the decision. A shelf bracket, TV mount, or cabinet rail should land where the load can be spread cleanly, not just where the tool chirps once.
- Use at least two studs for heavy shelves, cabinets, or wall-mounted storage whenever the layout allows it.
- Place fasteners near the center of the stud, not at the edge, so the screw has more wood around it.
- Use the stud line to level the entire bracket, then mark every fastening point before drilling.
- If the spacing does not fit your hardware, change the mounting plan before you start cutting holes.
My rule is simple: the finder tells me where to work, but the hardware choice decides whether the installation will stay put. If I take an extra minute to confirm the stud pattern and match it to the load, I avoid the kind of repair that takes much longer than the original job.
Small habits that make every future install easier
After a few projects, I stop treating stud location as a one-time task and start treating it like part of the wall's map. I save the confirmed positions with light pencil marks, painter's tape, or a note in my phone if I know I will be back to mount more storage later. That is especially useful in kitchens, garages, and home offices, where repeat installs tend to cluster around the same wall bays.
- Keep a short note of where the first confirmed stud was found and how far the next one measured.
- Label the wall only lightly if the finish matters, then remove the marks after the job is done.
- Store the finder with the batteries checked, so the next reading starts clean instead of weak.
The tool is useful, but the real skill is judging the wall in front of you. Once you can scan slowly, confirm repeat readings, and adapt when the wall is unusual, hanging hardware gets a lot less risky and a lot more predictable.