Building a DIY table from scratch is mostly about three things: getting the proportions right, making the base stiff, and letting the top behave the way wood naturally wants to behave. In this guide I cover the practical decisions that matter most, from choosing the size and lumber to adding storage, sanding, finishing, and leveling the final piece. The goal is a table that feels solid on day one and still feels solid after a season of use.
What matters most before the first cut
- Start with the table’s real job: dining, side, coffee, work, or storage.
- Use kiln-dried lumber and keep the structure simple enough to assemble accurately.
- Attach solid-wood tops with hardware that allows movement.
- Add storage as a shelf, drawer, or cubby only after the frame is square and strong.
- Finish and level the table before you call it done.
Choose the table type that matches the room and use
I start every build by deciding what problem the table has to solve. A side table that holds a lamp can be light and compact; a dining table needs knee room and stiffness; a work table needs a flatter top and a base that will not rack when you lean on it. If storage matters, I plan that from the beginning instead of trying to bolt on a shelf later.
| Table type | Typical size | Good for | Build difficulty | Storage ideas |
|---|---|---|---|---|
| Side table | 18-24 in. square or round, 24-28 in. high | Lamp, drinks, small spaces | Easy | Open shelf or small drawer |
| Coffee table | 36-48 in. long, 16-18 in. high | Living rooms and casual seating | Easy to medium | Lower shelf or lift-top |
| Dining table | 36-48 in. wide, 60-72 in. long, 28-30 in. high | Meals and everyday family use | Medium | Leaf, drawer, or apron-mounted shelf |
| Work table | 24-36 in. deep, 30-36 in. high | Craft room, garage, laundry area | Medium | Lower shelf, bins, or cubbies |
Pick materials and tools that make the build easier
For a first build, kiln-dried pine or poplar is forgiving, easy to sand, and much less expensive than hardwood. Oak and maple hold up better, but they punish sloppy cuts and poorly tuned tools. In U.S. lumberyards, nominal sizes matter too: a 2x4 is actually about 1 1/2 by 3 1/2 inches, and a 1x4 is usually about 3/4 by 3 1/2 inches, so I always measure the real dimensions before I commit to a cut list.
| Joint or fastener | Best use | Why I reach for it |
|---|---|---|
| Pocket screws | Aprons, stretchers, hidden frames | Fast, forgiving, and easy to hide under the top |
| Dowels | Clean visible joints | Strong enough for furniture when drilled accurately |
| Mortise and tenon | Leg-to-apron joints | Best traditional strength, but slower to cut |
| Figure-8 fasteners | Solid-wood tops | Hold the top down while still allowing movement |
A basic tool list keeps the job manageable: tape measure, square, pencil, saw, drill/driver, clamps, sander, and a way to make repeatable cuts. If you are using reclaimed boards, budget extra time for removing nails, flattening warped stock, and planing rough faces. In my experience, the material bill for a simple pine table often lands around $80-$250, while hardwood, drawers, or specialty hardware can push it much higher. With the lumber and joints settled, the base is the next thing to get right.
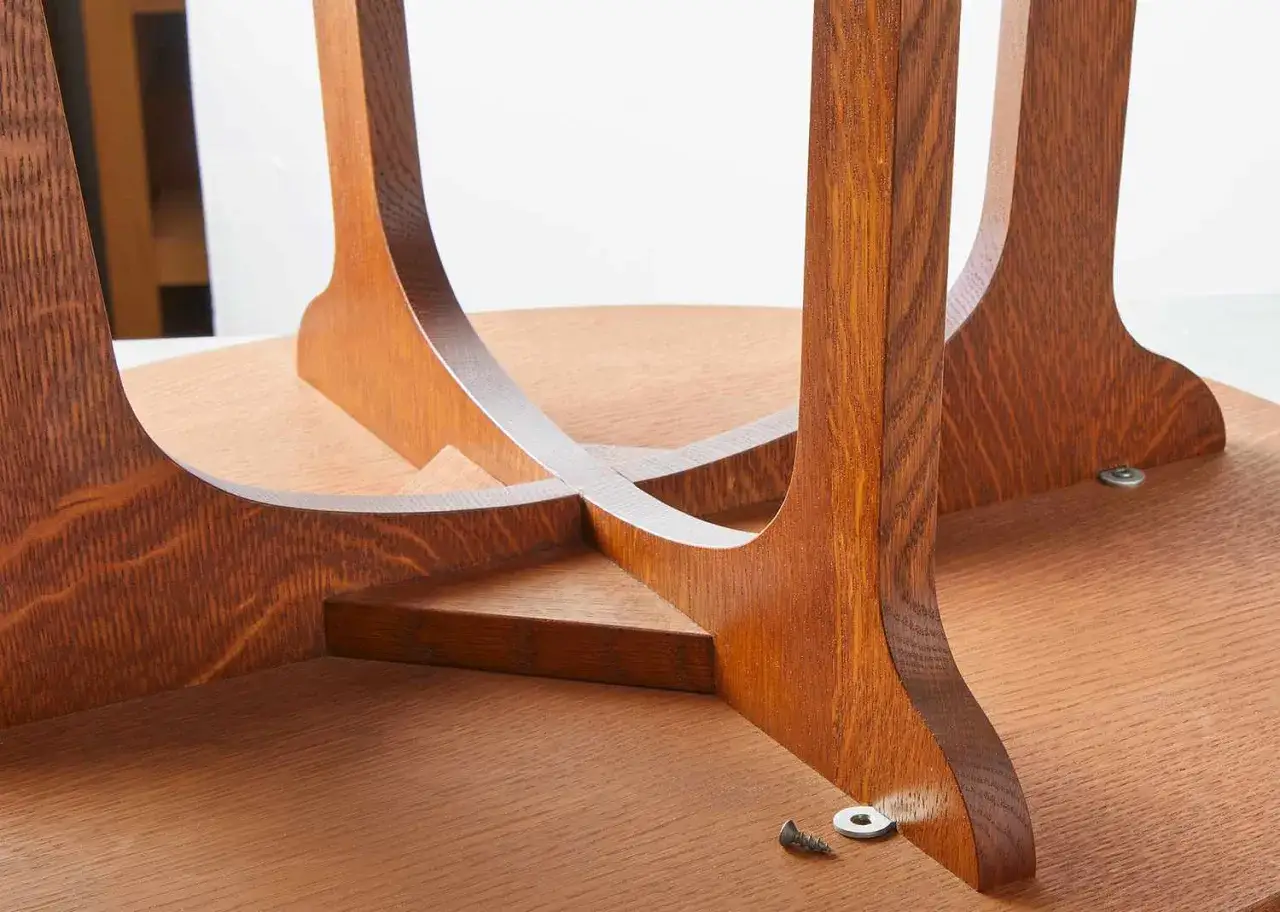
Build the base square and stiff
The base does the real work. An apron is the horizontal frame under the top, and a stretcher is the rail lower down that ties the legs together and helps resist racking, which is the side-to-side wobble that makes a table feel cheap. I cut and assemble the base before I think seriously about the top.
- Cut the legs, aprons, and stretchers to final length.
- Dry-fit the frame on a flat surface and check every corner.
- Clamp the frame, measure both diagonals, and adjust until they match.
- Glue and fasten the joints, then recheck square before the glue sets.
- Add a lower stretcher or shelf rail if the table will carry weight or storage.
- Let the frame cure fully before moving on.
OSHA guidance still matters here: stand to the side of the blade, use a push stick for small stock, and avoid awkward crosscuts on the table saw when a safer setup will do. I would rather spend five extra minutes on a dry fit than spend an afternoon fixing a twisted frame. Once the base is stiff, the top can be attached the right way.
Attach the top so it can move naturally
Solid wood expands and contracts across its width as humidity changes, and that movement is large enough to split a top or pop fasteners if you trap it too tightly. That is why I do not glue a solid-wood top directly to the base. Instead, I use figure-8 fasteners, slotted screw holes, or a similar method that holds the top in place while still giving it room to move.
- Figure-8 fasteners work well on traditional wood bases and are easy to hide.
- Slotted holes are simple and reliable when you drill them cleanly.
- Z-clips are useful with thicker aprons and are quick to install.
- Full glue-up is fine for plywood tops or engineered panels, because they move far less than solid wood.
For overhang, I usually aim for about 1 to 1.5 inches on the sides unless the design calls for a heavier visual edge. A plywood top with hardwood edging is a smart shortcut for a work table because it stays flatter than a wide solid panel and resists seasonal movement better. Once the top is secure, the table can finally start earning storage features.
Add storage without making the table wobbly
Storage is where a lot of good table ideas go wrong. People add a drawer or cubby because it sounds useful, then discover that the opening weakens the frame or steals leg room. I treat storage as a structural decision, not an afterthought.
| Storage option | Best use | What to watch |
|---|---|---|
| Lower shelf | Baskets, books, blankets, tools | Keep enough leg and foot clearance |
| Drawer | Remotes, charging gear, utensils, small tools | Needs precise alignment and square slides |
| Open cubbies | Craft supplies, mail, magazines | Can look bulky if the openings are too large |
| Lift-top | Hidden storage or laptop use | Hardware adds weight, cost, and complexity |
A lower shelf is the easiest win because it adds usefulness and usually improves stiffness at the same time. Drawers take more work, but they are worth it when you want to hide chargers, remotes, utensils, or small tools. Lift-top mechanisms and hidden compartments can be clever, but I only recommend them after you have built one simple version cleanly. If the storage idea starts fighting the frame, the frame should win. With the structure sorted, the finish is what makes the piece look intentional rather than improvised.
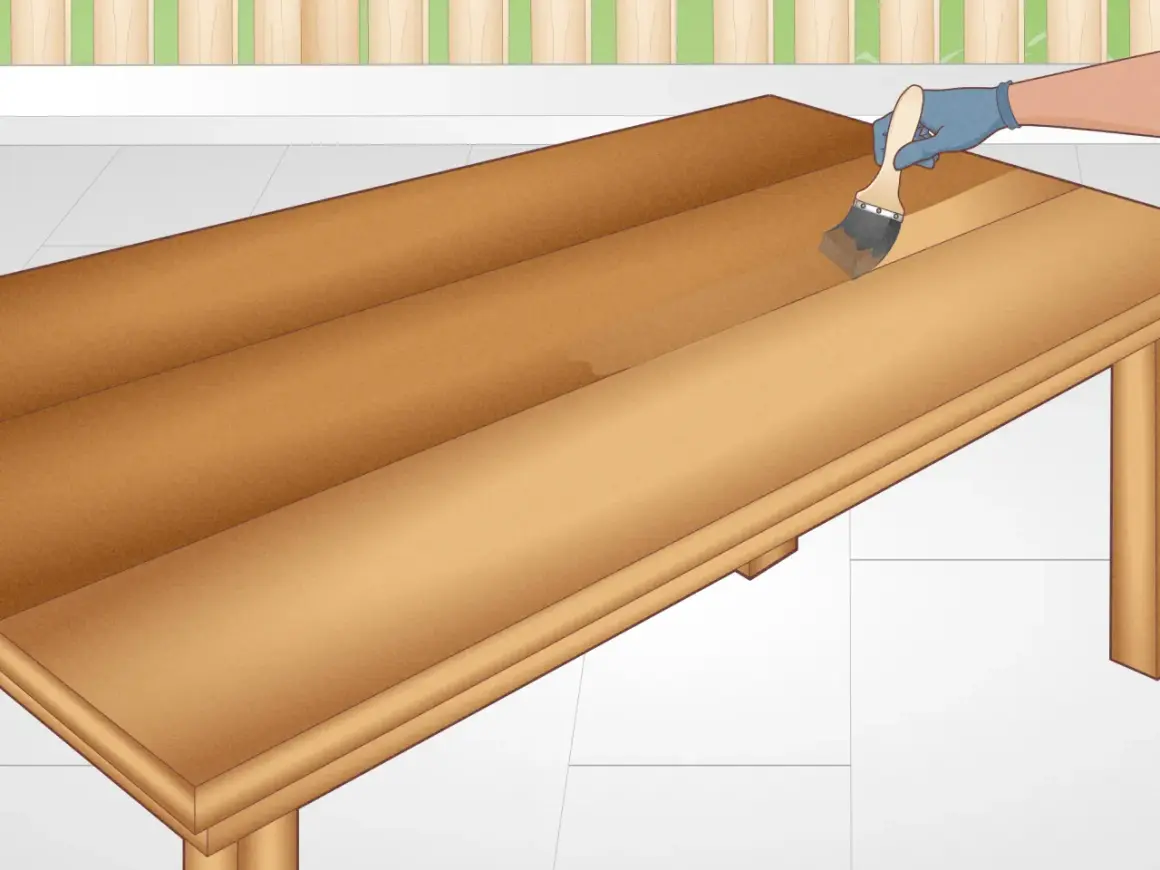
Finish, level, and protect the table
I sand in stages, usually starting around 80 or 100 grit if the stock is rough and finishing around 180 or 220 depending on the wood and the look I want. Soft pine can burnish if you sand too aggressively, so I keep the pressure light and round the sharp edges just enough that they do not chip. A good finish is not only about color; it protects the surface from spills, fingerprints, and daily wear.
For most indoor pieces, I choose water-based polyurethane when I want a clear look and faster turnaround, or oil-based finish when I want a warmer tone and do not mind a longer cure. If the table will live on an uneven floor, adjustable levelers or felt pads matter more than people think; a beautiful table that rocks is still a bad table. And if you use an oil finish, do not leave the rags balled up in a pile. Flatten them to dry or store them safely, because oily rags can overheat.
Once the surface is protected and the feet are solid, the remaining problems are usually the ones that were baked in during layout, which is why I check those before the first cut.
Avoid the mistakes that ruin a first table
- Building to the wrong height for the chairs, sofa, or task.
- Using warped or damp lumber and expecting it to flatten itself.
- Locking a solid top too tightly to the base.
- Skipping the dry fit and trusting the first assembly.
- Adding storage so low or so wide that knees and feet lose space.
- Underbuilding the base because the top looks simple.
- Choosing a live-edge slab before you have a flat frame and a reliable finishing process.
The largest mistake, in my view, is confusing simplicity with light construction. A table can look spare and still be structurally honest, but it has to earn that look with good proportions and tight joinery. If you fix these issues before finishing, you save yourself from rebuilding the same part twice. That brings me to the version I would recommend first if the goal is a table that actually gets used.
The first build I would recommend for most homes
If I were starting from scratch today, I would build a straightforward pine utility table with 2x2 legs, 1x4 aprons, a 3/4-inch top panel, and a single lower shelf. That design is forgiving, easy to square, and strong enough for most homes without becoming a weekend-long engineering project. I would keep the storage open and simple, because a shelf teaches the same core lessons as a drawer without adding slide alignment, extra hardware, or hidden clearance problems.
For a compact build, a 24 x 36 inch top is a good starting point. For a dining or multipurpose piece, 30 x 60 inches is a more realistic benchmark, especially if you want chairs to slide in cleanly. Once you can build that version cleanly, you will be ready for drawers, leaves, or hardwood builds that demand tighter tolerances and a little more confidence.