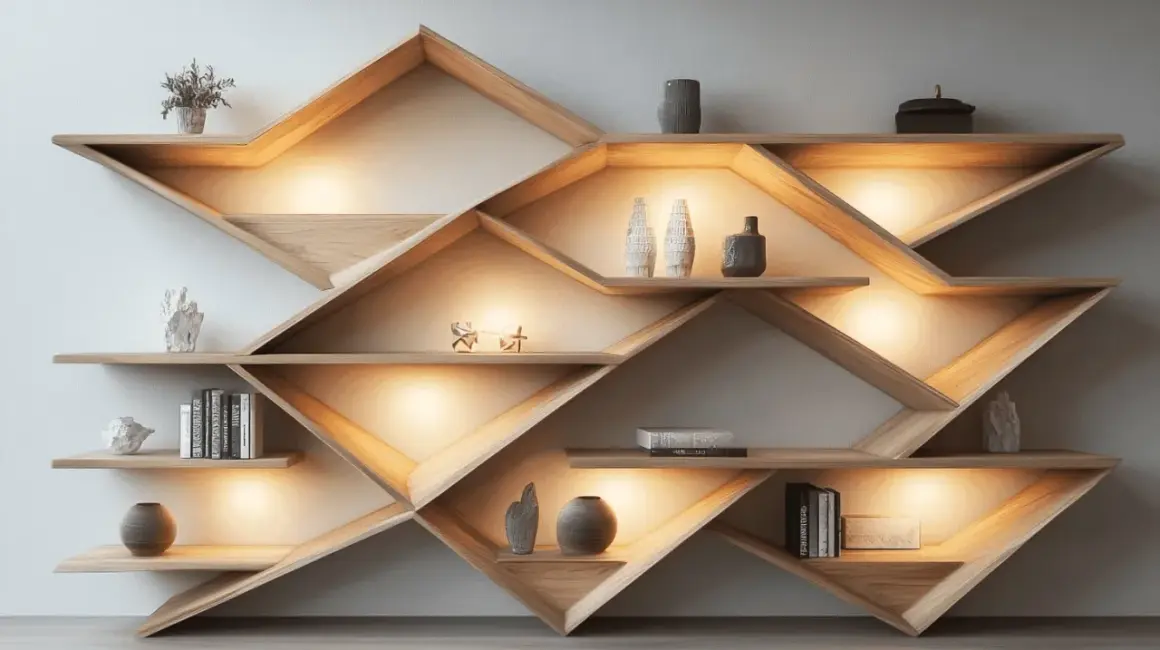
Wall-mounted shelving is one of the best small carpentry projects for adding usable storage without crowding a room. I’m breaking down how to build wall shelves that stay level, carry real weight, and look intentional instead of improvised. You’ll get the planning choices, the materials I trust, the installation sequence, and the mistakes that usually shorten a shelf’s life.
The essentials before you cut the first board
- Match the shelf style to the load: light décor can use decorative brackets, while books and heavy items need stronger support.
- Find studs first and treat drywall anchors as a backup, not the default, for anything with real weight.
- For light to medium loads, I keep shelf brackets no more than 24 inches apart.
- Use 3/4-inch stock or a boxed floating shelf for most projects; thin boards sag sooner than people expect.
- Pre-drill, level twice, and test the shelf before loading it with valuables.
Choose the shelf style before buying lumber
The biggest early decision is not the wood, it is the support strategy. A shelf that holds framed art does not need the same structure as one that carries cookbooks, tools, or a stack of heavy ceramics. When I plan a wall shelf, I choose the support system first, then size the board to match it.
| Style | Best for | How it carries the load | My take |
|---|---|---|---|
| Open bracket shelf | Decor, pantry overflow, light storage | Visible brackets fastened to studs or rated anchors | Fastest and most forgiving option. Good when strength matters more than a hidden look. |
| Floating shelf | Living rooms, bathrooms, modern interiors | Hidden metal rods or a concealed cleat inside a hollow box | Cleaner appearance, but alignment has to be tighter and the build takes more patience. |
| French cleat shelf | Heavier loads and shelves you may want to remove later | Two interlocking beveled strips, one on the wall and one on the shelf | One of the strongest wall-mounted options if you want both grip and serviceability. |
| Track-and-bracket system | Closets, offices, garages, adjustable layouts | Vertical standards mounted to studs with moveable brackets | Best when storage needs will change. It is less decorative, but very practical. |
If I only need a quick display shelf, I reach for brackets. If I want the shelf to disappear into the wall, I build a floating box. That choice determines the rest of the project, so I never buy lumber before I settle it.
Measure the wall and find the structure behind it
Wall shelves fail for one reason more than any other: the support is guessed instead of located. I start by marking the shelf height with painter’s tape, then I check the wall for studs, outlets, switches, and anything that suggests plumbing or wiring. Most wood-framed walls in the United States place studs either 16 or 24 inches on center, which means the shelf layout should usually be designed around those distances, not against them.
If the wall has drywall, a stud finder saves time, but I still verify the marks before drilling. Steel studs need a different approach, and a magnet can help confirm whether you are dealing with metal fasteners instead of wood. If the best shelf location does not line up with a stud, I either shorten the shelf, add more support points, or switch to a properly rated anchor system instead of pretending drywall alone is enough.
That layout work is not glamorous, but it is what keeps the shelf from sagging later. Once the wall is mapped, the material choice becomes much easier to justify.
Pick materials that match the load
I like to size the material to the shelf’s real job, not the Pinterest version of it. A shallow shelf for plants or framed photos can be lighter and simpler. A shelf meant for books, dishes, or anything dense needs more thickness, more support, and less optimism.
| Use case | Good shelf material | Support I would use | Depth that usually works |
|---|---|---|---|
| Decor and small objects | 3/4-inch plywood or a 1x board | Decorative brackets or a light cleat | 6 to 8 inches |
| Books, pantry items, kitchen storage | 3/4-inch plywood or solid hardwood | Sturdy brackets, cleat support, or a French cleat | 8 to 12 inches |
| Heavier storage or long spans | Boxed shelf or hardwood-faced shelf | Multiple brackets or hidden structural support | 10 to 16 inches |
I rarely trust thin stock for a long shelf. If the run gets wider than about 36 inches, I start thinking about a center support or a stronger hidden frame. That is not because the shelf will instantly fail without it, but because sag is usually slow, and once it starts, it never looks crisp again.
For fasteners, I prefer screws that match the wall material and the support system rather than whatever came loose in a drawer. Into a stud, a solid wood screw is usually the right baseline. If there is no stud where the shelf needs to land, I use a toggle bolt or another anchor with a real load rating, not a decorative anchor that only looks substantial.
Build the shelf body on the bench
Once the wall is mapped and the support type is chosen, I build the shelf parts flat on the workbench. That keeps the cuts square and the finish cleaner, and it is much easier to correct mistakes before anything is attached to the wall.
For an open bracket shelf
Cut the shelf board to length, then square the ends carefully so the board sits cleanly on the brackets. I usually sand the front edge first, then the faces, then any cut ends that will be visible. If I want a more finished look, I add a front nosing or edge banding so the shelf does not read as a raw board.
Painted shelves work well in plywood because the surface stays flat. Stained shelves usually look better in solid wood because the grain carries the design. Either way, I prefer to finish the shelf before installation whenever possible, because touch-up work is much easier on the bench than on the wall.
Read Also: Hang a Bathroom Mirror Safely - Expert Guide
For a floating shelf
A floating shelf is usually a hollow box built around a hidden cleat or rod system. The box needs to slide over the support cleanly, but not loosely. I leave just enough tolerance for installation, then I close the front and side edges so the shelf looks solid from the room.
This is the stage where patience pays off. A floating shelf that is even slightly out of square will show it immediately once it is on the wall. I dry-fit the parts before glue-up, clamp from both directions, and check the diagonals so the box does not twist as it dries.
That bench work sets the tone for the install, because a well-built shelf is much easier to mount accurately than to rescue later.
Mount it so it stays level and secure
Installation is where careful planning becomes useful. I mark a level line with painter’s tape or a pencil, then I transfer the stud locations onto that line so the supports land where the structure actually is. If I am installing brackets, I place them before I tighten anything fully, because a small alignment error becomes obvious once the shelf goes on.
- Mark the shelf height and confirm that the line is level across the full span.
- Locate the stud centers and mark them clearly, not just the edges.
- Pre-drill pilot holes matched to the screw size and the wall material.
- Fasten the brackets, cleat, or support rail loosely first, then check level again.
- Tighten the hardware once the support is square and stable.
- Set the shelf in place and fasten it to the supports if the design requires it.
For light to medium loads, I keep bracket spacing at 24 inches or less. For heavier shelves, I reduce that spacing and choose larger brackets. I also count the shelf board itself as part of the load, because hardware ratings should not be read as if the shelf material weighs nothing.
If the wall is tile or plaster, I slow down and change tools rather than forcing a drywall workflow onto a different surface. The principle stays the same, though: build the shelf from a level line, anchor it into structure when possible, and do not leave the final alignment to chance.
Avoid the mistakes that cause sagging later
The most common failures are predictable, which is why they are avoidable. I see people underestimate weight, oversimplify the wall type, or choose hardware that looks sturdy without checking whether it is actually rated for the job.
- Using drywall as the main support, which is fine for very light décor but a poor plan for anything heavy.
- Skipping pre-drilling, which increases the chance of split wood and crooked hardware.
- Ignoring the shelf’s own weight, especially with thick hardwood or boxed floating shelves.
- Spacing brackets too far apart, which makes the shelf flex even when the board itself looks strong.
- Building too shallow or too thin for the contents, which is why book shelves deserve more thought than photo ledges.
- Rushing the finish, then scratching it during installation because the parts were never fully cured or protected.
My rule is simple: if the shelf is going to hold something I would be annoyed to watch fall, I overbuild the support a little. That extra margin is cheaper than patching drywall, repainting, and replacing what landed on the floor.
The last checks I make before loading the shelf
Before I call the project finished, I check three things: the shelf is level, the fasteners are tight, and the wall support matches the intended load. If any one of those is off, I do not decorate around the problem and hope nobody notices. I correct it while the shelf is still easy to reach.
I also think about use, not just appearance. A deep shelf over a desk should not interfere with monitor height. A kitchen shelf should leave room for hands and plates. A bathroom shelf needs to tolerate moisture and should not be so shallow that bottles tip when the room gets humid.
If I want a shelf to feel built-in, I keep the lines simple, hide the fasteners when the design allows it, and choose a finish that fits the room rather than drawing attention to the hardware. That is the difference between a shelf that merely hangs on a wall and one that genuinely belongs there.