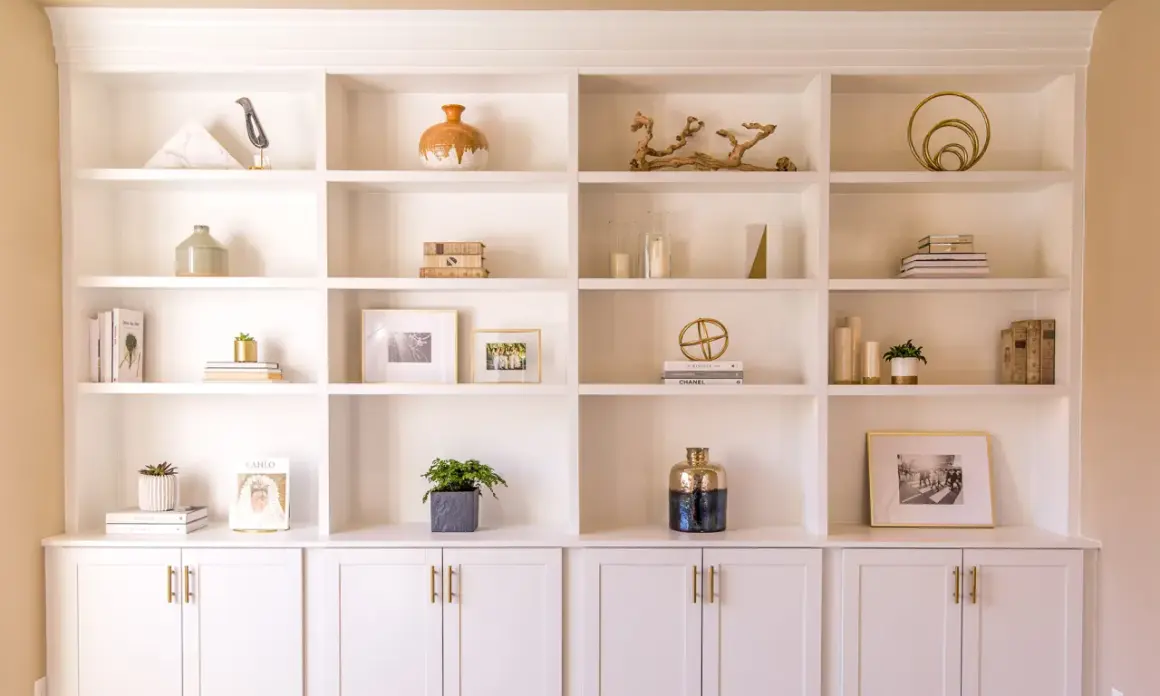
DIY built-in shelves can change a room from “storage added later” to “the wall was always meant to work this way.” The difference comes from planning: the wall structure, the shelf depth, the trim, and the finish all have to work together if you want the result to look deliberate and hold real weight. In this article I walk through how to choose the right built-in style, measure the wall correctly, build it safely, and finish it so it looks like part of the house rather than an attached box.
What matters most before you start building
- Check the wall first. Stud spacing, wiring, plumbing, and vents determine what is realistic.
- Choose the right style. Recessed shelves, face-built units, and cabinet-based built-ins solve different problems.
- Plan for depth. Most books need 10-12 inches; display shelves can be shallower.
- Fasten to framing. The shelf system should be anchored to studs, not held by drywall alone.
- Expect finishing work. Trim, caulk, scribing, and paint matter as much as the carpentry.
Which built-in style fits your wall best
I usually start by deciding whether the wall should be opened up, built out, or both. That choice determines everything else, from material cost to how much storage you actually get. If the wall has deep stud bays and no hidden obstacles, recessed shelves can create a clean, flush look. If you need more capacity, a face-built unit or a cabinet-based system usually makes more sense.
| Style | Best for | Main advantage | Main limitation |
|---|---|---|---|
| Between-stud recessed shelves | Narrow halls, alcoves, small displays | Uses dead space and sits nearly flush with the wall | Limited depth and more chance of hidden wiring or plumbing |
| Face-built bookcase | Living rooms, offices, media walls | More storage and easier layout control | Projects farther into the room |
| Cabinet-based built-in | Books plus hidden storage | Lower cabinets hide clutter and add strength | Higher material cost and more trim work |
| Hybrid wall unit | Large family rooms and multipurpose walls | Mixes shelves, cabinets, and display space efficiently | Takes the most planning to keep proportions balanced |
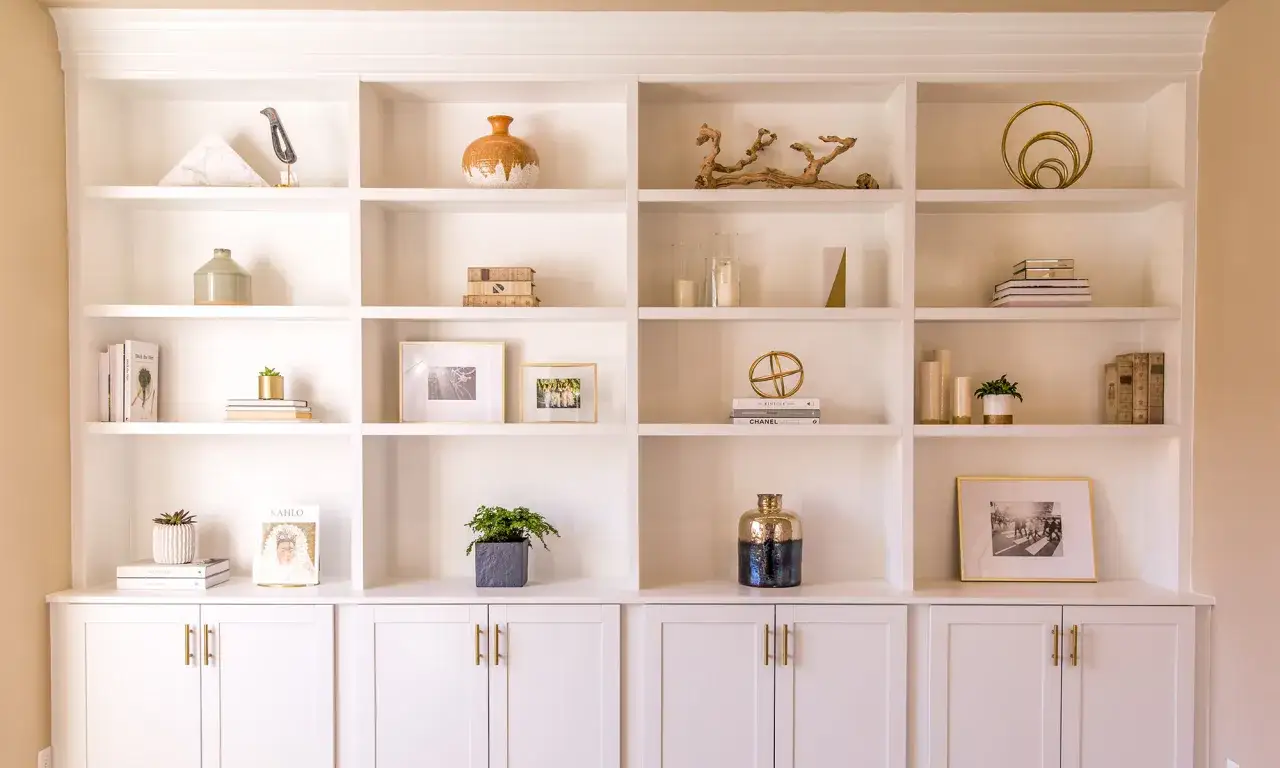
For most homes, the sweet spot is a hybrid: lower cabinets for the messy stuff, open shelving above, and enough trim to make the whole wall read as one built-in composition. Once you choose the style, the next step is measuring the wall with a little skepticism, because old houses rarely give you a perfectly friendly starting point.
Measure the wall, the studs, and the obstacles first
Before I cut anything, I want to know exactly what lives inside the wall. In the United States, studs are commonly 16 inches on center, though older homes can be irregular or spaced at 24 inches. I confirm locations with a stud finder, then I usually double-check with a small pilot hole before trusting the layout.- Measure finished dimensions. Baseboards, crown molding, and uneven floors change the real opening.
- Mark stud locations. You need solid anchoring points for the carcass and face frame.
- Check for utilities. Outlets, switches, plumbing lines, vents, and HVAC returns can force a redesign.
- Decide shelf depth early. A common range is 8-10 inches for décor, 10-12 inches for books, and 12-15 inches for baskets or oversized items.
- Establish a level reference line. A laser level or long spirit level prevents shelves from drifting visually across the wall.
If I am opening the wall at all, I switch off the relevant breaker and test the area before removing drywall. That small discipline saves a lot of trouble. Once the layout is clear, the project becomes much more predictable, which is exactly what you want before you spend money on materials.
Gather the right materials and budget realistically
The material list depends on whether you are building a shallow recessed unit or a full wall of storage, but the core parts are similar. For a straightforward DIY build, I like 3/4-inch plywood for the carcass, 1/4-inch back panels if I want rigidity or a clean back surface, wood screws that bite into studs, construction adhesive used sparingly, shims, filler strips, and paintable caulk.| Project scope | Typical DIY materials budget in the U.S. | What drives the cost up |
|---|---|---|
| Small recessed niche | $150-$500 | Trim detail, hardwood shelves, patching and paint |
| Single wall built-in | $600-$2,500+ | Number of bays, cabinet bases, face-frame work, and premium plywood |
| Full wall with lighting and doors | $2,500-$5,000+ | Electrical work, hardware, custom trim, and higher-end finish materials |
Tools matter too, but they do not need to be exotic. A drill/driver, circular saw or miter saw, level, tape measure, clamps, sander, and oscillating tool will cover most builds. If your cuts are accurate and your wall layout is honest, you do not need a shop full of specialty gear. The next challenge is turning those measurements into a square, stable structure that actually fits.
Build and install the unit in the right order
When I build wall-integrated shelving, I follow a simple sequence: prepare the wall, build the box, dry-fit everything, then fasten it permanently. That order keeps surprises manageable. It also prevents the common mistake of trimming and painting before the structure has proved it fits.
- Remove baseboards and any trim that conflicts with the new footprint. Score the paint line first so the drywall paper does not tear.
- Open the wall only if the design calls for recessed shelves or hidden wiring. If you find insulation, wiring, or plumbing in the bay, stop and redesign as needed.
- Cut the carcass parts and assemble them square on a flat surface. A frame that is even slightly out of square will fight you at installation.
- Dry-fit the unit in place, then shim until the sides, shelves, and front edge read level and plumb.
- Drive screws through the back, side cleats, or cabinet rails into studs. I prefer mechanical fastening as the primary support and treat adhesive as a helper, not the main structure.
- Add the face frame, fixed shelves, or adjustable shelf hardware after the box is secured.
- Install filler strips, trim, and caulk only after the whole unit is aligned and stable.
- Prime, paint, and let the finish cure before loading weight onto the shelves.
If the unit is long, I build it in sections and connect those sections on site. That makes transport easier and gives you more chances to correct a wall that is not perfectly straight. After the structure is in place, the craftsmanship shows up in the details, especially where the new work meets the old room.
Watch the safety and structure issues people miss
This is the part where a lot of DIY projects get overconfident. A wall is not just a blank surface; it may be carrying load, hiding electrical runs, or protecting plumbing that does not want to be disturbed. If a wall is load-bearing, I do not cut studs casually. If the design needs a real opening in that wall, the framing has to be treated like a structural change, not a decorative tweak.
- Do not assume every stud bay is empty. Outlets and switches often share space with hidden cabling.
- Do not rely on drywall anchors for heavy shelves. They are not the right support for a loaded built-in.
- Do not bury access you may need later. Shutoff valves, junction boxes, and service points should remain reachable.
- Do not ignore permit rules. Electrical changes, plumbing changes, and major wall openings can trigger local requirements.
- Do not underbuild the anchoring. Tall units should be fastened to studs at multiple points, especially near the top.
In practice, the safest approach is simple: if the wall gives you an unexpected problem, stop and solve that problem before you go any further. That discipline keeps the project from becoming a repair job, which is a useful habit before you start thinking about finish work.
Make the shelves look like part of the house
The reason built-ins look expensive is not just the carpentry. It is the way the new work disappears into the room’s existing trim language. I get the cleanest result when I match the shelf fronts to surrounding baseboards, use scribe strips to absorb uneven walls, and keep the paint system consistent across the unit and the room.
- Use a face frame or edge banding. It hides plywood edges and makes the unit read as furniture, not framing lumber.
- Scribe to the wall. Scribing means shaping a board so it follows an uneven surface cleanly instead of leaving a visible gap.
- Caulk only after alignment is perfect. Caulk should refine the joint, not rescue a crooked install.
- Choose paint intentionally. Matching the wall color makes the shelves blend in; using a different trim color makes them feel more architectural.
- Plan lighting before closing the wall. LED strips or puck lights are easiest when the wiring and power source are considered early.
I also like to think about shelf thickness. Thin shelves can look flimsy, especially on a wide wall. A thicker front edge or a simple face frame changes the visual weight immediately, and that one detail often separates a decent DIY build from one that looks professionally integrated.
Avoid the mistakes that make built-ins feel amateur
The biggest mistakes are usually not dramatic. They are small geometry problems that keep adding up. A shelf that is too deep, a cabinet that misses the baseboard line, or a face frame that does not line up with the room’s trim can make the whole wall feel off, even if the structure is solid.
- Building for the rough opening instead of the finished opening. Always account for trim, flooring, and filler strips.
- Making shelves too deep. Deep shelves can swallow a room visually and make access awkward.
- Leaving spans too wide. Long shelves sag unless they are thick enough or properly supported.
- Skipping a dry fit. A dry fit exposes mistakes while they are still easy to fix.
- Rushing the paint cure. Loading books too early can mar the finish and flex still-soft joints.
For books, décor, and mixed storage, I prefer a layout that is slightly simpler than the first sketch. Clean proportions age better than fussy ones. That same rule is what I would use if I were building this wall tomorrow, and it is the best way to close out the project with confidence.
What I would prioritize if I were building this wall tomorrow
If I had to choose where to spend time and money, I would put the budget into three things first: straight framing, good trim, and a finish that matches the room. Those decisions do more for the final result than decorative extras ever will. A well-proportioned wall of storage feels calm because it respects the room around it.
- Spend on the structure. Square carcasses, solid fasteners, and reliable anchoring are non-negotiable.
- Spend on the trim. Trim hides small imperfections and makes the built-in feel intentional.
- Spend on the layout. Balanced openings and sensible shelf heights matter more than packing in extra compartments.
For most homeowners, the smartest path is a practical one: build a unit that fits the wall, supports the load, and finishes cleanly, then stop before the design gets crowded. That is how DIY built-in shelves end up looking like part of the house instead of a project left behind.