Installing a floor that can handle splashes, spills, and the occasional leak is less about the top layer alone and more about the whole system beneath it. A good waterproof flooring installation starts with the right material, a dry and flat subfloor, and details like seams, transitions, and perimeter gaps that keep water from sneaking into the structure. In this guide, I walk through the choices that matter, the prep that prevents failure, and the practical steps I rely on when the room has to look good and stay protected.
What matters most before the first plank or tile goes down
- Waterproof does not mean every room is fair game; floor drains, standing water, and poor subfloor prep still cause failures.
- For most U.S. homes, luxury vinyl plank or tile is the easiest DIY route, while porcelain tile over a waterproof membrane is the more robust wet-area system.
- Moisture testing matters on concrete, especially in basements and slab-on-grade rooms.
- Most floating floors need a perimeter expansion gap of about 1/4 inch, though larger rooms may need more.
- Tile is only as water-safe as the layers below it; grout is not the waterproofing layer.
- The biggest mistakes are skipping prep, mixing incompatible products, and sealing the floor in a way that blocks movement.
What waterproof flooring really solves
I treat water-resistant flooring as a system, not a sales label. The surface may repel spills, but the real job is to keep liquid from reaching the subfloor, swelling the edges, or rotting the structure around the room.
That matters most in kitchens, bathrooms, laundry rooms, mudrooms, and basements where water shows up in two forms: obvious spills and hidden moisture. A floor can survive both only if the material, subfloor, and edge details work together. That is why I care less about the marketing term and more about how the floor behaves at seams, thresholds, and around cabinets.
For planning purposes, I separate three ideas: waterproof, water-resistant, and flood-tolerant. Waterproof products can handle surface water better, but they are not automatically designed for standing water, floor drains, or constant wet cleaning. That distinction is where many DIY projects go wrong, so I like to sort out the material choice before I touch the subfloor. From there, the next question is which product actually fits the room.
Choose the right material for the room
When I compare flooring options for wet-prone areas, I look at how the floor will be used, how much prep the space needs, and how forgiving the installation method is. The best choice for a busy bathroom is not always the best choice for a basement rec room.
| Flooring type | Best for | Why it works | Tradeoff | Typical installed cost in the U.S. |
|---|---|---|---|---|
| Luxury vinyl plank or tile | Kitchens, laundry rooms, family rooms, many basements | DIY-friendly, fast to install, handles spills well, easy to replace plank by plank | Seams and perimeter gaps still need care; not ideal for floor drains or chronic standing water | About $4 to $8 per sq. ft. in straightforward rooms |
| Sheet vinyl | Utility rooms, small baths, budget remodels | Few seams, simple cleanup, strong moisture performance when installed well | Less premium look, more sensitive to subfloor imperfections | About $3 to $6 per sq. ft. installed |
| Porcelain or ceramic tile over a waterproof membrane | Bathrooms, entries, showers, high-wet-risk areas | Very durable, excellent under a proper membrane, strong long-term value | Slower, more labor-intensive, and the substrate has to be right | Commonly $10 to $20+ per sq. ft. once prep and membrane work are included |
My rule is simple: if you want speed and a cleaner DIY path, vinyl is usually the better fit. If the room will see more water, tile wins only when I can build the waterproofing layer correctly underneath it. That leads directly to the part most people rush past, which is subfloor prep.
Prepare the subfloor like it matters, because it does
A floor can fail even when the top material is excellent. I have seen more problems from hidden moisture and uneven substrate than from the floor product itself, which is why I start with the room before I start with the flooring box.
For concrete, I want a moisture test before installation. If the slab does not have a functioning vapor barrier, a moisture mitigation system may be needed before any finish goes down. On wood, I check for loose panels, squeaks, soft spots, and signs of past water damage. The floor should be clean, dry, and flat enough that the locking edges or tile bed are not fighting humps and dips.
In practice, that means four things:
- Remove debris, paint ridges, old adhesive, and anything that can telegraph through the new floor.
- Repair low spots and scrape down high spots before installing anything.
- Keep the room climate-controlled during storage and installation, usually in the range the manufacturer asks for.
- Use the correct underlayment or vapor barrier for the substrate, especially on concrete and over crawl spaces.
I also leave room for movement. Most floating floors need an expansion gap around the perimeter and around fixed objects, and that gap should stay open under the trim rather than being packed with caulk. Once the base is sound and the edges can move, the actual installation goes much smoother.
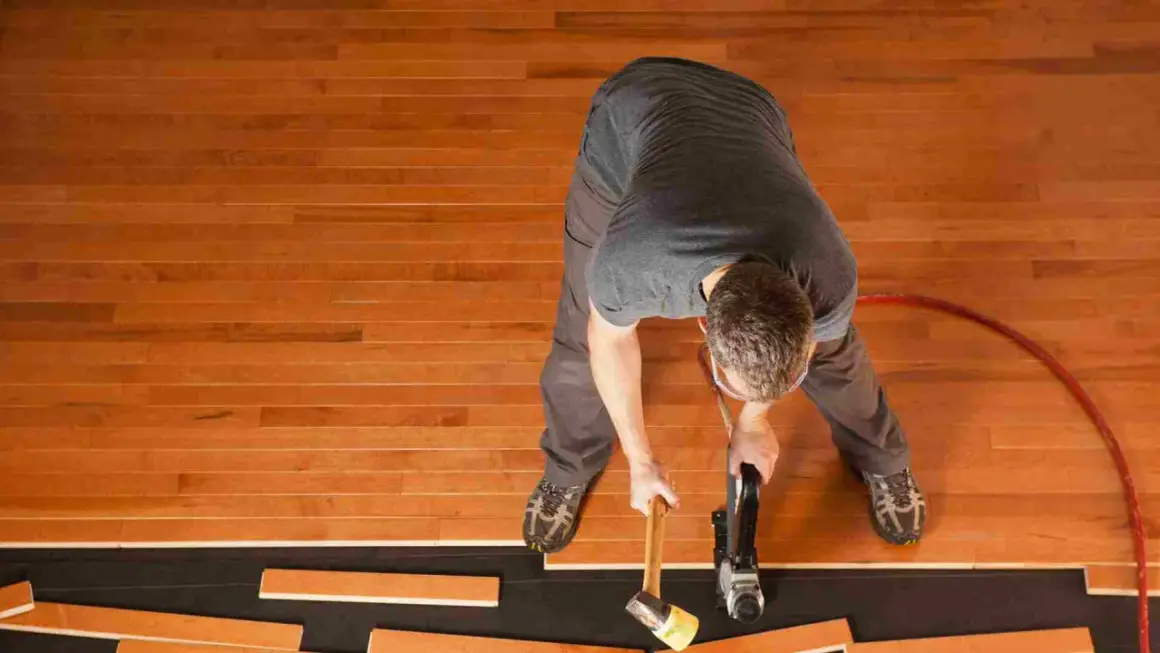
Install click-lock vinyl without creating future leaks
For most homeowners, click-lock vinyl is the easiest path into a water-safe floor. It still rewards careful work, though, because a floating floor only performs as well as its weakest joint and transition.
1. Lay out the room before you commit
I dry-fit the first few rows, measure the last row, and check where doors, cabinets, and transitions will land. This step matters because a narrow sliver at the opposite wall looks amateur and is harder to lock cleanly. I also mix planks from multiple cartons so the color variation looks intentional rather than patchy.
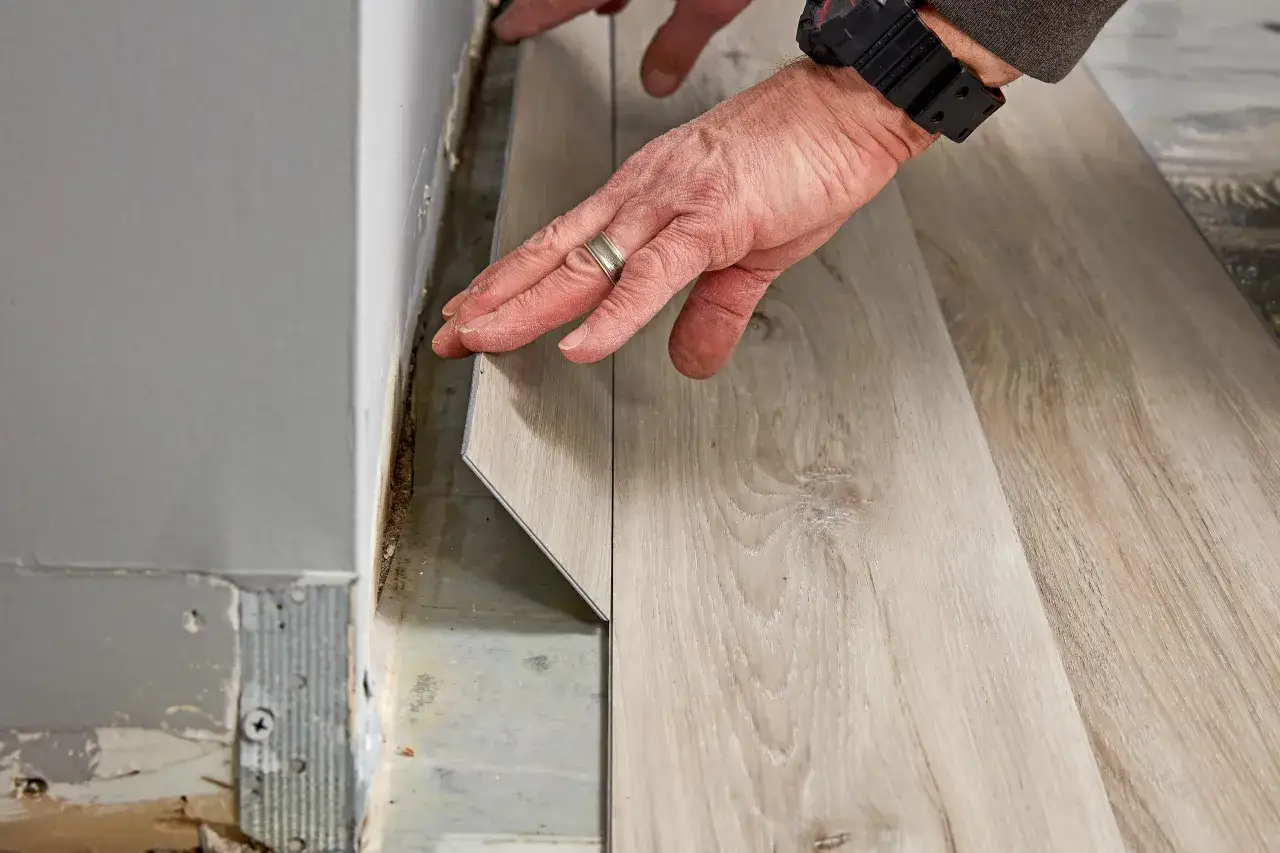
2. Start straight and keep the gap open
The first row sets the tone for the entire floor. I keep it straight, face-cut the first boards if needed, and use spacers to hold the perimeter gap at roughly 1/4 inch unless the product instructions say otherwise. The gap is not wasted space; it is what keeps the floor from buckling when the room expands and contracts.
3. Stagger the seams
End joints should not line up in a repeating pattern. I stagger them so the floor can distribute movement and stress more evenly. It also looks better, which is not a small thing in an open-plan room where the floor is one of the first details people notice.
4. Lock the boards with control, not force
Click-lock systems should snap together cleanly. If I have to beat the joints into place, something is wrong: either the subfloor is off, debris is trapped in the lock, or the angle is incorrect. Too much force can damage the locking profile and create the very seam the waterproof layer is supposed to prevent.
Read Also: Cut Wall Tile Like a Pro - Avoid Chips & Master Every Shape
5. Finish with transitions and trim
Once the field is in, I install the trim and transitions without pinning the floating floor so tightly that it cannot move. Around doors, islands, and large spans, I follow the product limits carefully. Some systems need a larger expansion gap or a transition strip once the run gets long, and ignoring that detail can lead to peaking or edge stress later.
If the product is glue-down rather than floating, the process changes: adhesive open time, substrate prep, and rolling the floor become more important than click-lock technique. Either way, the installation is only part of the system. The next layer matters even more in tile work, where waterproofing sits under the finish rather than inside it.
In tile work, the waterproof layer goes below the finish
Tile is durable, but tile itself is not the waterproofing strategy. I like tile for wet areas because it is stable, hard-wearing, and visually flexible, but the real protection comes from what sits under it: backer board, a bonded membrane, the right mortar, and careful treatment at seams and penetrations.
When I install tile in a wet-prone room, I think in layers. The substrate has to be solid. The waterproof membrane has to cover the right areas and tie into corners, edges, and drains correctly. The tile then sits on top of that system. Grout helps finish the surface, but grout does not make the assembly waterproof. That is a mistake I still see far too often.
The most important details are usually the least glamorous:
- Use a membrane made for tile and follow its cure time before setting tile.
- Treat corners, seams, and pipe penetrations with the right accessory pieces or fabric reinforcement.
- Honor movement joints so the tile can handle seasonal movement without cracking.
- Use sealant or color-matched caulk where the assembly calls for flexibility, especially at changes of plane.
If the room has a shower, drain, or severe splash exposure, I become stricter, not looser. Those spaces are where system mistakes show up fastest, and they usually show up behind the surface long before they show up to the eye. That is why the common errors deserve their own section.
The mistakes that cause most water-related failures
Most bad floors do not fail because the product was junk. They fail because one part of the system was ignored, rushed, or installed against the manufacturer’s instructions.
- Skipping moisture testing on concrete, especially in basements and ground-level rooms.
- Installing over a bad substrate and hoping the new floor will hide dips, ridges, or soft spots.
- Blocking the perimeter gap with caulk, nails, or trim that pins a floating floor in place.
- Mixing incompatible materials, such as the wrong underlayment, the wrong adhesive, or the wrong membrane system.
- Assuming waterproof means flood-proof, which is how people end up using floating vinyl in rooms with standing water or floor drains when the product was never meant for that job.
- Forgetting the transitions, where different floor heights and doorway edges often become the first places water finds a weakness.
One practical check I use: if a detail would be hard to explain to the person maintaining the home, it is probably too clever for a wet area. Simpler systems with clear instructions usually last longer. The last thing I look at is whether the floor has been finished in a way that makes future water cleanup easier, not harder.
The details I check before I call the job finished
When the floor is down, I do not just admire the surface. I look for the small details that decide whether the room will age well or turn into a repair call.
- Edges are covered, but the floor can still move underneath the trim.
- Transitions are secure and do not trap water at doorway seams.
- Appliances, toilets, tubs, and cabinets do not crush or distort the floor system.
- Any manufacturer-recommended sealant was used only where it belongs, not as a substitute for proper movement space.
- Spare planks or tiles are stored for future repairs, because matching a discontinued pattern later is much harder than keeping a few extras now.
I also tell homeowners to think beyond installation day. Wipe spills quickly, avoid harsh cleaners that leave residue, and keep an eye on places where water regularly pools, like under the sink or beside the dishwasher. If the floor was installed correctly, those habits are enough to keep it performing the way it should.
The best waterproof floors are not the ones with the loudest product claims. They are the ones installed on a dry, stable base, with the right material chosen for the room and the edges handled with care. If I had to reduce the whole process to one idea, it would be this: water protection is built in layers, and every layer has to be treated as part of the floor, not as an afterthought.