A proper installation of washing machine hookups is less about brute force and more about getting the plumbing, drain height, and leveling right the first time. In this guide, I walk through the practical steps, the measurements that matter in US homes, and the mistakes that usually cause leaks, vibration, or a washer that never feels quite settled.
The main setup points are plumbing, leveling, and leak prevention
- A washer needs a grounded power outlet, working hot and cold shutoff valves, and a drain that matches the machine.
- Most problems start before the first cycle, usually with the drain hose, old supply hoses, or an uneven floor.
- Drain height and pipe size matter more than people expect, especially when the washer pumps water out quickly.
- Front-load and top-load models share the same basics, but the clearances and drain details are not identical.
- If you need new plumbing, venting changes, or corroded valves replaced, the job is no longer a simple appliance hookup.
What has to be ready before the washer comes off the dolly
Before I move a washer into place, I check the room, not the machine. That means power, water, drainage, and floor support all need to be ready, because a washer that is perfectly new can still fail hard if the hookup point is weak.
Whirlpool’s installation guidance is a solid reality check for a typical US laundry space: a grounded outlet should be within 6 feet of the cord, hot and cold faucets should be within 4 feet of the fill valves, water pressure should sit between 20 and 100 psi, and the floor should be level with no more than 1 inch of slope under the entire unit.
| Check | What I look for | Why it matters |
|---|---|---|
| Power | Grounded outlet on a proper 120V circuit, close enough that the cord reaches without strain | Extension cords and adapters are not a safe workaround for a washer |
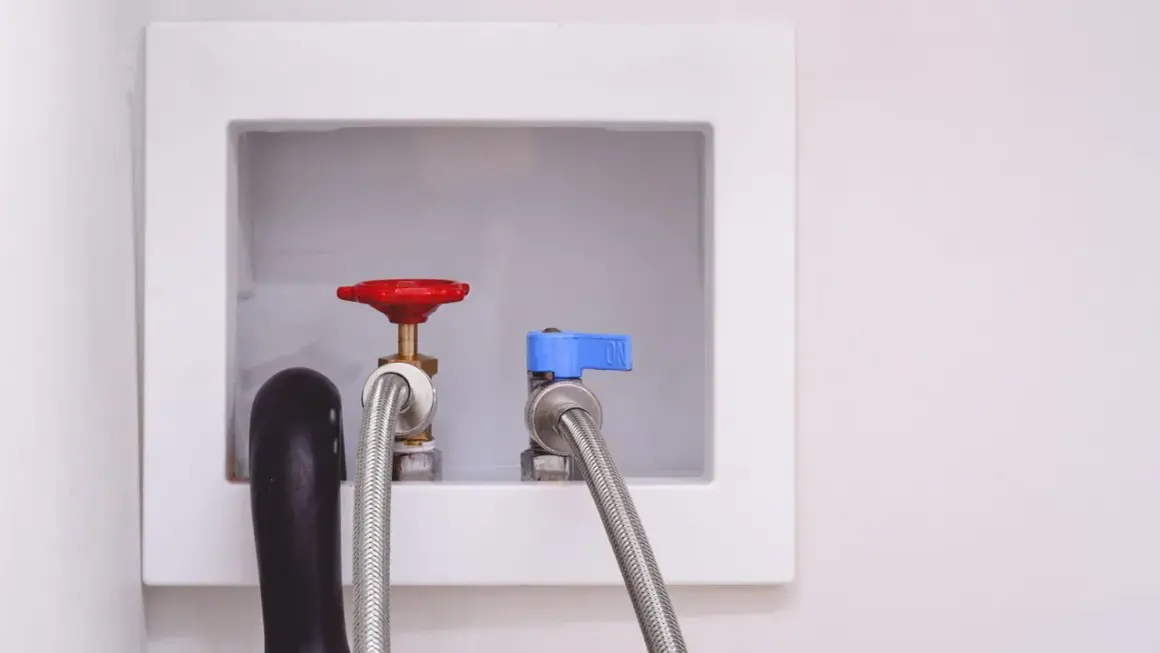
| Water supply | Working hot and cold shutoff valves, intact hose threads, and healthy pressure | Bad valves or poor pressure lead to slow fills, leaks, or failed hookups |
| Drain | Standpipe, laundry sink, or floor drain that matches the machine’s drain hose | Poor drainage causes backups, siphoning, and water spilling where it should not |
| Floor | Solid surface with minimal slope and enough support for a loaded washer | Even a slight tilt can make the machine walk, shake, or wear faster |
If any valve is frozen, corroded, or hard to close, I stop there and deal with the plumbing first. Once the foundation is right, the actual hookup becomes much simpler.
The installation sequence that prevents avoidable rework
The cleanest installation of washing machine equipment follows the same order every time: prepare the space, connect the drain, connect the water, level the cabinet, and only then power it up. Skipping steps is what creates the second trip back with a bucket and a towel.
- Clear and measure the laundry area. Leave enough room for the door or lid to open fully and enough side clearance for service. I like to keep at least a little space on both sides so the machine is not jammed against the wall.
-
Unpack the washer completely. Remove packaging, accessories, and any shipping hardware stored in the drum. On many front-load units, the transport bolts must come out before the first run, or the drum can be damaged during spin.
-
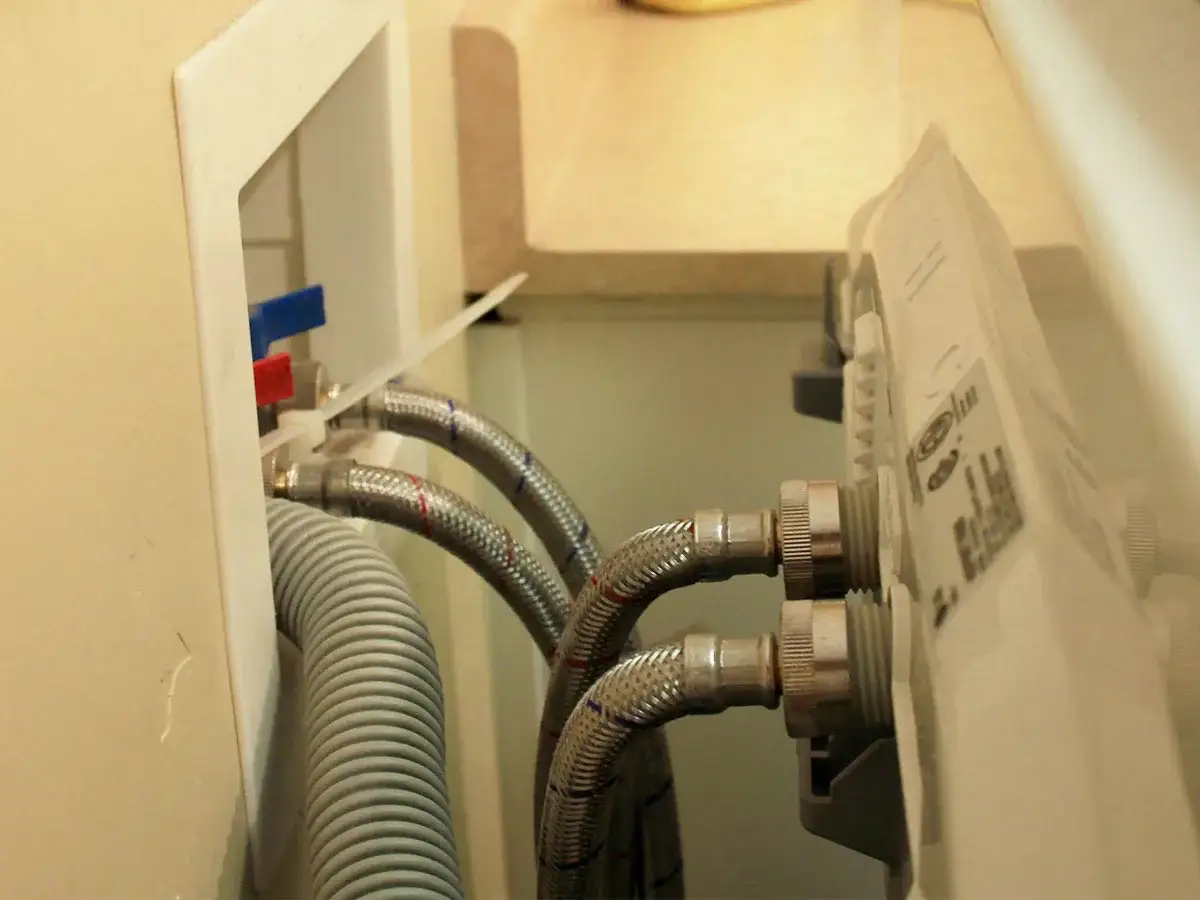
Position the drain hose first. The hose should be secured so it cannot slip out, kink, or sit so deep in the standpipe that it restricts flow. A hose form or clip is often the small part that keeps the whole setup from becoming a mess.
-
Attach the hot and cold supply hoses. Start the threads by hand, make sure the rubber washers are seated correctly, and tighten just enough to seal. Overtightening is a common mistake because it can damage plastic fittings or crush the washer inside the coupling.
-
Level the cabinet carefully. Check front to back and side to side. If the machine rocks even slightly, adjust the feet before the first cycle, because spin vibration will only make the problem louder.
-
Run a short test cycle. I never trust a first setup until I see a fill, agitate, drain, and spin sequence with no drips behind the unit and no unusual movement.
That order matters because it avoids the two most common frustrations: discovering a bad hose connection after the washer is already boxed into place, or realizing the machine is unbalanced only after the spin cycle starts. Once the physical sequence is right, the drain deserves its own closer look.
Plumbing details that matter more than most people expect
The drain is where a lot of otherwise decent installs go wrong. GE Appliances notes that a top-load washer should discharge into a drain that is not less than 30 inches above the base of the washer, while a full-size front-load model typically needs at least 24 inches; in both cases, the standpipe or wall drain should be at least 1 1/2 inches inside diameter and open to the atmosphere.
That sounds technical, but the reason is simple: washers move a lot of water fast, and the drain has to accept that flow without backing up or siphoning water back out of the tub. The hose itself is usually about 1 1/4 inches in diameter, so fit and support matter just as much as pipe size.
| Drain option | Works best when | Watch out for |
|---|---|---|
| Standpipe | You have a proper laundry rough-in and enough vertical space behind the washer | Incorrect height, undersized pipe, or a hose pushed too far down into the standpipe |
| Laundry sink or utility tub | The space is compact and the tub can accept fast discharge without overflowing | Shallow tubs, loose hose placement, and splashing during heavy drain cycles |
| Floor drain | You already have a drain designed for appliance discharge and local code allows it | Poor slope, missing siphon protection, or a setup that does not match the washer manual |
For me, the practical rule is this: if the drain looks improvised, it probably is. A washer can tolerate a lot, but it will not compensate for a weak drainage path. That difference becomes even more obvious once you compare top-load and front-load setups side by side.
How top-load and front-load setups differ
Both washer styles need the same basic utilities, but they do not behave the same way in a laundry room. Top-load machines need overhead lid clearance and usually feel easier to service from above, while front-load units demand a clearer floor path in front and a little more care with leveling because they spin faster and are less forgiving of a bad stance.
| Area | Top-load washer | Front-load washer |
|---|---|---|
| Access | Lid opens from the top, so overhead clearance matters | Door opens at the front, so floor clearance and swing space matter |
| Drain height | Commonly needs a higher discharge point, often 30 inches or more | Often works with a slightly lower discharge point, commonly 24 inches or more |
| Leveling | Important, but often a bit more forgiving | Critical, because spin speed will expose any wobble fast |
| Transport hardware | May have shipping materials to remove, depending on model | Almost always needs transport bolts removed before use |
I would not call one style easier than the other in every case. Top-loads are often simpler to live with in a tight utility room, but front-loads can be excellent when the drainage and leveling are done correctly. The model you buy should match the room you actually have, not the room you wish you had.
The mistakes I see most often in laundry hookups
Most washer problems are not dramatic. They start as a small leak, a little vibration, or a hose that was “good enough” until the first full spin. I pay close attention to these mistakes because they create the expensive call-back later.
Reusing brittle supply hoses instead of replacing them with fresh ones.
Leaving the old rubber washer out of the coupling or stacking it incorrectly.
Cranking hose fittings down too hard and damaging the threads or cracking a plastic inlet.
Forgetting shipping bolts, which can damage the drum during the first spin cycle.
Letting the drain hose sit loose, kinked, or too deep in the standpipe.
Ignoring a floor that is slightly off level and assuming the machine will “settle in.”
Plugging into a weak, ungrounded, or overloaded receptacle because it is nearby.
Those are small errors, but they tend to stack. A washer with one bad hose and a slight tilt may still run today, yet it is the kind of setup that starts shaking, leaking, or walking across the floor after a few weeks. That is usually the point where I decide whether the job is still DIY or has become plumbing work.
When a plumber is the smarter call
I am comfortable saying this plainly: if the project requires new drain lines, new shutoff valves, venting changes, or wall work, the job has moved beyond appliance hookup. That is especially true in older US homes where the laundry area was added later and the plumbing was never built for a modern washer.
You need to install a new standpipe or replace undersized drain piping.
The shutoff valves are corroded, seized, or dripping.
The drain backs up when the washer empties, which points to a pipe or venting issue.
The laundry area is in a basement, garage, or other location where drainage is not straightforward.
You are unsure whether the existing receptacle and plumbing meet local code.
The washer location is changing, and the water lines have to be moved.
There is no prize for forcing a bad rough-in to work. If the plumbing is the weak link, a short service visit is cheaper than repairing water damage, replacing a pump, or tearing out a half-finished install later. Once the mechanical risks are handled, the last step is a disciplined test run.
What a clean first run should look like
The first cycle tells me almost everything I need to know. I want to see the washer fill normally, drain cleanly, and spin without the cabinet sliding or rattling. I also want to inspect the rear of the machine while it is running, then look again after the cycle ends, because some leaks only show up under pressure or after the hoses relax.
If the test run is quiet, the hoses stay dry, and the machine does not rock when it reaches spin speed, the setup is probably sound. I still like to keep the hoses accessible, leave a little service slack, and check the connections again after the first few loads, because that is the easiest time to catch a minor issue before it becomes a real one.