What matters first when the disposal stops working
- No sound at all usually points to power, a tripped breaker, or the overload protector.
- A low hum usually means the flywheel is jammed, not that the motor is dead.
- Slow draining is often a plumbing issue in the P-trap or branch line.
- Leaks can come from the sink flange, discharge connection, or the housing itself.
- Repeated resets or a burning smell are warning signs that the unit may be failing.
Read the symptom before you reach for a tool
I get the best results when I diagnose the problem by symptom instead of guessing. A disposal that is silent, a disposal that hums, and a disposal that drains slowly are not the same failure, even if they all feel like the same headache in the moment.
| What you notice | Most likely cause | Best first move |
|---|---|---|
| No sound at all | No power, tripped GFCI, tripped breaker, or overload protector | Check the outlet, panel, and reset button |
| Low humming noise | Flywheel or impeller is stuck | Turn the power off and free the jam |
| Sink drains slowly | P-trap or downstream drain clog | Inspect the plumbing, not just the motor |
| Water in the cabinet | Loose connection or failed seal | Trace the leak to its highest wet point |
| Burning smell or repeated trips | Overheated or failing motor | Stop resetting and reassess the unit |
That quick split matters because it keeps you from forcing a plumbing fix onto an electrical problem, or the other way around. Once the symptom is clear, the next step is to make the unit safe before you touch anything under the sink.
Start with the safe checks that solve simple failures
Turn the disposal off before you do anything else. If the unit is hardwired, I also shut off the breaker, because under-sink work gets messy quickly and there is no upside to taking a live risk for a five-minute check. If the sink is full of water, I bail it out with a bucket or pot first so I can actually see what I am doing.
- Check whether the disposal is plugged in under the sink.
- Look for a tripped GFCI outlet nearby and reset it if needed.
- Check the main electrical panel for a tripped breaker.
- Wait 10 to 20 minutes if the unit feels hot to the touch, since overload protection often needs a short cool-down.
- Use a flashlight and look into the chamber only after the power is off.
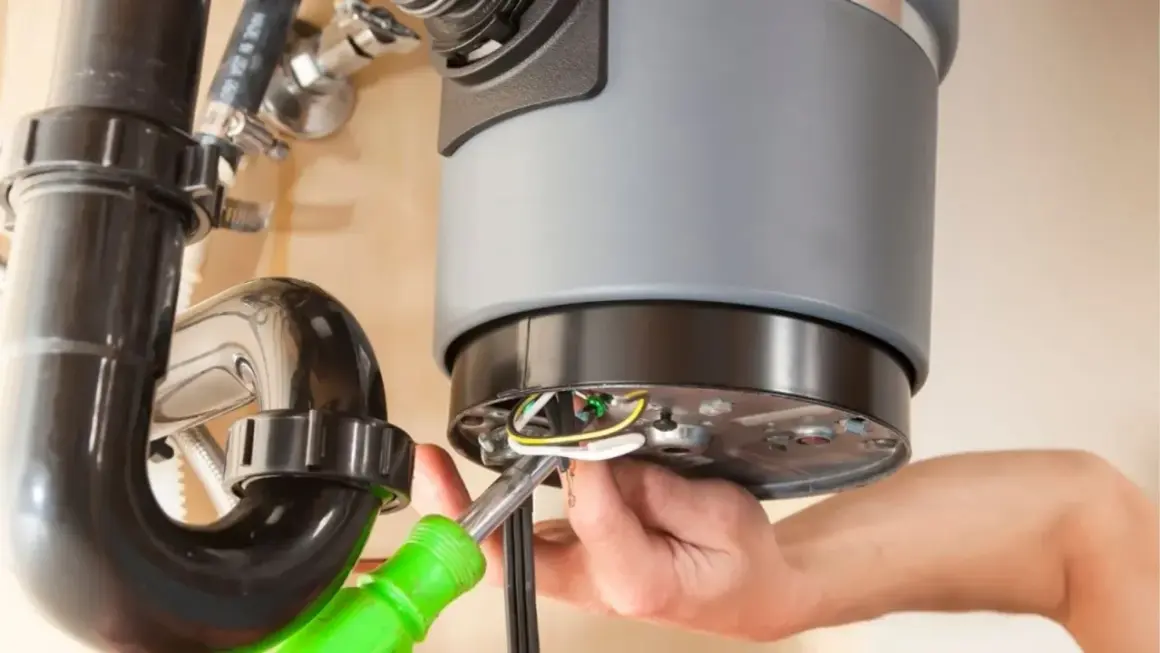
Free a jammed disposal without damaging it
A humming unit tells me the motor is getting power but the moving parts cannot turn. That is the classic jam, and it is often fixable with the hex wrench port on the bottom of the disposer.
- Confirm the switch is off and the power is disconnected.
- Insert a 1/4-inch hex key, also called an Allen wrench, into the center hole underneath the unit.
- Work the wrench back and forth until the flywheel starts to move freely.
- Look into the chamber with a flashlight and remove visible debris with tongs or pliers.
- Never put your hand inside the disposal chamber.
- Run cold water and test the switch briefly once the obstruction is cleared.
If the wrench refuses to move at all, I do not force the issue with random metal tools. A controlled back-and-forth motion is the point here, not brute force. The goal is to free the jam, not to scar the grinding chamber or twist something inside the unit. Once the jam is gone, the next thing to verify is whether the overload protector or breaker tripped while the disposal was stalled.
Reset the overload protector and breaker the right way
Many disposals have a small red overload button on the bottom of the housing. When that button pops, it is the unit’s way of protecting the motor from heat or strain. In the field, I see this after a jam, after an overload, or after a motor has been pushed too long while stuck.
- Press the red reset button on the underside of the unit.
- If it does not stay in, wait about 10 minutes and try again after the unit cools.
- Check the breaker in the panel if the disposal is still dead.
- If your setup uses an air switch or plug under the sink, unplug it for up to 20 minutes and reconnect it.
- After resetting, run cold water and test the disposal for only a few seconds.
If the reset works once and then fails again, I treat that as a clue, not a coincidence. It usually means the underlying problem is still present, or the motor is getting weak. From there, I stop thinking only about the appliance and start checking the drain plumbing itself.
Trace a clog or leak in the sink plumbing
When the disposal runs but the sink still backs up, the motor may be fine and the blockage may be downstream in the trap or branch line. That is a plumbing problem first, not an appliance problem, and it should be treated that way.
When the sink drains slowly
The curved P-trap under the sink is a common collection point for grease, fibrous food scraps, and small debris. If the disposal turns but the sink level barely drops, I look there next. A plunger can help a partial clog, but I do not rely on one if the drain is packed with grease or food paste.
If you open the trap, place a bucket underneath first. That simple step saves you from an unnecessary cabinet flood and makes cleanup much easier.
Read Also: Kitchen Faucet Replacement - Your DIY Guide to No Leaks
When the cabinet is wet
| Where the leak appears | What it usually means | What I would check first |
|---|---|---|
| Top edge around the sink | Sink flange seal or mounting issue | Look for a loose mount or failed putty/seal |
| Side connection near the dishwasher inlet | Loose clamp or cracked hose | Inspect the hose and tighten or replace as needed |
| Discharge pipe or slip nut | Worn gasket or loose connection | Snug the fitting and check the gasket |
| Bottom of the housing | Cracked body or failed internal seal | Consider replacement |
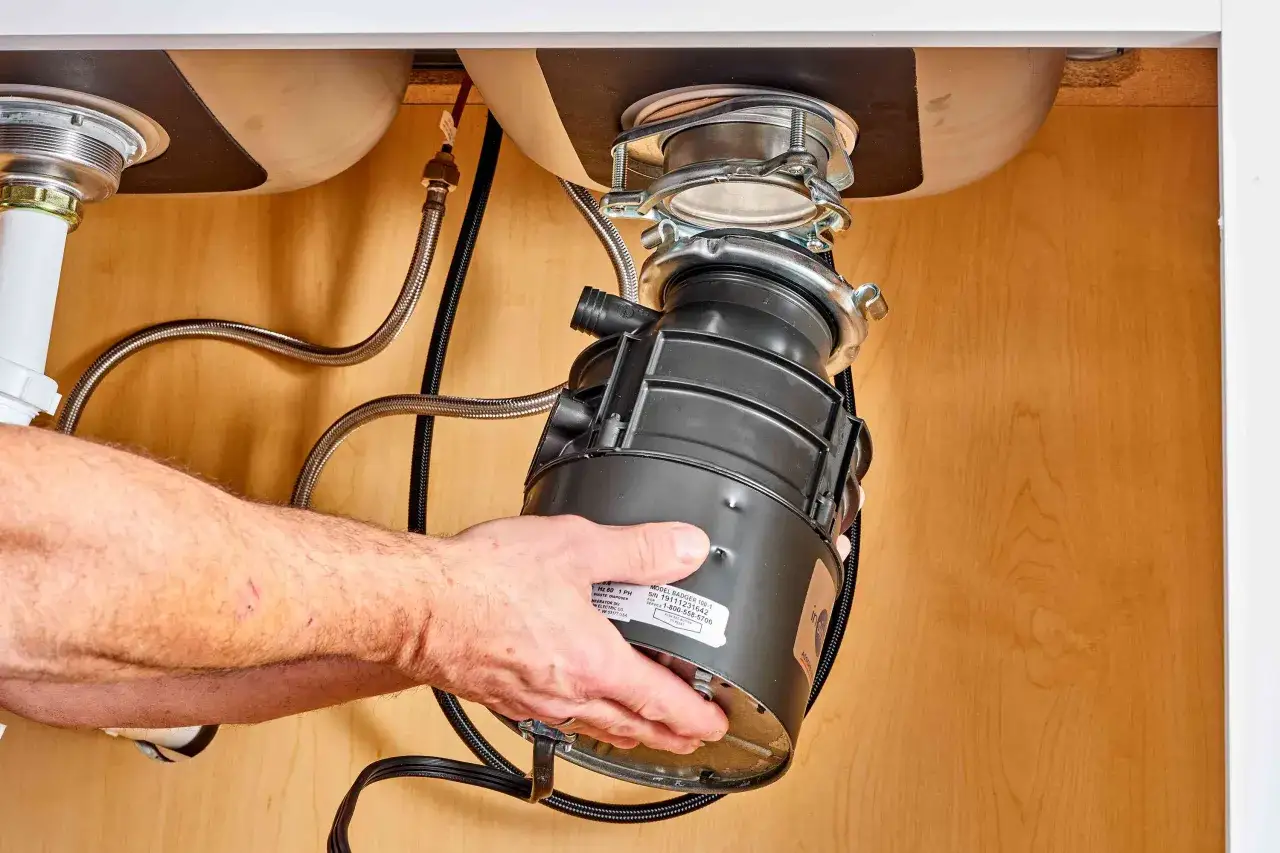
That last point is important: a leak from the body of the unit is usually not a simple tightening job. If water is coming from the housing itself, I usually move quickly to replacement instead of spending time on a repair that will not hold. That leads directly to the question of when fixing the unit still makes financial sense.
Know when replacement is the smarter call
There is a point where another reset or another jam-clearing attempt is just delay. In 2026, a U.S. replacement job commonly falls around $200 to $625 all in, while a repair visit can still run roughly $275 to $331 if a plumber has to diagnose the issue, clear the blockage, and verify that the unit is working again. The exact number depends on the model, labor, and whether any plumbing or electrical correction is needed.
| Situation | What I would do |
|---|---|
| One jam, then normal operation | Repair and keep using it |
| Reset tripped once after overload | Repair, then monitor closely |
| Repeated breaker trips or repeated resets | Compare repair cost with replacement |
| Burning smell, smoke, or seized motor | Replace the unit |
| Leak from the body of the disposer | Replace the unit |
| Unit is roughly a decade old and acting up again | Price a replacement before paying for another visit |
I tend to be conservative here: if the housing is cracked, the motor smells burnt, or the problem keeps coming back after basic fixes, I stop treating it as a maintenance issue. That is usually the moment when a new unit is the cheaper decision over time, even if the upfront bill is higher. Once you have the unit working again, the best next move is to keep it from failing the same way twice.
What I would change so the problem does not come back
The fastest way to shorten a disposal’s life is to overload it with the wrong waste and forget about the water flow. I keep the habits simple because simple habits actually stick.
- Run cold water while the disposal is on, and let it run a few seconds after grinding stops.
- Feed scraps in small batches instead of dumping a full plate at once.
- Avoid grease, oils, fat, celery, onion skins, fibrous stems, and hard pits.
- Use the unit regularly so parts do not sit unused long enough to corrode.
- Flush it occasionally with a little dish soap and cold water, or a few ice cubes if you want to knock loose residue.
- Do not treat the disposal as a trash can for everything that can fit in the drain opening.
If I am honest, most repeat failures I see are not mysterious. They come from a jam that was never fully cleared, a drain that was already partially blocked, or a habit that keeps feeding the same kind of debris into the unit. Fix the immediate problem, then change the usage pattern that created it. If the disposal still will not run after these steps, the issue is usually deep enough that a plumber can diagnose it faster than another round of reset-and-try.