A clogged disposal is one of those kitchen problems that feels bigger than it is until you isolate the cause. This guide walks through the safest checks, the right tools, the difference between a jammed unit and a backed-up drain line, and the point where I would stop and call a plumber. If you want to know how to unclog a garbage disposal without making the problem worse, the first step is figuring out where the blockage actually sits.
The fastest safe fix is to identify whether the problem is inside the unit or farther down the drain
- A humming motor usually points to a jam in the grinding chamber.
- Water backing up in both sink bowls usually points to the trap or branch drain.
- Power should be off before you reach under the sink or insert any tool.
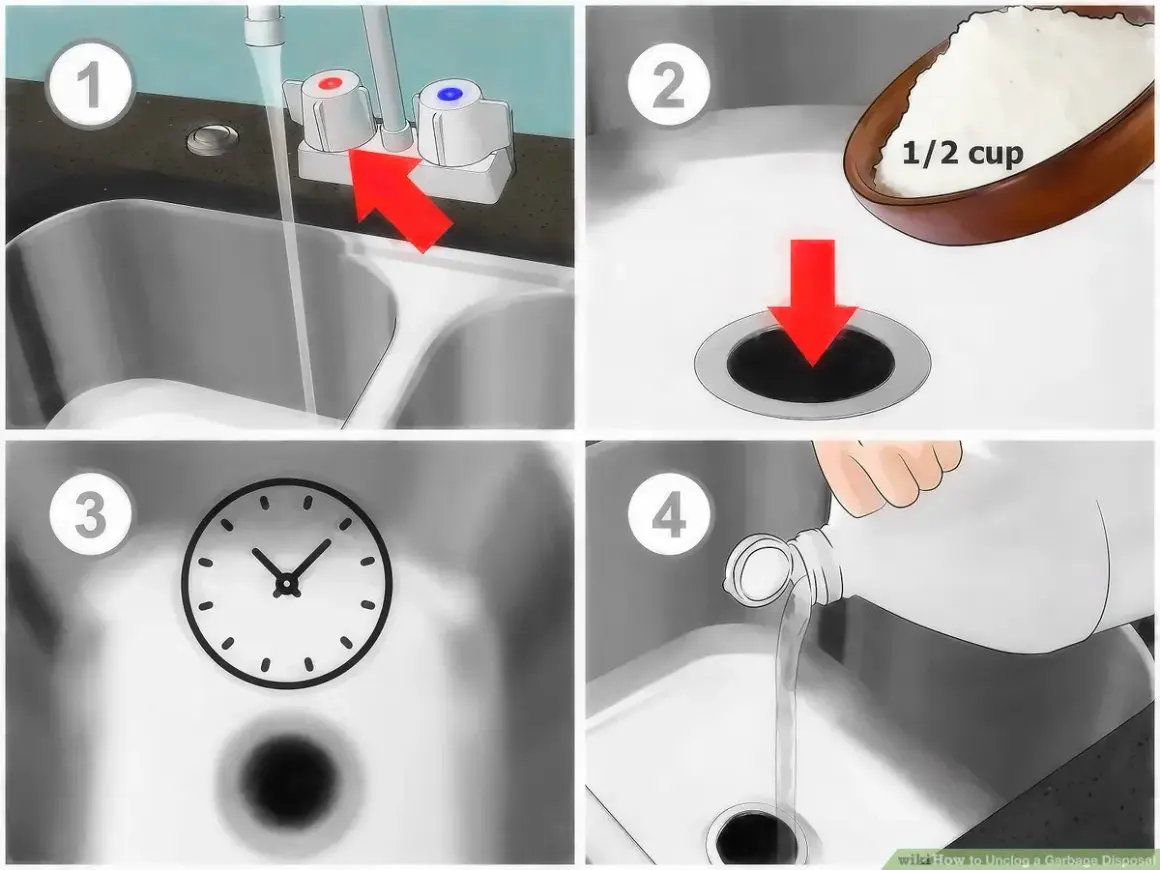
- A 1/4-inch hex wrench, a plunger, and a bucket solve many simple clogs in minutes.
- Cold water is the right rinse while the disposal is running.
- Grease, fibrous scraps, and repeated overloads are the usual reasons the clog comes back.
What a clogged disposal is actually telling you
I start by treating a disposal clog as a diagnosis problem, not just a cleaning problem. The unit does not really “cut” food like a blender; it throws scraps against a grinding ring, and the water carries the slurry out through the drain. That means a jam can live in the chamber itself, but it can also be a drain-line backup that only looks like a disposal problem.
That distinction matters because the symptoms are different. A motor that hums but will not spin usually means the chamber is jammed. A unit that runs but leaves standing water in the sink usually means the line after the disposer is restricted. InSinkErator’s troubleshooting guidance starts with that same split: first decide whether you are dealing with a jam or a clogged drain line.
| Symptom | Most likely cause | Best first move |
|---|---|---|
| Motor hums, sink still full | Grinding chamber jammed | Cut power, free the impeller plate, then reset |
| No sound at all | Tripped breaker or overload protection | Check power, then press the reset button |
| Water backs up in both bowls | Trap or branch drain clog | Plunge or inspect the trap |
| Slow drain after a short run | Grease or food buildup farther down the line | Clean the drain path, not just the disposal opening |
| Leak under the sink | Loose connection or damaged housing | Stop using it and inspect before restarting |
Once you know which bucket the problem falls into, the repair gets much more straightforward. The next step is to work safely and avoid the mistakes that turn a minor clog into a bigger plumbing repair.
The safe checks I do before trying to clear it
I never reach into a disposal first, even if the opening looks empty. My order is simple: disconnect power, inspect, remove visible debris, and only then move to tools. That sequence is quick, and it removes most of the risk.
- Turn the disposal off at the wall switch.
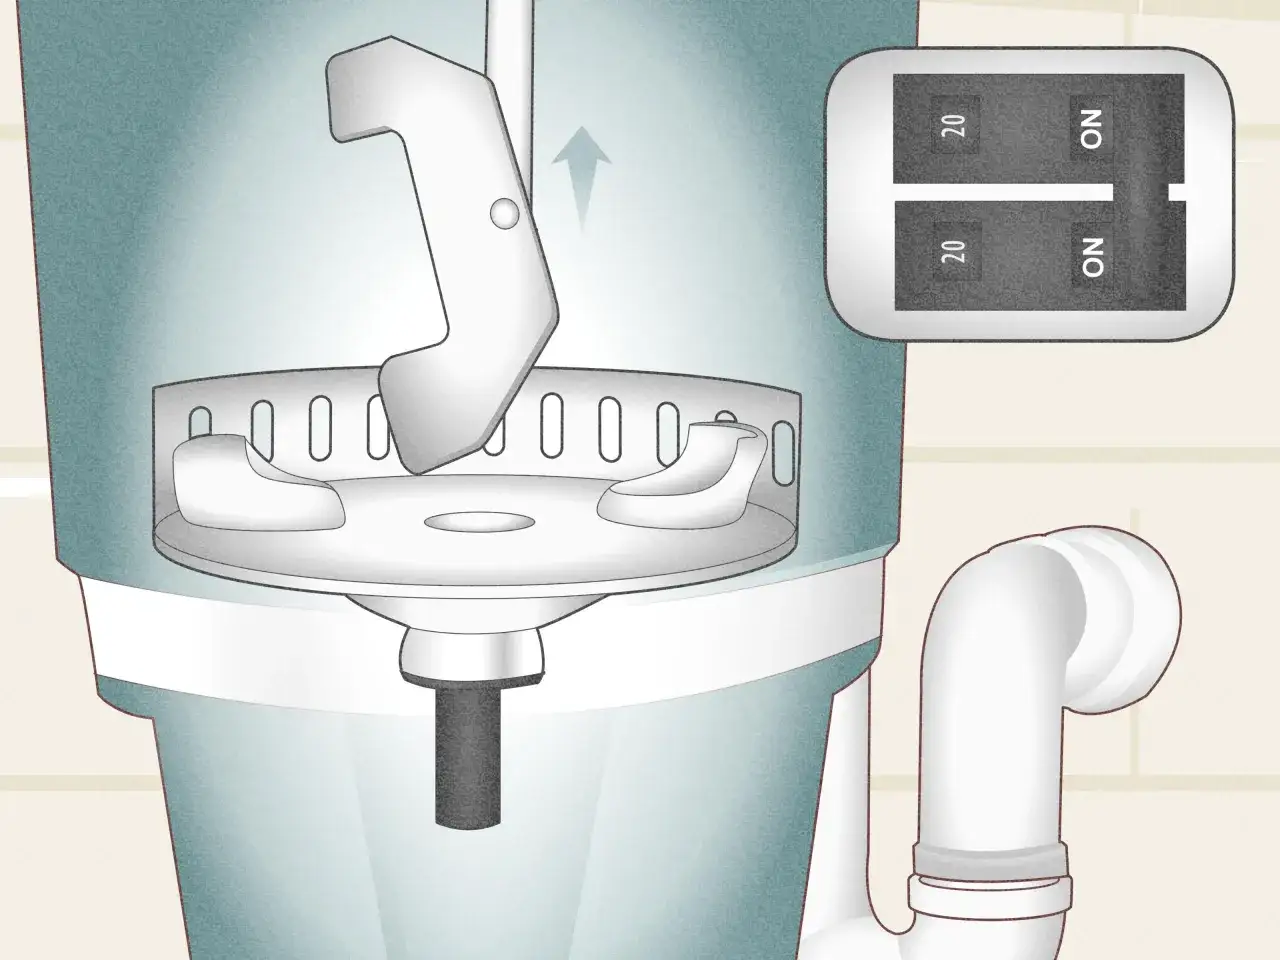
- Unplug it or switch off the breaker if the unit is hardwired.
- Use a flashlight to look into the drain opening.
- Remove any visible object with tongs or needle-nose pliers, not your fingers.
- Check the bottom or side of the unit for a reset button.
If the sink is full of water, I also keep a bucket and a towel nearby before I do anything else. That matters more than people think, because the first real fix often dislodges water and debris at the same time. With the unit isolated and inspected, I move to the actual unclogging steps.
How I clear a typical blockage step by step
The best DIY fix depends on whether the chamber is jammed or the sink is simply backed up. I usually start with the jam first, because if the impeller plate cannot move freely, plunging alone does not solve much.
- Keep the power off.
- Insert a 1/4-inch hex wrench into the socket under the center of the disposer and turn it back and forth until the plate moves freely.
- If the wrench binds hard, stop and do not force it. Forcing a seized plate can damage the motor or the coupling.
- Press the reset button once after the jam loosens.
- Fill the sink with about 4 inches of water if the drain is still backed up.
- If you have a double sink, block the other bowl with a stopper before plunging.
- Set a sink plunger over the disposal opening and work it with short, firm pulls several times.
- Run cold water and the disposal for 1 to 2 minutes to flush out what came loose.
If the unit starts normally after that, I let cold water run a little longer and listen for a smooth, even sound. If it still stalls, the blockage is probably deeper than the chamber itself. That is the point where I look at the trap and branch drain instead of repeating the same steps.
When the blockage is in the trap or branch drain
A disposal can be fine mechanically and still leave the sink sitting full of water. That usually means the clog is not in the grinding chamber at all; it is in the trap, the branch drain, or a bend farther downstream. You will often see this when the disposer runs, water swirls weakly, and then the sink backs up again almost immediately.
For that kind of problem, I treat the disposal as only part of the path. The drain under the sink needs to be cleared as a system.
Signs the clog is farther down the line
- Both sink bowls fill up instead of just the disposer side.
- The disposal runs, but the water drains only slowly.
- You hear gurgling from the other side of the sink.
- The clog returns right after a short flush.
Read Also: Are Shower Heads Universal? The Truth About Fit & Swaps
What I do next
First, I place a bucket under the P-trap and loosen the slip joints carefully. A small amount of dirty water is normal, so the bucket is not optional. I then clean out the trap and check the pipe section for grease, food paste, or a lodged object. If the trap is clear and the sink still will not drain, the blockage is farther into the branch line, and I stop short of taking apart more than I should.
This is also where a stubborn clog stops being a quick appliance fix and becomes real drain work. If the piping is glued, corroded, or awkwardly routed, there is no prize for improvising. Once the trap and immediate drain path are clean, the next question is what not to do so the problem does not get worse.
What not to do with a clogged disposer
This is the part where a lot of people make the repair harder than it needs to be. The biggest mistake is trying to power through a jam. If the motor is stalled, keep running it and you can overheat the unit. If the drain is backed up, forcing more scraps through only packs the blockage tighter.
- Do not reach into the chamber with bare hands.
- Do not use chemical drain cleaner as a first fix.
- Do not keep flipping the switch on and off if the motor is humming.
- Do not force a wrench if the plate is locked hard.
- Do not treat boiling water or vinegar as a substitute for clearing the actual blockage.
- Do not keep feeding grease, rice, pasta, fibrous peels, or bones into a unit that is already struggling.
I am cautious about chemical cleaners because they can sit in standing water and add risk without solving the mechanical problem. I am also conservative about hot water during operation; cold water is the safer default while the disposal is running, especially if grease is part of the issue. Once the clog is gone, then the focus shifts to whether the repair is truly finished or whether it is time for a plumber.
When I would call a plumber instead of pushing harder
According to Angi, a standard plumber service call often runs about $100 to $250 in the United States, and emergency visits can move into the $300 to $400 range. That is why I do a few safe DIY checks first, but I do not keep experimenting when the symptoms point to a deeper fault.
- The breaker trips repeatedly after you reset the unit.
- You smell burning, hear metal-on-metal grinding, or see smoke.
- The housing leaks from the bottom of the disposal.
- The wrench will not budge the plate even slightly.
- The clog keeps returning after the trap is cleaned.
- Water is backing up into other fixtures, which suggests a broader drain issue.
If the disposer itself is damaged, the economics change quickly. A straightforward repair may stay in the low hundreds, while replacement often lands in the $200 to $625 range depending on the unit and labor. At that point, I start comparing the repair quote with the price of a new disposer instead of assuming the old one deserves another round of attention.
The habits that keep the sink clear after the repair
Once the sink is flowing again, I usually think about prevention before I forget the lesson. Most repeat clogs come from the same few habits: too much food at once, too little water, grease in the line, or scraps that should never have gone into the unit in the first place.
- Run cold water before, during, and for 15 to 30 seconds after use.
- Feed scraps in small amounts instead of dumping a full plate at once.
- Keep grease and cooking oil out of the disposal and the drain.
- Avoid fibrous foods, thick peels, bones, and big starch loads like pasta and rice.
- Use ice cubes and a citrus peel occasionally if you want to freshen the chamber, but do not mistake that for clog prevention.
The practical rule is simple: the disposal handles small food waste, not everything from the cutting board. If you keep water moving, keep the feed rate modest, and avoid the materials that bind up the chamber, you will avoid most of the calls that start with a slow sink and end with a wrench under the cabinet.