The job succeeds when layout, depth, and gate framing all work together
- Check property lines, easements, permits, HOA rules, and underground utilities before you dig.
- Choose the fence system for your yard, not just for the catalog photo.
- Set corner, end, and gate posts more carefully than line posts, because they carry the stress.
- Leave room for drainage and concrete cure time so seasonal movement does not twist the fence later.
- Budget extra for gates, slope, and removal of old fencing; those details move the price more than the vinyl itself.
Start with the boundary, the rules, and the ground conditions
I begin every fence project with paperwork and a rough sketch, not with a shovel. The fastest way to waste money is to order panels before you know where the property line runs, whether an easement cuts through the yard, or whether local code limits height and placement. Call 811 before digging, check the survey if you have one, and confirm HOA or city rules if they apply.
| Check | What I do | Why it matters |
|---|---|---|
| Property line | Verify the boundary with a survey, plat, or prior markers. | Even a small encroachment can create a neighbor dispute or force a rebuild. |
| Easements | Look for utility or access easements before finalizing the layout. | A fence placed in the wrong strip can be removed later at your expense. |
| Underground utilities | Mark utilities before any post hole is dug. | It protects safety and keeps the project from turning into an emergency repair. |
| Permits and HOA rules | Confirm height, setback, and style rules in advance. | Many neighborhoods care about appearance, and some towns care about footings too. |
| Slope and drainage | Note where water collects and where the grade changes. | Drainage affects post stability, panel fit, and long-term movement. |
When the site notes are clear, I know whether I am dealing with a straightforward boundary run or a more complicated outdoor living project. That decision drives everything that comes next.
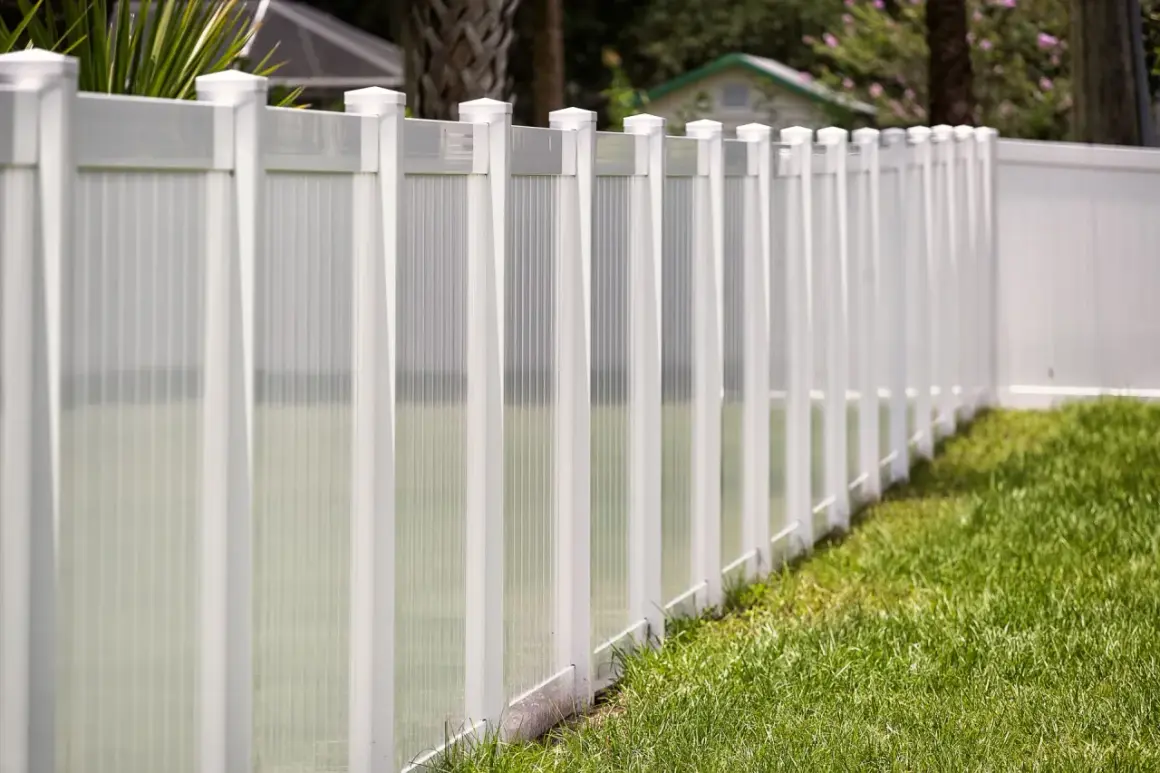
Choose the fence system that fits the yard
Vinyl fencing looks simple from the street, but the install system matters a lot. Some kits use routed posts with rails that slide in. Others use brackets attached to plain posts. There are also no-dig systems that reduce excavation, although they are not the best answer for every soil type or every gate.
| System | Best for | Tradeoff |
|---|---|---|
| Routed posts | Clean-looking runs with predictable panel spacing | Less forgiving if your measurements drift |
| Bracket system | DIY work and layouts that need a little adjustment | Hardware is more visible |
| No-dig system | Faster installs in suitable soil with lighter-duty needs | Not ideal for heavy gates or unstable ground |
I also choose the style based on use, not just appearance. A 6-foot privacy fence makes sense when the goal is screening and pet containment. A 3- to 4-foot picket or post-and-rail fence works better when the purpose is to define a yard without blocking the view. Thicker panels and taller sections usually cost more because they carry more material and wind load.
Once the system is selected, the real work starts: laying out the line and setting posts so the fence stays straight after the first winter.
Set the line and posts with the final span in mind
This is the section where careful measuring saves the entire project. I stretch a tight string between corner locations, mark every post position, and keep checking the distance before I dig. A common mistake is digging all the holes first and hoping the panels will somehow fit. They usually do not.
- Stake the corners and gate openings first, then pull a taut string line between them.
- Mark post centers from the panel width, not from guesswork. Many systems use a true on-center measurement that depends on the panel and post size.
- Dig the holes deep enough for your climate and fence height. As a rule of thumb, I want roughly one-third of the post below grade, and I go deeper for gates and corners.
- Leave room for drainage. A gravel base under the post helps water move away instead of sitting around the footing.
- Set the posts in concrete, then check plumb on two adjacent sides before the mix locks up.
- Let the concrete cure before hanging panels or mounting gates.
On a typical 6-foot system, the on-center spacing often lands around 73 1/4 inches for some 5-by-5 post layouts, while 8-foot panels can use 96 inches on center with 4-by-4 posts. I still verify the manufacturer sheet before I dig, because one kit may differ from another by enough to matter.
For slope, I prefer the step method rather than trying to force the fence to follow the grade. The rails stay level, each bay steps up or down in discrete moves, and the finished line looks deliberate instead of wavy. That approach is usually easier to build and easier to maintain.
When the posts are set correctly, the rest of the project becomes assembly work instead of rescue work.
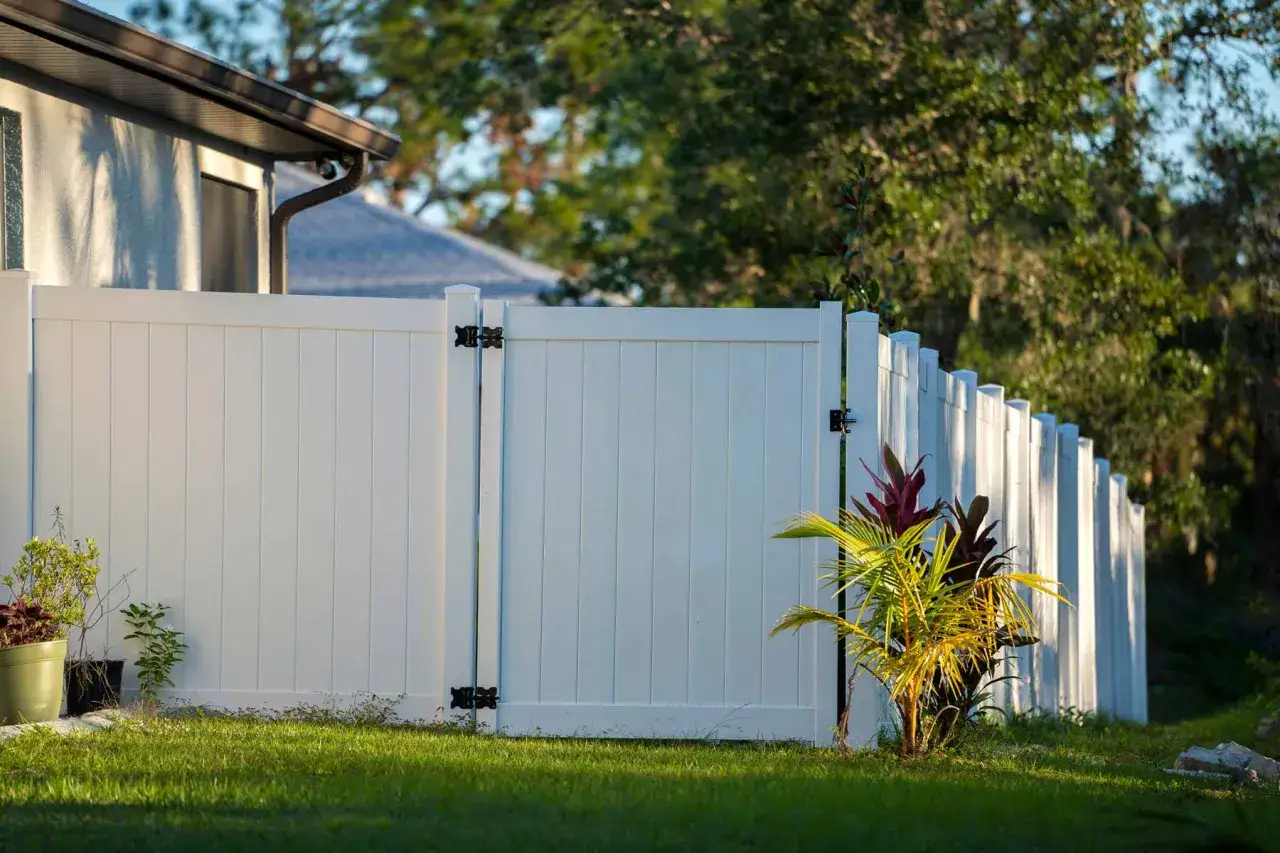
Attach the panels and gate before the concrete fully locks
Once the posts have cured, I install the hardware and panels in the same order the system was designed for. If the fence uses brackets, I fasten them square and level before sliding in the sections. If it uses routed posts, I check every rail before locking anything down. This is the stage where a small error in spacing becomes obvious, so I keep a level and tape measure close.
- Install the end, corner, and gate posts first, then string the line posts between them.
- Use the screws and fasteners recommended by the fence manufacturer.
- Do not force rails into a post opening that is slightly out of square; correct the post instead.
- For a gate, leave extra clearance so the latch, hinges, and swing all work without rubbing.
- Reinforce hollow gate posts as required, because gate hardware creates more stress than a plain panel does.
The most common gate mistake is building it too tight. I leave enough room for seasonal expansion, latch movement, and slight settling. If the opening is only just wide enough on day one, it often becomes annoying by the end of the first freeze-thaw cycle.
When the fence is assembled correctly, the project looks simple. That is usually a sign the hard parts were done right.
Budget for the whole project, not just the fence panels
Vinyl usually sits in the middle of the fence-cost range: more than basic wood in some markets, but far less maintenance over time. The numbers change with height, style, gates, and terrain, so I prefer to budget by scenario instead of by hope.
| Project type | Typical U.S. range | What moves the price up |
|---|---|---|
| Materials only | $10 to $30 per linear foot | Panel thickness, height, gate count, and decorative trim |
| Professionally installed standard fence | $15 to $50 per linear foot | Labor, layout complexity, soil conditions, and local pricing |
| Gate add-on | $300 to $1,500 each | Width, latch system, reinforcement, and hardware quality |
For a 100-foot run, that usually means the base fence can land somewhere around $1,500 to $5,000 installed before gates, old fence removal, grading, or permit fees. If the yard is sloped, rocky, or crowded with landscape beds, I would expect the quote to climb because the labor takes longer and the layout gets more precise.
DIY makes sense when the run is fairly straight, the soil is manageable, and you have two people who can measure carefully and handle concrete. I would lean toward hiring out the job when the design includes multiple gates, a driveway opening, a steep slope, or tight property setbacks. Those are the situations where experience saves time and prevents expensive rework.
If the price seems high, I do not just compare the fence per foot. I compare the total project, including gate hardware, removal, haul-away, and the time it would take me to correct mistakes later.
What I would double-check before calling the fence finished
A vinyl fence is low-maintenance, but it is not no-maintenance. I walk the line after the concrete sets, after the first hard rain, and again after the first season change to make sure nothing shifted. If a post leans even a little, I want to catch it early.
- Check that the post tops are aligned and the panels sit level where they should.
- Make sure the gate swings freely and the latch closes without force.
- Slope the concrete away from the post so water does not pool at the footing.
- Wash the fence with mild soap and water when dirt or sprinkler residue builds up.
- Inspect caps, hinges, and fasteners after a rough winter or a windy storm.
- Keep planters, hoses, and irrigation spray from rubbing the surface constantly.
That last step matters more than people expect. Most vinyl fence failures are not dramatic; they start with poor drainage, weak gate framing, or a layout that was never truly square. Get those details right, and the fence should stay clean, straight, and useful for years without much attention. The difference is usually in the prep, not in the plastic.