A good backyard swing is less about the seat and more about the tree, the load path, and the space around it. This guide on how to build a tree swing covers the practical parts that matter most: choosing a safe limb, picking hardware that respects the tree, setting the right clearance, and avoiding the mistakes that turn a simple project into a repair job.
Key takeaways before you start
- Choose a healthy, living branch with no cracks, deadwood, decay, or weak branch unions.
- Prefer a wide strap or sling over anything that bites into the bark or needs to be driven into the tree.
- Keep the swing path clear of fences, patios, trunks, walls, and garden structures.
- Build for the use case you actually want: plank swings are simplest, tire swings move more, and toddler seats need the most caution.
- Inspect it often because rope stretches, hardware loosens, and trees grow around attachments.
Start with the right tree and branch
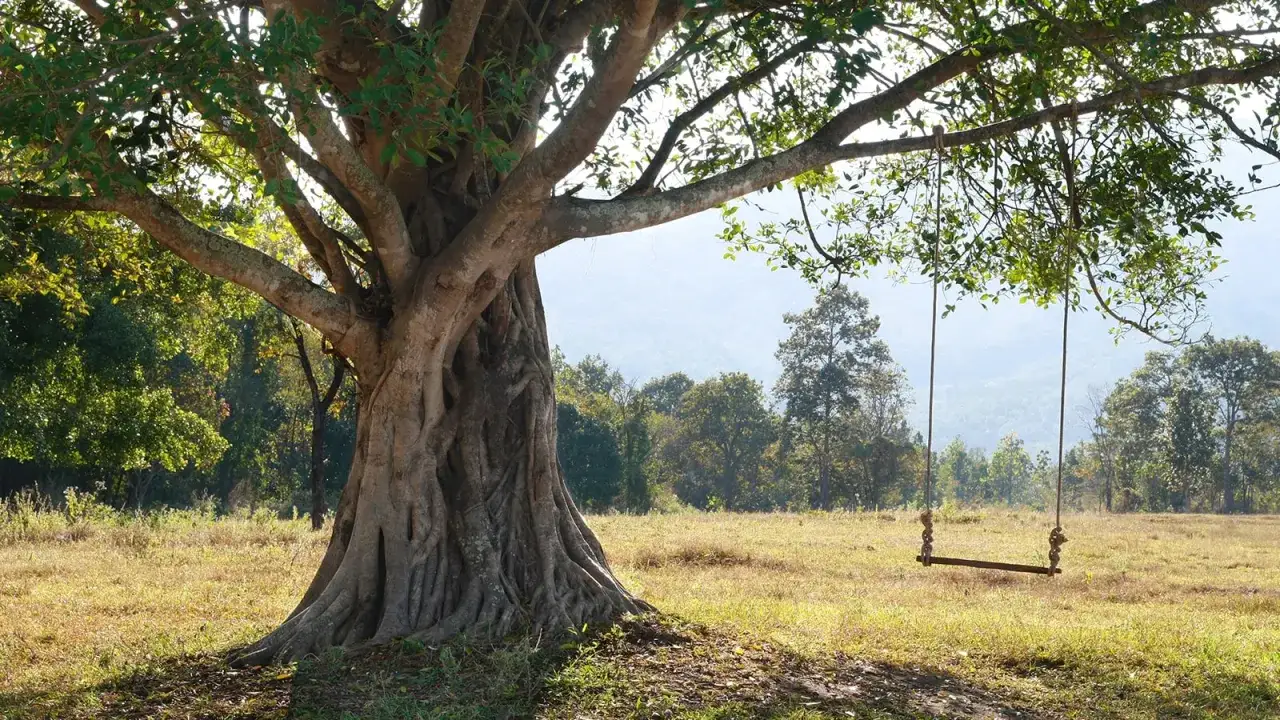
The safest swing starts with a tree that is structurally sound, not just visually nice. I look for a mature living branch with solid bark, wide attachment angles, and no obvious signs of stress. If a branch has cracks, soft spots, fungal growth, included bark, or dead tips, I walk away and choose another limb.
In practice, I want a branch that looks oversized for the job. For a simple single-seat swing, a sturdy limb in the rough range of 8 to 12 inches in diameter is a reasonable backyard benchmark, but species, branch structure, and condition matter more than a single number. A strong-looking oak limb is not the same as a similarly sized limb with a narrow crotch or previous storm damage.
I also pay attention to what is under and around the swing. A tree over a patio, driveway, retaining wall, or busy walkway is usually the wrong tree for this project, even if the branch itself is healthy. The swing should fit the landscape, not force the landscape to work around it.
According to the Virginia Tech Tree Steward Manual, nails, screws, spikes, and tight wraps can injure a tree and eventually girdle a limb. That is the main reason I treat the tree as something to protect, not something to fasten into casually. Once the branch passes this first test, the next step is deciding what kind of swing actually belongs in the space.
Pick the swing style that matches the space
Not every tree swing behaves the same way. A plank swing is the easiest to control, a tire swing moves more freely, and a single-point disc swing has the most motion. I choose the design based on who will use it, how much room the yard has, and how much maintenance I want later.
| Swing style | Best for | Why I’d choose it | Tradeoff |
|---|---|---|---|
| Plank swing | Most families, first-time DIY builds | Simple to build, predictable motion, easy to inspect | Needs two suspension points and a level seat |
| Tire swing | Large open yards and older kids | Fun, durable, and forgiving if built well | Moves in more directions, so it needs a bigger clear zone |
| Disc swing | Smaller footprint, one rider at a time | Compact and lightweight | Can be less stable than a board seat |
| Toddler bucket swing | Very young children | More supportive and controlled | Requires close supervision and age-appropriate hardware |
If I’m building for a typical backyard, I usually recommend a plank swing first. It gives you the best balance of simplicity, comfort, and control. Tire swings look nostalgic, but they ask more of the branch and the clear space than most people expect. That design choice leads directly into the material list, because the seat and hanging hardware need to match the swing style.
Gather the right materials and tools
I prefer to keep the parts list straightforward. The best builds are usually the ones with fewer places to fail.
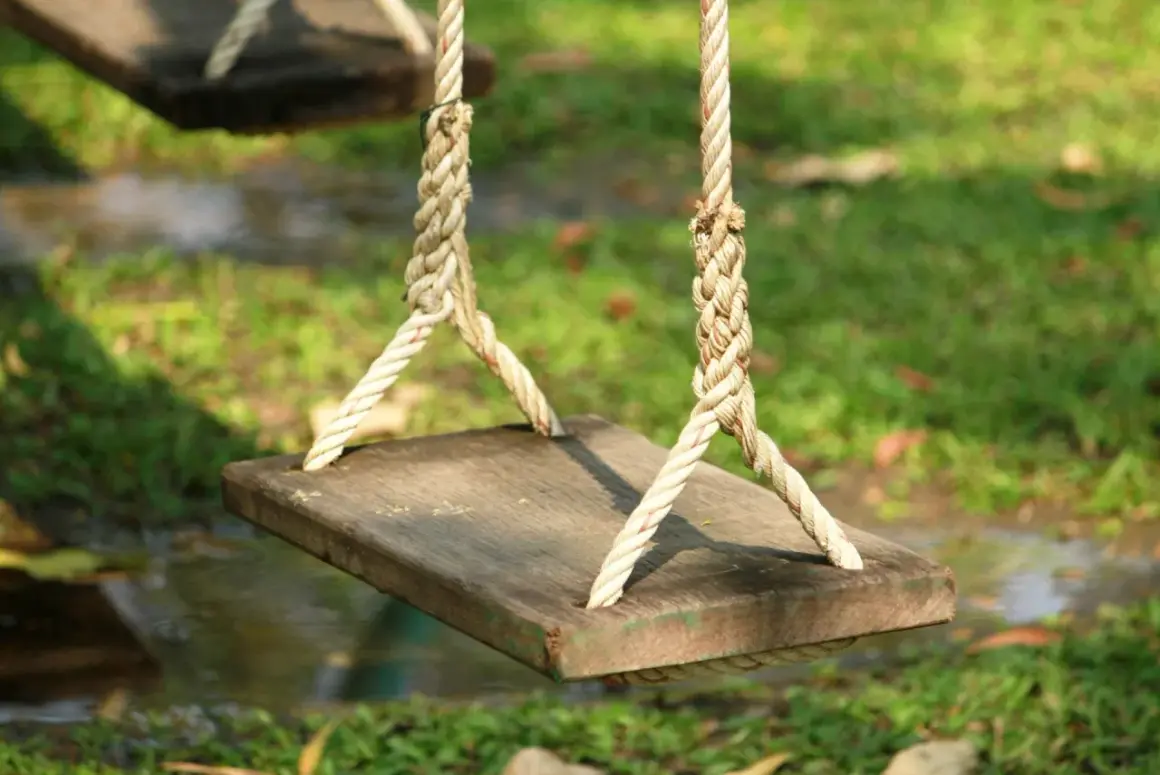
- Seat - A smooth 1x8 or 2x8 board cut to about 18 to 24 inches long for a plank swing.
- Rope - UV-resistant polyester rope, typically 5/8 inch or similar, if you want a soft, weather-tolerant hang.
- Hardware - Galvanized or stainless carabiners, shackles, washers, and lock nuts for the seat connection.
- Tree attachment - A wide tree strap or sling that spreads load without biting into the bark.
- Tools - Drill, bits, wrench, measuring tape, level, sandpaper, saw, ladder, and gloves.
I also sand the seat more than most people expect. Rounded edges matter because they make the swing more comfortable and reduce splintering. If I’m using wood, I smooth every edge, especially the corners where hands and legs will land. A cheap board with rough edges is still a cheap board after it’s painted; sanding is what makes it feel finished.
For the tree connection, I avoid improvising with random knots on rough bark or thin rope wrapped tightly around the branch. A wide strap or sling is cleaner, easier to inspect, and less likely to damage the limb as the swing moves. If you are tempted to drill into the branch or bolt hardware into the tree, pause and get an arborist’s opinion first. The shortcut is rarely worth the long-term risk.
Build and hang the swing step by step
Once the tree and materials are right, the build itself is fairly direct. The part that deserves care is the order of the work, because small mistakes are hard to fix after the swing is in the air.
- Mark the swing zone first. Clear the ground under the branch and check the full arc in both directions. Remove rocks, pots, tools, toys, and anything the rider could hit.
- Prepare the seat. Cut the board to length, sand all faces and edges, and make sure there are no cracks or loose knots in the wood.
- Drill or fit the hanger points. For a plank seat, place the two hanging points near the ends, centered across the width, and keep them symmetrical so the seat rides level.
- Attach the seat hardware. Use washers and lock nuts where needed, and make sure no bolt ends or sharp fasteners can catch skin or clothing.
- Install the branch strap. Wrap the strap around the branch, seat it flat, and connect your carabiner or shackle so the load sits evenly.
- Hang both sides evenly. Adjust the suspension so the seat hangs level when unloaded and does not twist to one side.
- Set a sensible height. I like the seat to clear the ground by at least 8 inches under load, with more room if the swing will be used by older kids or adults.
- Test before full use. Start with a controlled load, then watch the branch, strap, knots, and hardware as the seat moves through the arc.
One thing I watch closely is how the swing behaves at the turnaround point. That is where the load changes direction and where hardware usually reveals its weak spots. If the seat twists, the rope chafes, or the branch flexes more than you expected, stop and adjust before anyone keeps riding it.
For a family yard, I usually keep the motion simple. A swing that is easy to predict is easier to enjoy and easier to inspect later.
Get the clearances right before anyone rides
Clearance is the difference between a fun swing and a liability. The U.S. Consumer Product Safety Commission’s playground guidance is a useful benchmark here: the area in front of and behind a single-axis swing should extend to at least twice the vertical distance from the pivot point to the protective surface, and the sides should have a minimum 6-foot buffer.
I apply that idea to backyards in a practical way. If the swing can reach a fence, tree trunk, wall, deck rail, or hardscape edge, the setup is too tight. The swing should have room to move without anyone needing to guess where the rider will end up. That matters even more on tire swings and other designs that can spin or drift off line.
Ground surface matters too. Grass is fine for light use, but for regular kids’ play I prefer a softer zone such as mulch or another impact-absorbing surface over bare dirt, exposed roots, or gravel. The landscape should work with the swing, not punish the person who gets off a little too early.
I also like to think about the view from the house. A swing placed where adults can see it easily tends to stay safer because it gets noticed sooner when something loosens, sags, or shifts. That is a small landscaping decision with a real safety payoff.
Keep the swing safe as the tree grows
Tree swings are not set-and-forget projects. Rope stretches, straps settle, wood checks, and the tree itself changes shape over time. I inspect every swing at the beginning of the season, after major storms, and any time the tree starts to look different around the attachment point.
Here is the maintenance routine I use:
- Check for frayed rope, rust, stretched knots, and cracked hardware.
- Look for bark rubbing, bark compression, or the strap beginning to cut in.
- Make sure the seat still hangs level and the swing still clears the ground properly.
- Remove leaves, sap, and grit that can accelerate wear at contact points.
- Re-evaluate the branch if the tree has had storm damage, dieback, or new cracking.
If a rope or chain starts to press tightly into the limb, I stop using the swing and reset it. Trees grow, and what was loose in spring can become a girdling problem by late summer. That is exactly the kind of slow damage that is easy to miss until the branch begins to weaken. I would rather move the swing early than explain a failure later.
And if the branch ever develops a crack, deadwood, or a noticeable lean after installation, I treat that as a hard stop. At that point the safest fix may be a different branch, a different tree, or a freestanding swing frame. The project is only worth keeping if the tree still looks healthy and the swing still gives it room to do its job.