Planning a shed is mostly about making smart choices before the first wall goes up. The best results come from getting the site, foundation, framing, and weather protection right, because those are the parts that decide whether the structure stays square, stays dry, and still looks good a few seasons from now. When you build a shed, the details that matter most are usually the least glamorous ones: drainage, permits, anchors, and the way the shell handles weather.
Key things to get right before and during the project
- Check local permit and zoning rules first, because shed size, height, setbacks, and easements can change the whole plan.
- Choose a site with solid drainage and enough working room for delivery, assembly, and future maintenance.
- Match the foundation to the climate and the shed’s use, not just to the lowest price.
- Frame with treated lumber where wood meets concrete, keep the structure square, and brace it early.
- Weatherproof the roof and walls carefully, then add ventilation so moisture does not get trapped inside.
- Budget for the hidden costs: base prep, hardware, roofing, paint, and any electrical work.
Start with the permit, site, and size that fit your yard
I always begin here because it saves money and rework. In the United States, many municipalities exempt small sheds from a building permit, but the cutoff is not universal, and zoning rules can still apply even when a building permit does not. Setbacks, lot coverage, height limits, utility easements, and floodplain rules can all affect where the shed goes and how large it can be.
My rule is simple: verify the rules before ordering lumber or a kit. If the structure will be near a fence, alley, drainage swale, septic system, or buried utility line, that review matters even more. A shed that fits on paper can become a problem if it crowds a property line or blocks access for maintenance.
Pick the size based on what you will actually store
Most people underestimate the footprint they need. A mower, string trimmer, snow shovel, ladder, fertilizer, and a few boxes can swallow a small shed quickly. I like to think in terms of use rather than square footage alone.
| Common size | Works well for | My take |
|---|---|---|
| 8 x 10 ft | Hand tools, seasonal décor, a mower, a few shelves | Good starter size, but it fills up fast. |
| 10 x 12 ft | Lawn equipment, bikes, stacked totes, a narrow workbench | Usually the smallest size that still feels useful year-round. |
| 10 x 16 ft | Bulk storage, workshop space, larger equipment | Better if you want a real aisle and not just wall-to-wall shelving. |
| 12 x 20 ft | Serious storage or a hybrid shed-workshop | More flexible, but permits and foundation requirements often become stricter. |
If I can spare the space, I usually recommend adding 15% to 20% more floor area than the first estimate. Sheds tend to absorb stuff over time, and a cramped layout is the fastest way to make a new structure feel disappointing. Once the footprint is settled, the foundation choice becomes much easier.
Choose a foundation that matches the climate and the shed’s use
The foundation is where a lot of DIY builds succeed or fail. A shed does not need the same support system as a house, but it still needs a base that stays level, sheds water, and matches the way the structure will be used. In a colder region, permanent footings usually need to extend below the frost line, which is the depth where the soil freezes and can heave upward. In milder climates, a gravel pad or skid base may be enough if local rules allow it.
I think about shed foundations in terms of permanence, cost, and moisture management. A lighter, movable shed can sit on a well-prepared gravel base. A heavier or more permanent building usually deserves concrete piers or a slab. If the shed will hold heavy tools, a riding mower, or a workbench with power tools, I lean toward a stiffer, more permanent foundation because floor bounce becomes annoying very quickly.
| Foundation type | Best for | Pros | Watch-outs |
|---|---|---|---|
| Compacted gravel pad | Small storage sheds, portable builds, simple DIY projects | Drains well, is relatively inexpensive, and is forgiving to install | Needs careful grading and compaction; not ideal where code requires permanent footings |
| Concrete piers or blocks | Medium sheds and raised floors | Better support than loose blocks, keeps wood farther from moisture | Must be set accurately and anchored correctly |
| Concrete slab | Large sheds, workshops, heavy storage, cleaner interior floors | Very stable, easy to sweep, good for rolling equipment | More expensive, less forgiving to change later, and may require more permitting |
| Skids | Movable or semi-portable sheds | Simple, fast, and useful for smaller buildings | Not every jurisdiction treats skid-mounted sheds the same way |
Drainage matters as much as the base itself. I want the ground to fall away from the shed, not toward it, and I want the base to keep splashback and standing water away from the floor framing. That foundation decision sets up the framing work, which is where the structure starts to feel real.
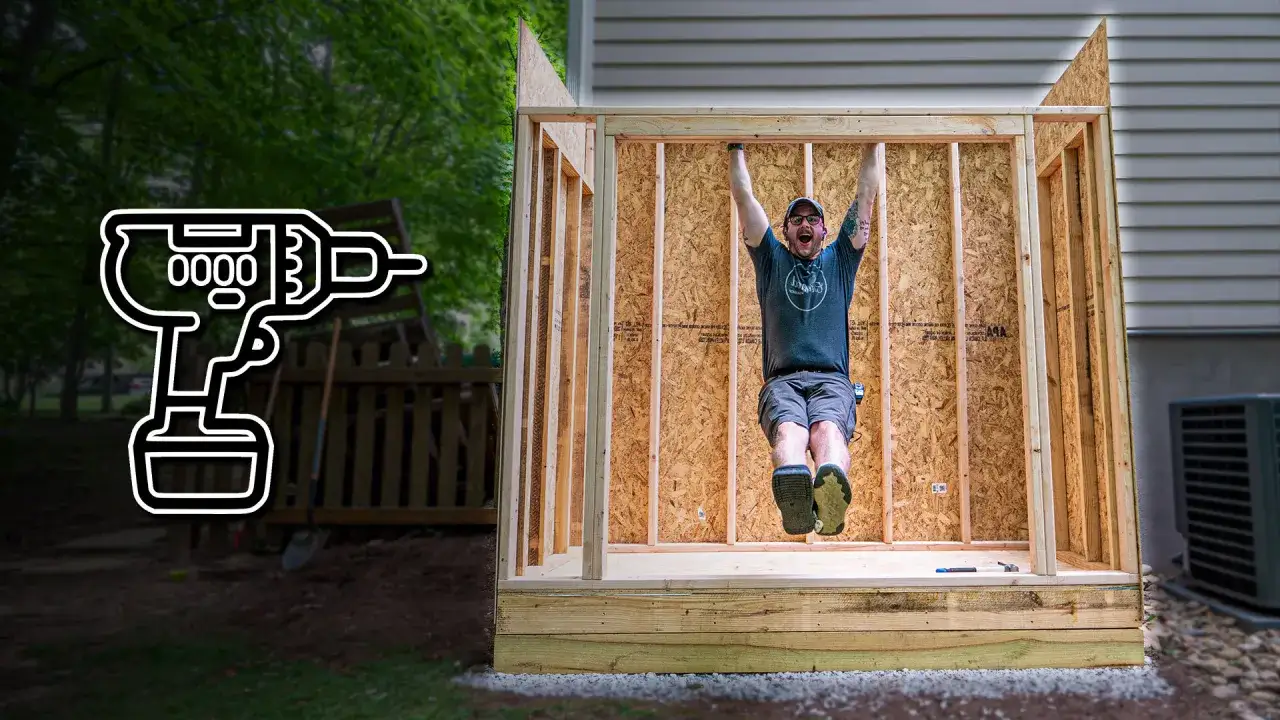
Frame the shell so the structure stays square and dry
Good framing is mostly disciplined measuring. If the base is level and the layout is square, the rest of the job becomes much less frustrating. I like to mark the floor plan carefully, check diagonal measurements to confirm the corners are square, and then build the walls on a flat surface whenever possible. For most small sheds, 16 inches on center is a common framing spacing for studs and rafters, but I always treat that as a starting point, not a universal rule.
One small decision makes a big difference: use pressure-treated lumber anywhere wood sits on concrete or close to the ground. The bottom plate, or sill plate, is especially vulnerable, and it is a poor place to save a few dollars. I also want the structure anchored well enough that wind cannot shift it over time. A shed that rocks or racks even slightly will telegraph those problems into the door and roof lines.
Build in the right order
- Lay out the floor frame and verify the diagonal measurements.
- Set the floor framing or platform on the base and anchor it.
- Raise the walls one at a time and brace them plumb immediately.
- Install roof framing before removing temporary braces.
- Sheath the walls and roof to lock the frame together.
I like to sheath early because sheathing works like a brace. It stiffens the shell and reduces racking, which is the sideways movement that can twist the structure out of square. Once the frame is locked in, the next priority is keeping water out without trapping moisture inside.
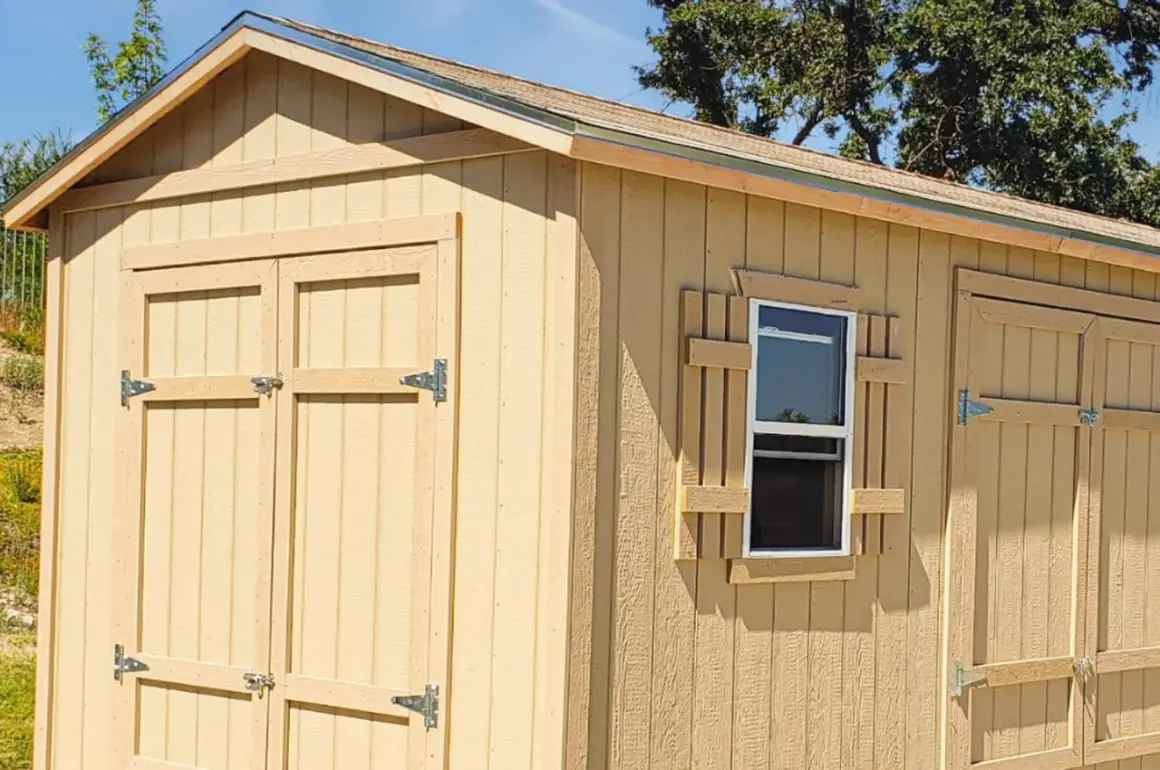
Weatherproof the exterior before you think about shelving
A shed that survives weather well is usually the one with the least drama in its envelope. Roof pitch, underlayment, flashing, siding, and vents all work together. I avoid ultra-low roof slopes on a small outbuilding unless the roofing system is clearly designed for it, because low slopes are less forgiving when wind-driven rain or snow shows up. A modest roof overhang helps too; it keeps water off the walls and buys a little extra life for paint and trim.
On the walls, I prefer a proper moisture barrier and corrosion-resistant fasteners. Siding alone is not a weatherproofing strategy. If the shed will store tools, fertilizers, paint, or outdoor cushions, ventilation matters as well. A simple high-and-low vent path often does more for long-term durability than people expect because it lets humid air escape before it condenses on cold surfaces.
Details that make the biggest difference
- Install drip edge and flashing where the roof meets walls, doors, and any roof transitions.
- Use a roofing material that matches the slope and climate.
- Seal openings around windows, trim joints, and door thresholds.
- Keep wood off the soil and away from splash zones.
- Vent the attic or upper cavity so the shed can breathe.
These are not flashy upgrades, but they are the ones that stop rot, swelling, and mildew. Once the shell is protected, I shift to how the space will actually be used, because storage planning can make or break the day-to-day experience.
Plan the interior around real storage habits
The inside of a shed should work like a tool you use every week, not like a blank box that looked good on the day it was finished. I start by measuring the largest items first: mower deck height, bike handlebars, ladder length, tote size, and the width of anything that needs to roll in and out. Then I build the layout around those measurements rather than guessing. A 30- to 36-inch aisle is a practical target if you want to move comfortably with your hands full.
Wall-mounted storage does a lot of work in a small footprint. Hooks, pegboard, shallow shelves, and a narrow bench can clear the floor and keep the center open. If I want overhead storage, I make sure the roof structure can carry it and I reserve loft space for light seasonal items only. Heavy bins belong lower, where they are easier to reach and less likely to stress the framing.
| Storage goal | Best layout move | Why it helps |
|---|---|---|
| Lawn equipment | Wide double door and a clear floor lane | Makes it easier to roll equipment in without scraping walls |
| Garden tools | Vertical wall hooks and shallow shelves | Keeps long-handled tools organized and visible |
| Workshop use | Workbench on one wall with outlets planned in advance | Prevents the workspace from being swallowed by storage clutter |
| Seasonal storage | Loft or upper shelving for light items | Uses unused vertical space without blocking the floor |
If electrical service is part of the plan, I treat that as a separate design decision, not an afterthought. Lighting, outlets, and any buried supply line can trigger additional permits and inspection requirements. With the interior mapped out, the last step is making sure the budget and schedule match reality.
Budget, timeline, and the mistakes that cost the most
For a basic DIY wood shed in the United States, I usually see material costs start around $1,500 to $4,000 for a simple build, with larger or better-finished projects moving into the $5,000 to $10,000 range and beyond. Site prep, foundation materials, roofing, hardware, trim, paint, and delivery can push the number up fast. If you hire labor, the total often rises sharply, especially once concrete work or electrical is involved.
Time is just as variable. A small kit on a ready-made base can go together in a weekend. A stick-built shed with foundation work, roofing, trim, and paint often takes several days spread across more than one weekend. Weather and permit lead times can add more delay than the carpentry itself.
Read Also: Build a Brick Walkway That Lasts - Expert Guide to Durability
The mistakes I see most often
- Choosing a size that looks fine on paper but feels cramped once tools and bins move in.
- Ignoring drainage and ending up with a wet floor or soft base.
- Skipping permit checks and discovering setback or height problems too late.
- Using untreated lumber where moisture exposure is inevitable.
- Underbuilding the door opening, then fighting sag and binding later.
- Leaving out ventilation and creating a damp storage box.
- Forgetting that added electrical work usually means added cost and added inspection steps.
I find that most budget overruns come from fixing one of those mistakes after the structure is already half-built. Preventing them is cheaper than correcting them, which is why the last review before finish work matters so much.
What I would verify before I call the shed finished
If I were checking a completed shed for real-world use, I would look at a short list of things that prove the project is actually done, not just visually complete. The doors should open cleanly, the floor should feel solid, the roof should shed water, and the shed should sit in a way that respects the yard around it. A good outbuilding should look intentional in the landscape, not like an afterthought dropped on the lawn.
- The structure is square, plumb, and firmly anchored.
- Water drains away from the base after rain.
- The roof, trim, and siding are sealed where they need to be.
- Ventilation paths are open and unobstructed.
- Storage zones are arranged around the items you use most often.
- Any permit, inspection, or zoning requirement has been satisfied.
That final check is what separates a shed that merely exists from one that earns its place in the yard. If you respect the site, the base, and the building envelope from the start, the structure will usually repay that attention with years of dry, reliable storage.