A clean tile-to-laminate joint is one of those details that can make an upgrade feel finished or awkward. The right transition from tile to laminate depends on finished height, edge protection, and how much movement the laminate needs after installation. In most homes, the best result comes from choosing the profile first, then installing it so it supports the floor without pinning it down.
What matters most when tile meets laminate
- Measure the finished floor heights after tile, underlayment, and trim are installed.
- Use T-molding for equal-height hard surfaces, a reducer for a height change, and a threshold when the doorway needs a stronger break.
- Leave the laminate expansion gap open under the trim; do not trap the floating floor.
- Match the profile finish to the room, but choose function before color.
- Most basic transition strips are affordable, but custom stone or metal profiles cost more and usually look more intentional.
Start with the finished heights, not the product labels
When I plan a joint, I measure the finished floor heights, not the carton thickness. Tile usually ends up with a different build-up than laminate because of the tile itself, mortar, grout, and the underlayment under the floating floor. The transition only looks seamless when the profile solves that height difference without pinning the laminate down.
One number matters more than almost anything else: the expansion space. Most laminate systems want roughly 3/8 inch at the perimeter, though the exact gap still depends on the brand. That gap must remain free to move, so the trim has to cover it without locking the floor in place.
Traffic matters too. A doorway between a kitchen and hall takes more abuse than a closet opening, and a wide opening can show a mismatch more clearly. I think about the joint as a small piece of floor engineering, not just decoration, because it has to survive daily movement, cleaning, and foot traffic.
Once you know the height and movement requirements, the profile choice gets much easier.
Choose the profile that fits the seam
There are only a few profile families that consistently work, and the right one depends on the finished height and the look you want. I sort them by geometry first and style second.
| Situation | Best profile | Why it works | Typical U.S. material cost |
|---|---|---|---|
| Both floors are nearly level | T-molding or low-profile metal strip | Bridges two hard surfaces cleanly without creating a visible step | $10-$30 for basic strips, $20-$60 for better-finished metal or wood |
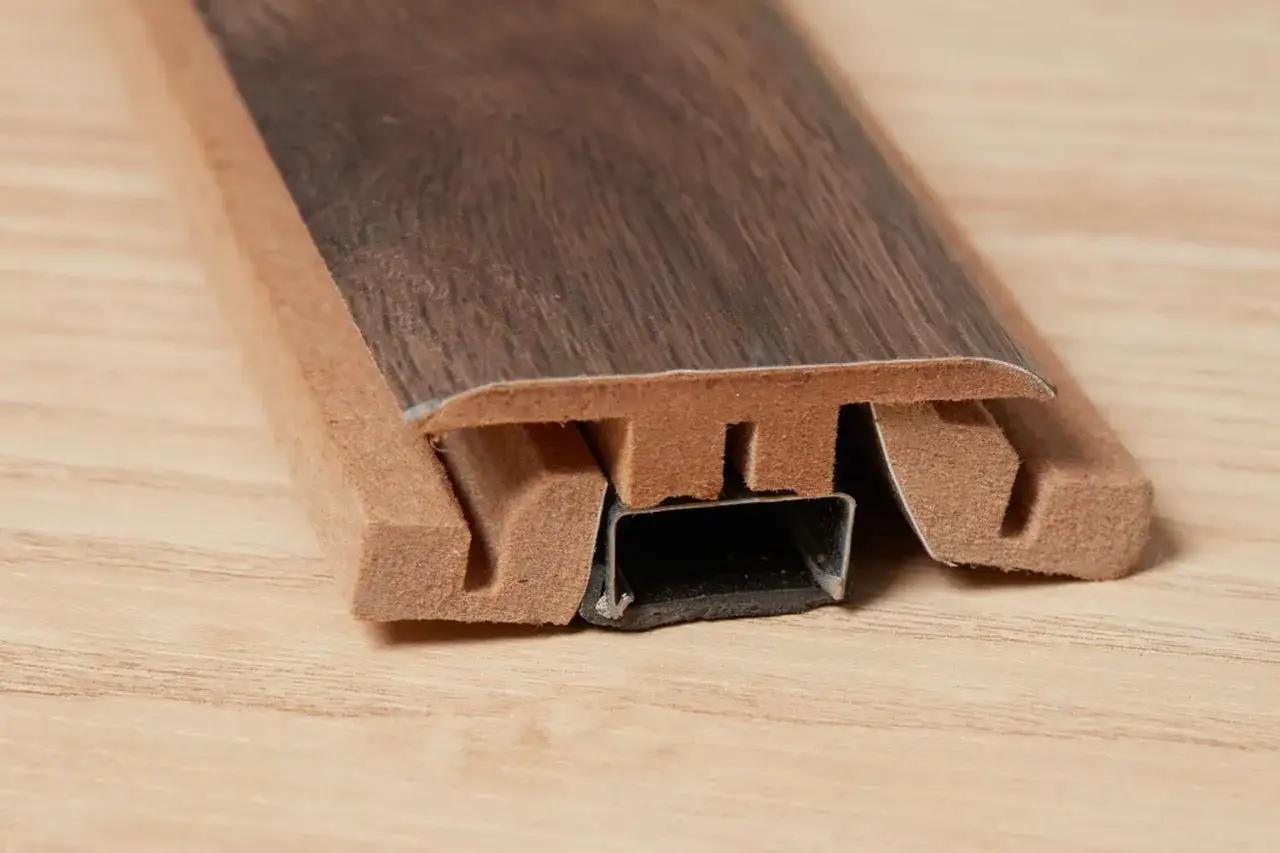
| Tile sits higher than laminate | Reducer or sloped transition | Softens the drop and reduces the chance of a toe catch | $15-$40 |
| You want a stronger doorway break | Threshold or saddle | Covers more of the seam and gives the opening a finished frame | $20-$60+ |
| You want the most custom look | Unfinished hardwood, stone, or metal edge profile | Can be stained or matched more closely to the surrounding materials | $25-$100+ depending on material and width |
For a quick rule of thumb, I use a T-molding when the two surfaces are basically flush, a reducer when one floor clearly drops away from the other, and a threshold when I want the seam to read as an intentional doorway line. If the tile edge is delicate or uneven, a wider saddle often looks better than a slim strip trying to do too much.
The nicest-looking strip still fails if it is installed against the floating floor instead of the subfloor.
Install it so the laminate can still move
I always dry-fit the transition before I fasten anything. That lets me check the final cut length, the centerline of the doorway, and whether the tile edge needs a cleaner line before the finish piece goes in. If the kit uses a track, I want the track anchored to the stable substrate, not to the floating laminate itself.
- Measure the finished height difference after the tile, underlayment, and trim are all in place.
- Mark the center of the opening so the profile looks balanced from both sides.
- Leave the laminate expansion gap open beneath the trim; do not glue, nail, or screw through the floating boards.
- Fasten the track, channel, or anchor strip to the subfloor where the product is designed to sit.
- Test-fit the profile, then trim the ends so they meet the jambs cleanly without binding.
- Snap or seat the finish piece, and check that it does not rock or telegraph movement when you step across it.
If the joint is near a tub, sink, exterior door, or other moisture-prone area, I prefer a profile and finish that can tolerate frequent cleaning. A little silicone may be appropriate at specific edges if the manufacturer calls for it, but it should never replace the movement gap that the laminate needs.
Once the profile is physically right, the visual details decide whether the doorway feels designed or improvised.
Make the doorway look deliberate
The best-looking transitions do not try to disappear completely; they look like they belong to the architecture of the opening. I pay attention to finish, width, and alignment before I worry about brand names or decorative trim.
- Match sheen first. A matte strip usually disappears more easily than a glossy one, even when the color is close.
- Line up the profile with the natural center of the doorway or the door swing so it reads as a planned break.
- Choose a width that suits the job. A wider saddle hides more irregularity at the tile edge than a narrow strip.
- Use metal when durability matters, wood when you want warmth, and stone when the opening should feel permanent and architectural.
- If the tile has a busy pattern, keep the transition simple; if the floor is quiet, the profile can carry a little more visual weight.
In modern rooms, I often prefer a slim brushed-metal profile because it gives the joint definition without shouting for attention. In more traditional spaces, unfinished hardwood stained to match the laminate can feel less technical and more integrated. The right answer is the one that makes the two floors feel related instead of randomly combined.
Even a good-looking strip can fail if the installation ignores movement, so the next step is avoiding the mistakes that cause problems later.
Avoid the mistakes that cause squeaks and cracked edges
Most bad transitions come from a small number of errors, and I see the same ones repeated over and over.
- Measuring the wrong thickness by using product specs instead of the installed floor height.
- Locking the laminate in place with fasteners or adhesive where the floor needs to float.
- Choosing the wrong profile just because the finish matches, even when the height difference does not.
- Filling the movement space solid with caulk, mortar, or debris that stops seasonal expansion.
- Ignoring a rough tile edge and expecting a thin strip to hide chips, lippage, or irregular grout cuts.
- Cutting the piece too tight so it binds against the jamb and starts to squeak as humidity changes.
The practical fix is simple: clear the seam, re-check the height, and let the profile do one job well. If the doorway still looks awkward after that, the problem is usually geometry, not finish color, and the answer is a different profile rather than more caulk.
A few small habits also make the joint last longer than the install itself.
The finishing details that keep it quiet for years
The seam is not really finished when the strip is installed; it is finished when the floor has survived a few months of temperature changes, vacuuming, and real foot traffic. That is why I like to check the transition again after the first heating and cooling cycle of the season, especially if the home runs dry in winter or humid in summer.
Two habits help more than people expect. First, keep grit out of the joint because tiny stones under a profile act like sandpaper. Second, protect the end of the laminate with the right trim rather than letting it carry traffic at an exposed edge. If a profile ever loosens, fix it promptly before movement turns a small cosmetic issue into a damaged plank or chipped tile.
If I had to reduce the whole job to one rule, it would be this: let the transition support the floor’s movement instead of fighting it. When the height is measured correctly, the profile matches the opening, and the laminate still has room to expand, the join stops looking like a compromise and starts looking built in.