If you need to tile over cement board, the details matter more than the board itself. A durable installation depends on a flat substrate, tight seam treatment, the right mortar, and movement joints that are left open on purpose. In this guide I focus on the practical side: what to check before you start, how to set the tile, where waterproofing belongs, and which mistakes usually shorten the life of the floor or wall.
What matters most before the first tile goes down
- Cement board is a backer, not a repair solution for a weak or out-of-flat structure.
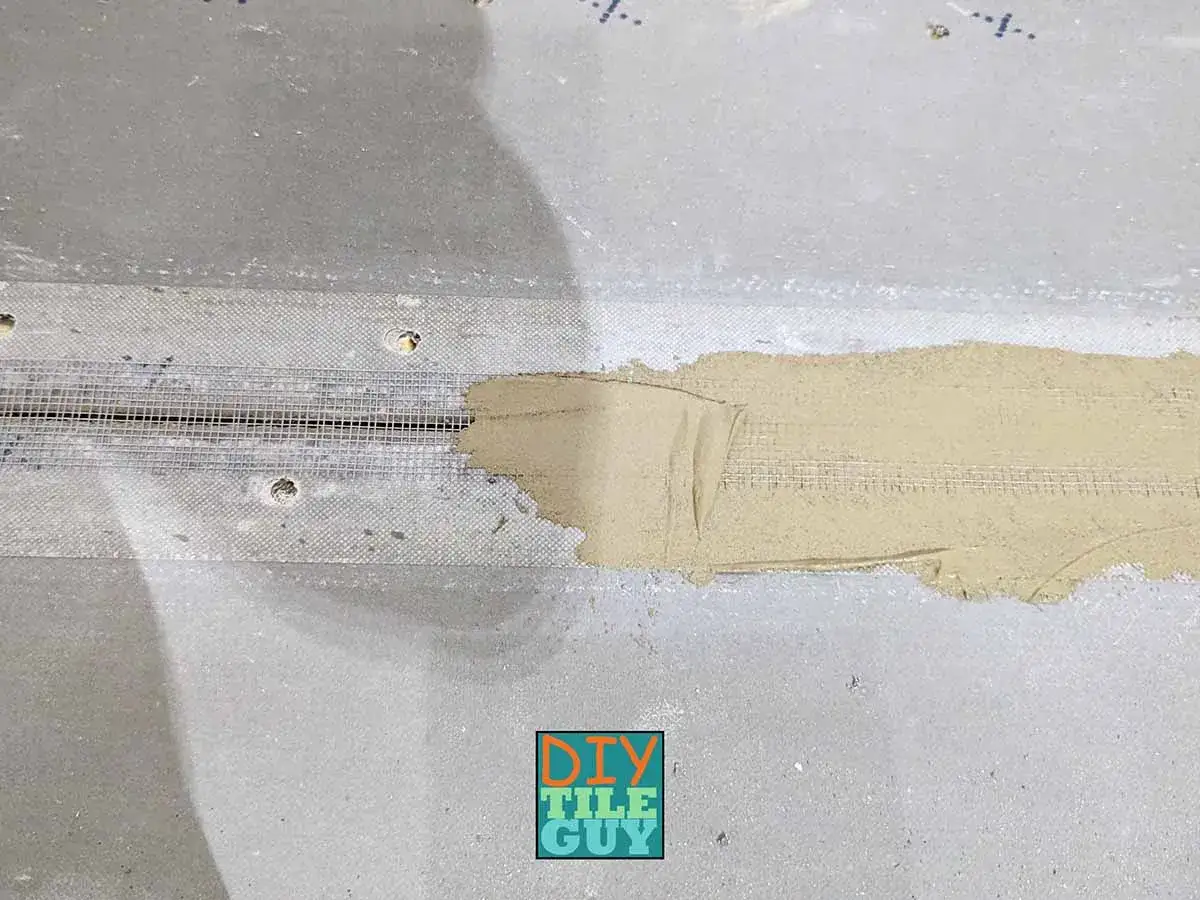
- Seams need tape and mortar with alkali-resistant mesh before tile work begins.
- Mortar coverage matters: aim for 80% in dry rooms and 95% in wet or exterior areas.
- Large-format tile needs a flatter surface, and 1/8 in. in 10 ft. is the target I watch most closely.
- Wet areas need a waterproofing system, not a hopeful layer of grout and tile alone.
- Movement gaps must stay open at perimeters and changes of plane so the assembly can move safely.
Where cement board fits and where it doesn't
I like cement board when I want a cementitious, stable backer under ceramic, porcelain, or stone on framed floors and walls. I do not treat it as a repair product, and I do not use it to disguise a floor that already flexes or a slab that is already sound enough for direct bonding. If the structure is wrong, the tile system starts on the wrong foot.
| Situation | My take | Why it matters |
|---|---|---|
| Wood subfloor in good condition | Good fit | Common use case for a rigid, tile-ready backer |
| Wall studs in a kitchen or bath | Good fit | Creates a durable bonding surface behind tile |
| Shower or tub surround | Good fit only with waterproofing | The board is not the water-control layer by itself |
| Concrete slab | Usually skip it | Direct bond or an uncoupling membrane is usually the cleaner solution |
| Soft, damaged, or out-of-flat floor | Fix first | Cement board does not cure deflection or major plane issues |
That distinction matters because many tile failures are really substrate failures. Once you know where the board fits, the next question is whether it is actually ready to receive tile.
What I check before I set a single tile
Before I spread any mortar, I want the board to look boring in the best possible way. The fasteners are flush, the sheets are staggered, the corners do not all meet in one place, and the seams are treated so they do not behave like weak lines under the tile.
- Fasteners are set flush, not buried.
- Seams are filled and taped with alkali-resistant mesh.
- Gaps of about 1/8 in. are left between sheets and at walls or cabinets.
- Flatness is checked with a straightedge. I want no more than 1/4 in. variation in 10 ft. for standard tile, and tighter if the tile is large-format.
- Dust is removed before tile mortar goes down.
- Wet areas already have their waterproofing plan in place.
If one of those checks fails, I fix it before the first row goes in. That is cheaper than replacing tile later, and it leads straight into the setting sequence.
The setting sequence that keeps the floor from failing later
Dry-fit the layout first
I snap reference lines, dry-lay a few tiles, and make sure the cuts at the visible edge are balanced. On a bathroom floor, I usually prefer full or near-full tiles in the most visible sightline rather than chasing a mathematically neat centerline that looks awkward from the doorway.
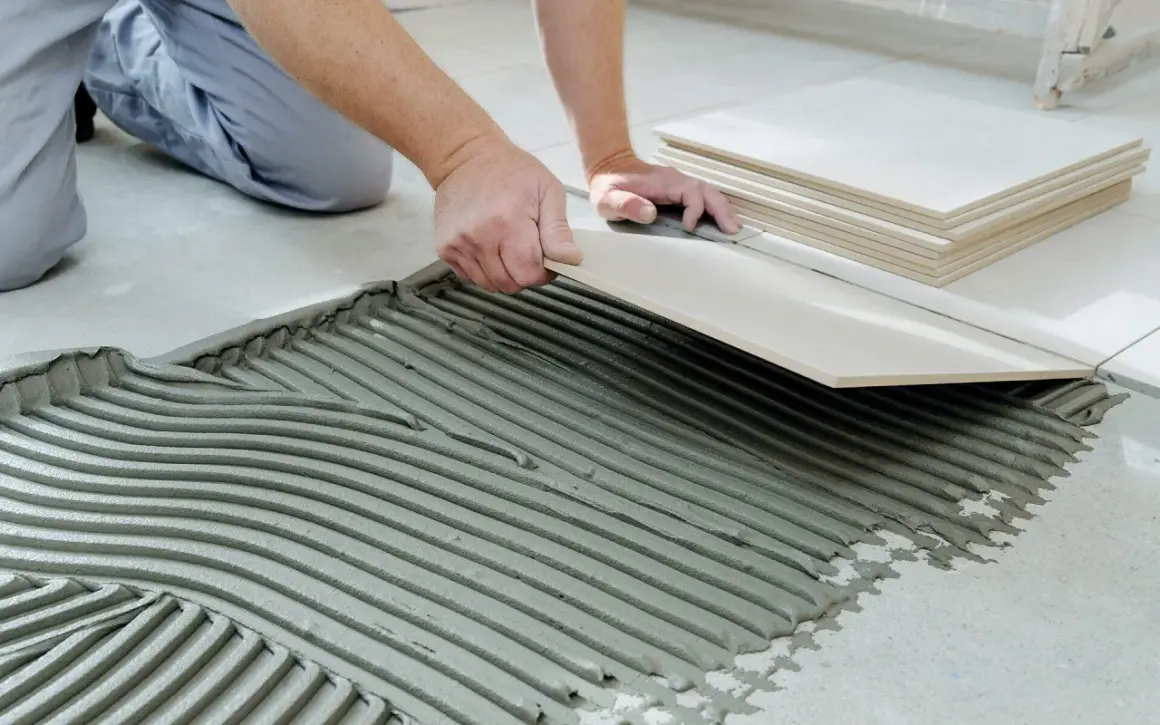
Spread mortar in straight ridges
For the tile layer, I usually reach for a quality polymer-modified thin-set unless the tile or mortar manufacturer calls for something else. I use the notched trowel the tile calls for, comb the mortar in one direction, and avoid swirling it around. Straight ridges collapse more predictably when the tile is pressed in, which helps cut down on voids. On larger tile, I often back-butter the tile face as well so the back is fully supported.
Set, slide, and check transfer
The tile gets pressed in with a slight slide, then I lift one now and then to check coverage. If the mortar is not transferring to the back corners and edges, I do not keep going with the same trowel or technique. I change the setup instead of pretending the voids will disappear later.
Read Also: Drop and Lock Flooring - Avoid Gaps & Squeaks!
Let the mortar cure before grout
Most standard installs need at least 24 hours before grouting, and heavier tile or cooler rooms may need more. Rushing this step is a classic way to weaken the bond at the exact moment the floor needs to stay still.
Once the setting rhythm is right, the next variable is coverage, and that is where many otherwise solid jobs go wrong.
Mortar coverage and trowel size are not small details
The Tile Council of North America and the ANSI standards commonly used in the U.S. call for at least 80% mortar coverage in dry interior areas and 95% in wet or exterior areas, with full support at edges and corners. I take that seriously because hollow spots, especially near edges, are where tiles crack first.
| Tile type | Good starting point | What I verify |
|---|---|---|
| Small ceramic tile up to about 6 x 6 in. | 1/4 x 1/4 in. square-notch | Full edge support and no hollow corners |
| Standard floor tile around 12 x 12 to 12 x 24 in. | 1/4 x 3/8 in. or 1/2 x 1/2 in. notch | 80% in dry rooms, 95% in wet areas |
| Large-format tile with one edge 15 in. or longer | 1/2 x 1/2 in. or larger starting point | 95% coverage and a very flat substrate |
| Natural stone | Follow the stone and mortar specs | Support across the whole back, not just the center |
These are starting points, not universal rules. If I am not getting the coverage I want, I do not force it with wishful thinking. I move to a larger notch, back-butter more aggressively, or flatten the board before I keep going. For tile with one edge 15 in. or longer, I treat 1/8 in. in 10 ft. as the practical flatness target because large tile telegraphs every hump and dip very quickly.
Coverage is only half the moisture story, though, because wet rooms need a waterproofing plan too.
Wet rooms need a waterproofing plan, not hope
If your board is a standard cement board, I still treat it as a backer, not the whole waterproofing system. In a shower or tub surround, I follow the manufacturer-approved method for membrane placement instead of improvising layers that were never designed to work together. The same discipline applies to vapor control in steam or other continuously wet spaces.
| Area | What I do | Why it matters |
|---|---|---|
| Shower walls and tub surrounds | Treat cement board as the backer and add the approved waterproofing system | Tile and grout are not enough to stop water at the framing |
| Bathroom floors outside the shower | Keep the backer sound and respect movement gaps | Water still finds edges, transitions, and weak seams |
| Steam rooms or continuously wet zones | Use a dedicated steam-rated system | The assembly has to manage vapor, not just splashes |
I do not mix and match random membranes and hope the system self-corrects. If the board manufacturer says a membrane can go on the face or behind the board, I follow that detail; if the system is more specific, I stay within that system. At changes of plane, I use sealant rather than grout, because the tile needs a flexible joint there. That leads straight to movement control, which is the other half of long-term durability.
Movement joints are where good installs stay quiet
The Tile Council of North America treats movement as part of every tile installation, and that matches what I see on real jobs. A small room may only need a perimeter gap hidden by baseboard or shoe molding, but larger areas, sunlit rooms, and floors over radiant heat need a more deliberate joint plan. I put sealant or a manufactured movement joint where the tile meets a wall, cabinet, tub, threshold, or another restraining surface, because grout there eventually becomes a crack line.
- Perimeter gaps stay open under trim.
- Changes of plane get sealant, not rigid grout.
- Construction or control joints in the backing are honored, not bridged.
- Large rooms need EJ171-style spacing based on the room and exposure.
This is one of those details that feels optional until the first hairline crack appears, and by then the stress is already in the system.
Mistakes I see most often
Most bad tile jobs on cement board do not fail because the tile was bad. They fail because the installer made one or two avoidable choices that the floor could not forgive.
- Skipping seam tape lets movement telegraph through the joints.
- Using too little mortar leaves hollow spots, especially at corners.
- Ignoring flatness on large tile creates lippage and weak support.
- Grouting movement joints locks the assembly instead of letting it move.
- Assuming cement board is waterproof in a shower leads to hidden moisture problems.
- Trying to rescue a weak floor with more backer board wastes time and height without fixing deflection.
When I see a project go sideways, it is usually one of those six problems, not some mysterious mortar failure. That leaves only the final checks before grout.
The last checks I would make before I call it done
Before grout, I want the installation to feel quiet underfoot and look deliberate at the edges. I check for a steady bond, confirm that no joints have been filled where movement needs to happen, and make sure the wet-area details match the intended waterproofing system.
- Tiles are fully supported and do not rock.
- Perimeter gaps remain open and clean.
- Joints at corners and transitions are left for sealant.
- Waterproofing, if required, is continuous and cured.
- The room has been allowed the full cure time before grout and traffic.
The simplest rule I use is this: treat cement board as a stable backer, not a shortcut. If the substrate is flat, the seams are reinforced, the mortar is chosen for the tile, and moisture and movement are handled on purpose, the tile assembly has a realistic chance of staying tight for years.