Cutting tile around a toilet is one of those bathroom jobs that looks simple until the flange, grout joints, and bowl base all demand a different shape. The work succeeds when the layout is accurate, the cut method matches the tile, and the finished opening still lets the toilet seal properly without forcing the porcelain. In this guide I break down the layout, the best tools for straight and curved cuts, and the details that keep you from having to redo the floor later.
Key takeaways before you cut the first tile
- Remove the toilet if you can; a clean floor cut is much easier with the fixture out of the way.
- Use the flange as your reference point and leave about 1/8 inch of clearance.
- Wet saws handle straight relief cuts well, angle grinders handle curves, and nippers are best for tiny corrections.
- Dry-fit every tile before thinset goes down.
- Replace the wax ring and closet bolts when you reinstall the toilet.
- If the flange ends up low after tile, use a spacer or extender instead of forcing a weak seal.
Plan the opening around the flange before you touch a blade
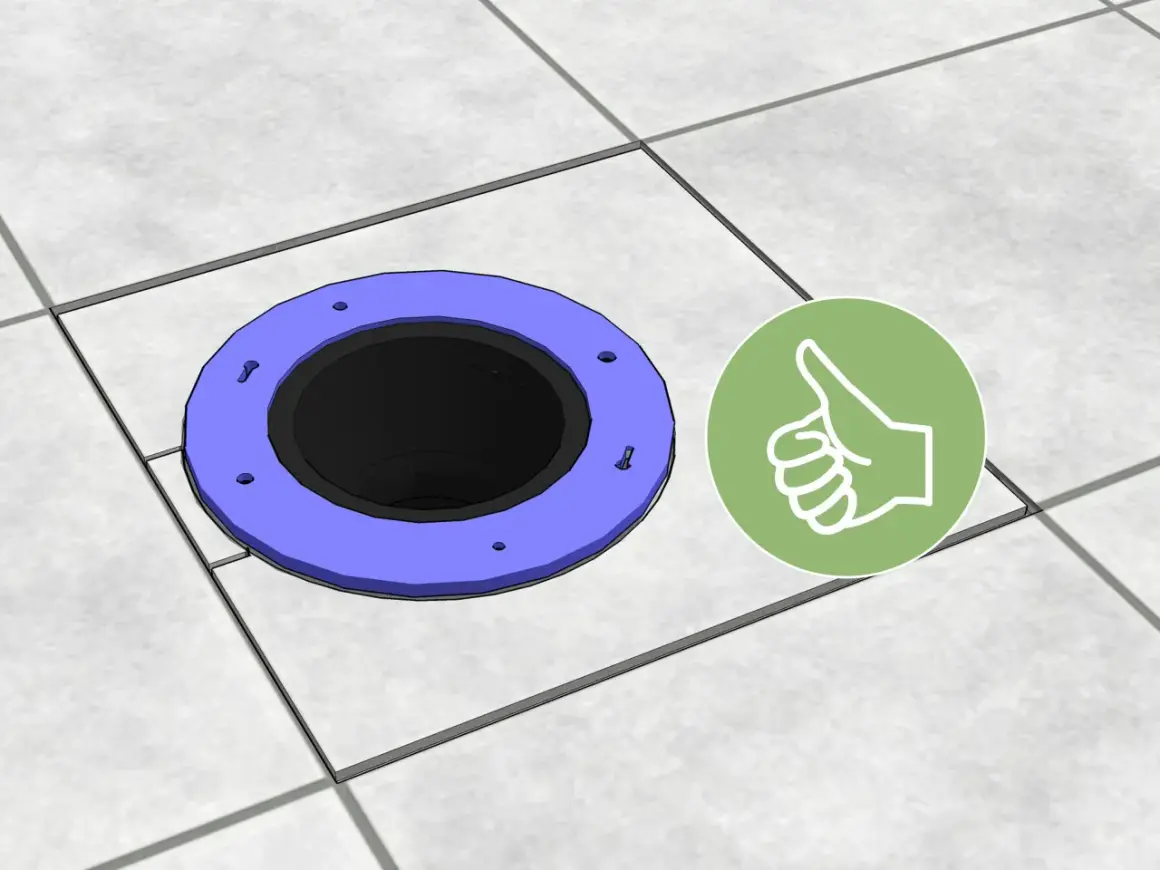
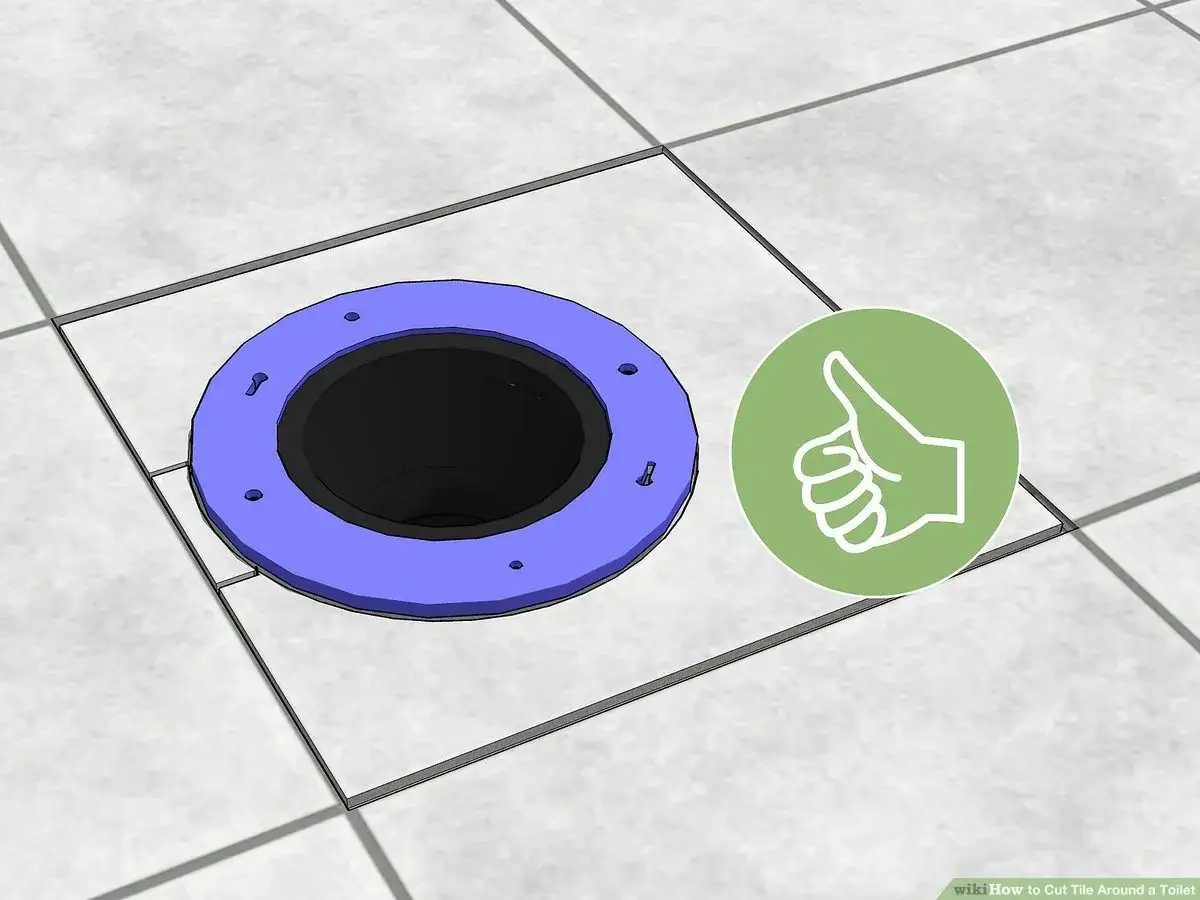
I do not start by trimming around the bowl. I start by asking where the toilet flange will sit once the new floor is finished, because that is what controls the fit more than anything else. Oatey’s flange guidance lines up with the installer rule I trust: the flange should sit on top of or even with the finished floor so the wax ring can seal without creating a leak path.
If the toilet is still installed, remove it. Working around a fixed bowl is possible, but it usually turns a straightforward cut into a messy one. Once the floor is clear, dry-lay the surrounding tiles and decide where the toilet opening lands relative to grout joints, the flange, and the room’s center line.
| Measurement | Practical target | Why it matters |
|---|---|---|
| Clearance around the flange ring | About 1/8 inch | Keeps the tile from binding against the flange when the toilet goes back down |
| Flange height | On top of or even with the finished floor | Helps the wax ring seal correctly |
| Layout reference | Center the room first, then trim at the toilet | Produces balanced cuts instead of a tiny sliver at the fixture |
| Split opening | Mark from one shared center point on each tile | Keeps the curve aligned when the opening crosses a grout line |
How to cut tile around toilet openings cleanly
The Home Depot’s tile-cutting guide reflects the same practical split I use on site: wet saws are strong for straight work, grinders are better for specialty shapes, and nippers help with small corrections. The right tool depends less on the fixture itself and more on the shape you need to remove from the tile.
| Tool | Best use | Tradeoff |
|---|---|---|
| Wet saw | Straight relief cuts and clean, repeatable edges | Cannot form a full curve in one pass |
| Angle grinder with a diamond blade | Curves, notches, and trimming close to the line | Creates more dust and takes a steadier hand |
| Tile nippers | Small bites for fine adjustments | Leaves a rougher edge if you rely on them too much |
| Diamond hole saw or core bit | A centered round opening | Less useful when the cut is only part of a circle |
For porcelain, I usually reach for a diamond blade first, because porcelain punishes weak blades fast. For ceramic, the same tools work, but the edge is often easier to clean up. If the opening is mostly a curve, I would rather use an angle grinder and finish slowly than try to force the shape with nippers alone.
The right choice also depends on how many tiles the opening touches. If the cut falls fully inside one tile, a hole saw or grinder may be enough. If the opening crosses a grout joint, I plan the cut on both tiles from the same center point so the shape reads as one clean opening instead of two unrelated notches. With the tool chosen, the real gain comes from cutting in the right sequence.
Cut the tile in a sequence that keeps edges clean
This is the part where patience pays for itself. A good cut around a toilet is rarely one dramatic move; it is usually a series of controlled cuts, test fits, and tiny corrections. I also keep a cardboard template handy when the opening is awkward, because a template is cheaper to ruin than a tile.
- Trace the flange or toilet base on cardboard first if the shape is unusual, then transfer that outline to the tile.
- Mark the waste side clearly so you do not accidentally grind past the finished edge.
- If the opening is centered in one tile, drill or start from the waste side and work toward the line.
- If you are forming a curve with a wet saw, make relief cuts about 1/8 to 1/4 inch apart and stop just short of the marked line.
- Snap or nibble away the thin slivers left between those cuts.
- Dress the edge with a rubbing stone or diamond hand pad until the piece slides past the flange with that small 1/8 inch of clearance.
- Dry-fit the tile before you spread thinset, then repeat the same process for any adjacent tile that shares the opening.
Relief cuts are just straight cuts that let a curved opening happen in steps. They are slower than a single plunge, but they are also much easier to control. If the opening splits across two tiles, I number the pieces before I cut them. That sounds fussy until you try to reinstall a pair of mirrored cuts after lunch and realize they no longer match the layout marks.
If you need to make a tiny correction, I prefer to take off too little rather than too much. You can always remove another sliver. You cannot put porcelain back once the edge is gone. Even a perfect cut can fail if the flange and seal are handled carelessly during reinstallation.
Avoid the mistakes that crack the tile or the toilet seal
Most bad toilet cuts come from rushing the last 10 percent. The opening may look fine from a standing position, but the problems show up when the toilet goes back down and the flange has to do its job.
| Problem | What usually caused it | Better move |
|---|---|---|
| Chipped edge | Forcing the blade, using a dull blade, or biting too hard with nippers | Cut slower, keep the blade fresh, and dress the edge after each pass |
| Tile binds against the flange | Not leaving enough clearance | Open the cut to about 1/8 inch around the flange ring |
| Toilet rocks after installation | Flange height is off or the subfloor is uneven | Correct the flange height and use shims under the toilet only if needed |
| Seal smells or leaks | Old wax ring reused, or flange sitting too low | Replace the wax ring and use a spacer or extender if the flange is below the finished floor |
I also keep the flange bolt slots clear before setting tile. Once thinset or grout falls into those slots, toilet installation gets annoying in a way that never improves with more force. Eye protection matters here too, and so does a respirator if you are using an angle grinder. Tile dust is not something I treat casually.
Once those issues are out of the way, the toilet goes back down cleanly.
Set the toilet back without undoing the work
Before the toilet returns, vacuum the flange area, check that the flange is firmly anchored, and confirm that the finished tile surface gives you a level base. Replace the wax ring every time. I do not reuse one, even if the toilet was only lifted briefly. New closet bolts are cheap insurance too, especially on older fixtures where corrosion has already done some of the damage.
Set the toilet straight down over the bolts without twisting it across the opening. Tighten the nuts evenly and stop as soon as the toilet sits solidly. Over-tightening is a fast way to crack porcelain or stress a tile edge that was already cut close. If the base rocks, shim the toilet, not the tile.
That flange height detail matters more than people expect. If the flange ended up low after the floor was tiled, I would rather correct it with a spacer or extender than stack extra wax rings and hope for the best. That is the kind of shortcut that looks fine on day one and fails later. At that point, only a final check separates a good bathroom floor from a rushed one.
What I check before I call the floor finished
The final review is simple. The tile should clear the flange without rubbing, the toilet should sit flat, and the seal should not depend on brute force from the bolts. If the cut is slightly imperfect under the bowl but the flange height is right and the edge is clean where it matters, the job is still a success. The hidden part of the floor is allowed to be practical; the visible part should look intentional.
When I am deciding whether to move on, I ask one question: would I be comfortable servicing this toilet again in two years? If the answer is yes, the layout, the cut, and the reinstall were done the right way. That is the standard I would use for any bathroom floor where tile has to meet a toilet fixture cleanly and stay that way.