A speed square is one of the fastest ways to turn a rough board into a clean, usable part. This guide focuses on how to use a speed square on real lumber, from quick square marks and 45-degree cuts to roof-pitch layout and storage-project work. I’ll also cover the markings that matter, the mistakes that waste time, and the habits that keep the tool useful in a busy shop.
The main job is fast layout, not fancy measuring
- Use the fence or lip to register the square against the board edge before you mark anything.
- The most common jobs are square crosscuts, 45-degree marks, and saw guiding.
- Not every speed square has the same scales, so read the face you actually own.
- Roof-pitch markings are for framing layout, not finish-level angle work.
- In shelving and cabinet work, the tool helps keep repeated cuts consistent.
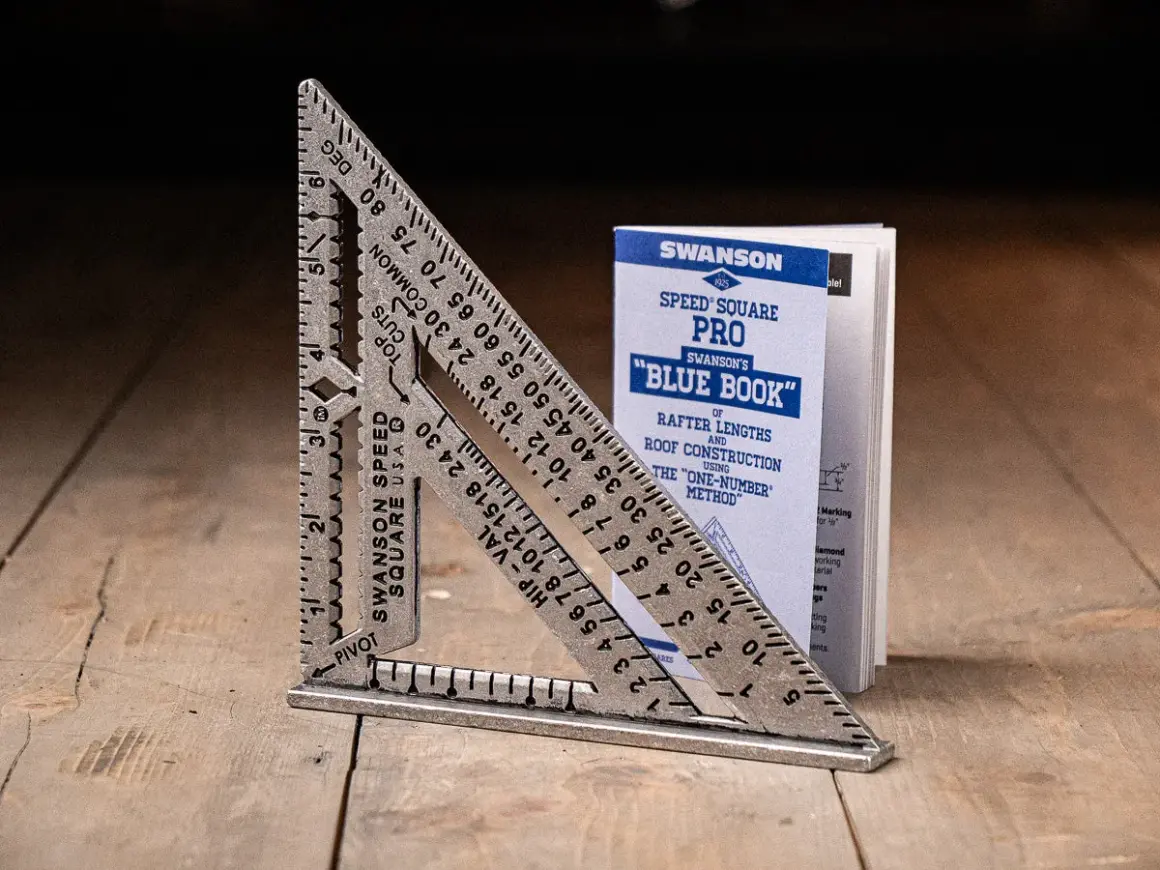
Know the markings before you trust the line
I always start with the same habit: I read the square before I use it. The tool looks simple, but the fence, pivot point, angle scale, and scribe marks each do a different job. If you understand those parts first, the square becomes faster, not more complicated.
| Part | What it does | What to watch |
|---|---|---|
| Fence or lip | Hooks the square onto the board edge so it stays put | Seat it against a clean, straight edge |
| Body edge | Gives you the straight reference for marking lines | Keep sawdust and burrs from lifting it |
| Pivot point | Starting point for angle layout | Use the printed scale on your tool, not a guess |
| Degree or roof scales | Helps with angle cuts and roof pitch layout | Model layouts vary, so check the exact markings |
| Scribe notches | Lets you repeat common offset marks quickly | Some squares include 1/4-inch or 1/2-inch spacing, but not all |
Once the markings make sense, the next step is the part most people actually need: making clean, repeatable marks on lumber without overthinking it.
Mark square cuts and 45-degree cuts in one pass
For framing, shelves, and general carpentry, the square gets used most often as a fast marking guide. I treat it as a layout shortcut first and a measuring tool second. That keeps me from fussing over numbers when all I really need is a straight reference line.
- Hook the fence onto the edge of the board.
- Hold the square tight with one hand so it does not drift while you mark.
- Trace along the body edge for a 90-degree line.
- Flip or rotate the tool to mark a 45-degree line when you need a miter or chamfer.
- If you are cutting several identical parts, mark them before you start cutting so the stack stays consistent.
When the line is already on the board, the square can also help you make the cut itself, which is where it saves the most time on a busy saw station.
Use the square as a saw guide without wandering off the line
A speed square shines on short crosscuts because it gives the saw a firm reference edge. That is especially useful when you are cutting a stack of trim parts, shelf cleats, or framing pieces and do not want to drag out a larger guide every time.
- Place the fence against the board edge and keep it flat.
- Set the saw shoe against the square, not against your hand.
- Keep the blade on the waste side of the line.
- Start the cut only after you confirm the saw is tracking the square, not forcing it sideways.
- For longer rips, use a straightedge or track guide instead; the speed square is best for short, fast cuts.
I also treat this as a safety habit. The square is a guide, not a clamp, and your fingers should stay well outside the blade path. If the board is small or awkward, clamp it first. That one extra step usually matters more than the tool itself.
Once you have that motion down, the square becomes useful for more than square cuts. The next layer is angle layout and roof work, where the printed scales start earning their keep.
Lay out angles and roof pitch when the cut is not simple
Not every cut is 90 degrees or 45 degrees, and that is where a speed square starts feeling like a real layout tool. The exact method depends on your model, but the basic idea is the same: use the pivot point, line up the needed angle or pitch mark, and trace the cut from there.
For general angle work, I like the square for quick layout on framing lumber or plywood parts. It is fast, readable, and good enough for rough carpentry. If I need a more exact angle for finish trim, I will usually switch to a bevel gauge or digital angle finder.
For roof work, the common-rafter and hip/valley scales are the markings that matter. A pitch such as 4/12 means the roof rises 4 inches for every 12 inches of horizontal run. On many framing squares, those roof scales are what turn that language into a cut line. That is why the tool still matters on job sites, even with newer gadgets around.
- Use the roof scale for framing layout, not for precision machining.
- Check whether your tool uses common-rafter, hip/valley, or degree markings.
- Use the scale printed on your actual square, not memory from another brand.
- When you need a dead-on trim miter, reach for a more precise angle tool.
That mix of speed and practicality is exactly why the square shows up so often in storage builds, where repeatable layout usually matters more than perfection at the thousandth of an inch.
Make it pay off on shelves, cabinets, and garage storage
Storage projects are where I see this tool get used in a very unglamorous, very useful way. A garage cabinet, closet shelf, mudroom cubby, or wall-mounted organizer often involves the same cuts over and over. The speed square keeps those parts consistent without slowing the job down.
Here are the places it earns shelf space in my own workflow:
- Shelf sides - square lines keep the carcass pieces aligned so the cabinet does not rack.
- Cleats and support rails - a quick 90-degree mark keeps wall supports level and repeatable.
- Face-frame parts - even small angle drift can open up visible gaps, so fast layout helps.
- Plywood breakdown - the square helps when I am ripping or crosscutting multiple similar pieces from one sheet.
- Garage and utility builds - storage work usually lives or dies on repetition, not on exotic joinery.
When I am building a simple shelving run, I keep one square near the saw and another in the main toolbox. That sounds small, but it saves time because I am not walking across the shop every time I need to mark a cleat or verify a corner. In storage work, speed comes from reducing friction, not from cutting corners.
That said, the tool can still frustrate people when they use it the wrong way. Most complaints I hear come from a few preventable mistakes.
Avoid the mistakes that make the tool look less useful than it is
The speed square has a reputation for being basic, but the real issue is usually user error. If the lip is not seated properly, the board edge is damaged, or the wrong scale is being read, the result looks random even though the tool is fine.
| Mistake | What happens | Better move |
|---|---|---|
| Using the wrong edge as the fence | Your line shifts as soon as the square moves | Always register the lip on the factory edge or a known straight edge |
| Forcing the saw against the square | The blade wanders or binds | Let the square guide the shoe, not the blade |
| Assuming every model reads the same | Angle marks do not match what you expect | Read the printed scale on the exact tool in your hand |
| Trusting a bent or worn square | Repeated marks drift out of line | Flip-test it against a board and replace it if the lip is damaged |
| Using it for precision finish work | Parts fit loosely or look slightly off | Use a combination square, bevel gauge, or digital angle finder when the tolerance is tighter |
That last point matters. A speed square is excellent for framing, storage builds, and quick layout, but it is not trying to be a machinist’s instrument. Once you accept that limit, the tool becomes easier to trust and much easier to keep accurate.
Keep one clean, one accurate, and one easy to reach
The tool only works quickly if it stays clean and close at hand. I like to keep mine free of pitch, dust, and bent edges, because a dirty fence can throw off a mark just enough to annoy you on the next cut. That sounds minor until you are halfway through a cabinet run and every piece needs to match.
- Wipe off sawdust, glue, and resin before putting it away.
- Store it flat, on a pegboard hook, or in a pocket where the lip will not bend.
- Check accuracy occasionally with a flip test on a straight board.
- Retire damaged squares to rough work if the fence no longer registers cleanly.
- Keep it near the saw station or layout bench so it actually gets used.
If you remember nothing else, remember this: seat the fence cleanly, read the correct scale, and let the square do the repetitive work. That is what makes it feel fast instead of fussy, and it is why a small triangle stays relevant on carpentry and storage projects year after year.