Learning how to tile a shower floor is mostly a lesson in slope, waterproofing, and restraint. The tile you see on top is only the finish layer; the base, drain, mortar, and sealant do most of the real work. In the sections below, I walk through the practical parts that matter most: choosing the right shower base, planning the layout, setting the tile with full support, and finishing the assembly so it drains cleanly and lasts.
The essentials before you start mixing mortar
- 1/4 inch per foot is the common shower-floor pitch target in the U.S., which is roughly a 2 percent slope.
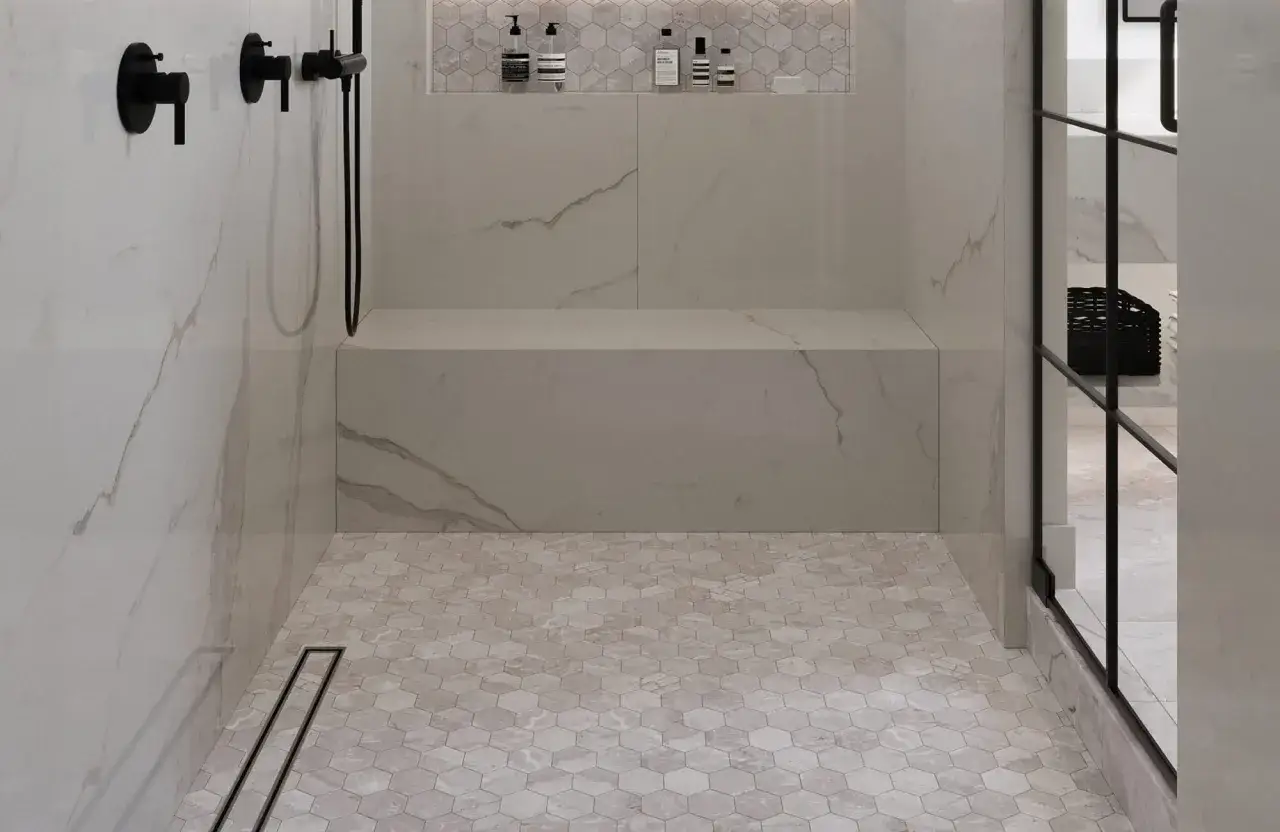
- Small-format tile, especially mosaics, is usually the safest choice because it follows the slope without creating awkward lippage.
- Thin-set mortar belongs on shower floors; mastic does not.
- Wet areas should reach about 95% mortar coverage, with the corners and drain area fully supported.
- Use silicone, not grout, at corners and other changes of plane.
- If the waterproofing system calls for a flood test, do it before the shower goes into service.
Start with a base that already solves the slope
If the base is wrong, the tile cannot fix it. I want a shower floor that already pitches toward the drain before the first piece goes down, because water should never have to guess where to go. The finished surface should follow a consistent slope, and every horizontal surface that can collect water should respect that direction.
| Base type | Best for | What it does well | What to watch |
|---|---|---|---|
| Prefabricated foam tray | Standard showers and faster remodels | Factory-made pitch, lighter weight, quicker installation | Fixed sizes and drain locations, plus tile-format limits on some systems |
| Mortar bed | Custom footprints, curbless entries, unusual drain placement | Fully customizable slope and easier fine-tuning around the drain | More labor, more skill, and more opportunity for error if the slope is not checked carefully |
| Bonded waterproofing system with a tray or drain kit | Installers who want a complete matched system | Cleaner tie-in between the base, membrane, and drain | System compatibility matters, so the membrane, mortar, and drain need to follow one manufacturer’s instructions |
A foam tray speeds up the job and removes a lot of guesswork, while a mortar bed gives me more freedom when the shower is not a simple rectangle. I choose the tray when the footprint is standard and the system rules are straightforward; I choose mud when the plan needs a custom shape or a more forgiving layout around the drain. Once the slope is locked in, the next decision is the tile and setting materials that belong in a wet area.
Choose the tile, mortar, and grout that belong in a wet area
I prefer to think of the shower floor as a system, not a shopping list. The tile, mortar, grout, and sealant need to work together, and the right combination is usually simpler than people expect. For the floor itself, small-format tile is the safest and easiest route, because it bends to the slope and gives better traction under wet feet.
| Material | What I usually choose | Why it matters |
|---|---|---|
| Tile | 2x2 mosaics, small hexes, or penny rounds | They conform to the pitch and reduce the chance of lippage on a curved or sloped base |
| Mortar | Wet-area thin-set matched to the membrane | It provides the bond and support a shower floor needs under constant moisture |
| Grout | Epoxy or a high-performance grout rated for wet areas | Better stain resistance and less maintenance than basic grout options |
| Sealant | 100% silicone at changes of plane | It stays flexible where the shower moves, while grout does not |
I do not use mastic on a shower floor. Manufacturers specifically warn against it in wet shower stalls, and the bond is not built for that kind of exposure. If your membrane or shower tray has a minimum tile-format requirement, check it before buying materials. Some systems accept very small mosaics, while others expect a minimum size such as 2x2. That detail matters more than the tile color, and it is the kind of thing that can save a remodel from becoming a redo. With the right materials in hand, layout becomes the next constraint.
Dry-fit the layout around the drain before you mix anything
I always dry-lay the floor first. That lets me see where the cuts land, whether the drain grate sits cleanly, and whether any edge will end up with an ugly sliver. The shower pan is small, so a mistake in layout shows up fast.
- Mark the centerlines of the shower floor and the drain location.
- Confirm the direction of the slope and how it will affect each row of tile.
- Lay out full sheets or loose tiles from the drain outward, not from the back wall blindly.
- Check the perimeter for balanced cuts instead of one thin strip that looks accidental.
- Verify that the drain assembly height matches the finished tile thickness.
If the drain is off-center, I still aim for a balanced look rather than forcing perfect symmetry the room cannot support. This is also the stage where I decide whether to shift the layout, trim sheets, or rotate the drain grate so the finished floor looks intentional instead of patched together. Once the layout works on dry ground, setting the tile goes a lot faster.
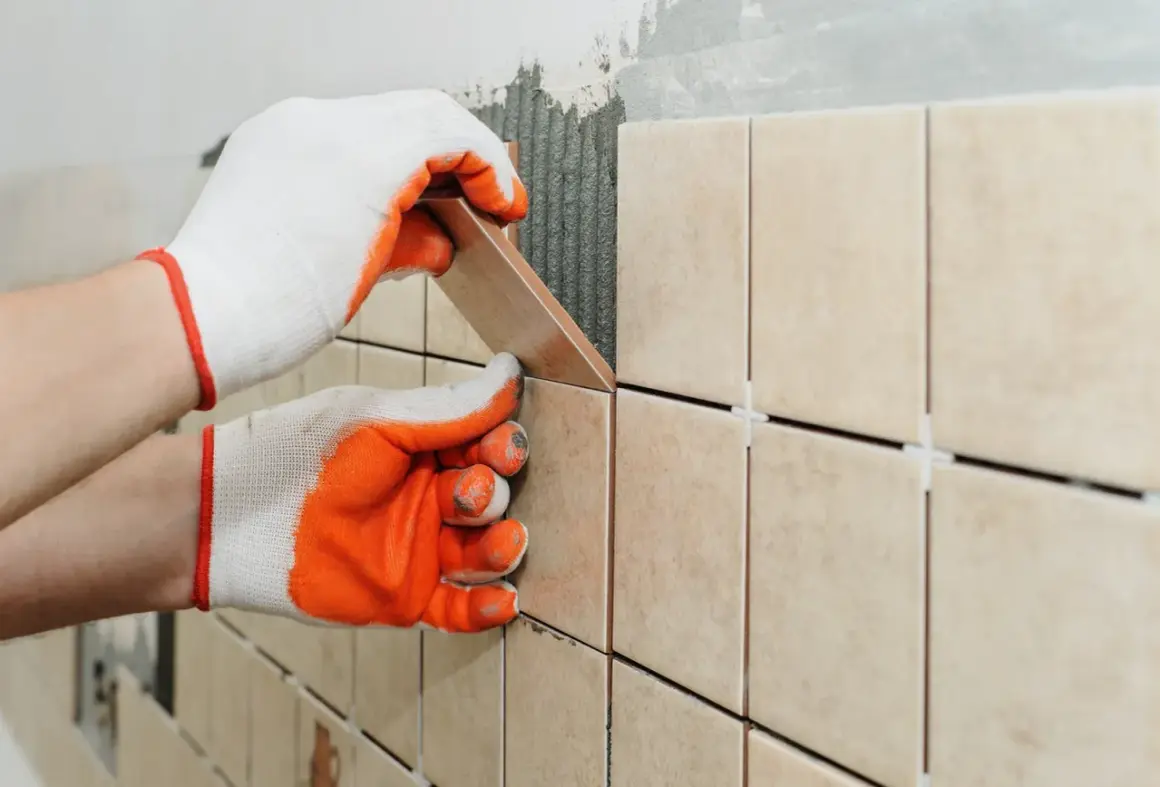
Set the tile with full support, not just enough mortar to stick
On a shower floor, coverage matters more than speed. In wet areas, I aim for 95% mortar contact, because hollow spots are where tile fails first. A shower floor should feel solid underfoot, with no drummy sound and no weak corners hidden under the grout.
- Mix the thin-set to the manufacturer’s consistency and let it slake if the bag says to.
- Key mortar into the substrate with the flat side of the trowel so the base is fully loaded.
- Comb ridges in one direction so the tile can collapse them evenly.
- For many 2x2 mosaics, a 1/4 x 1/4 square-notch trowel is a common starting point, but coverage always decides the final choice.
- Back-butter larger pieces or anything with a rough back that looks starved for mortar.
- Press the tile in with firm pressure and a slight wiggle, then lift a piece now and then to confirm coverage.
For mosaics, I keep the mortar low enough that it does not squeeze up through the joints and distort the pattern. For larger pieces, I am less patient about back-buttering, because one weak corner is enough to cause trouble later. A clean, well-supported setting bed is what lets the floor stay quiet and durable instead of brittle. After the field is set, the finish details decide whether the shower stays stable.
Grout, seal the movement joints, and give the shower a real test
Grout finishes the surface, but it does not make the shower waterproof. After the mortar cures, grout the field joints, then use a flexible silicone sealant at the changes of plane: where the floor meets the wall, at inside corners, around the curb, and at any bench or niche that touches the pan. Those joints move, and grout is the wrong material there.- Use grout only in the tiled field.
- Use silicone or another approved sealant where the surface changes direction.
- If you choose cement grout, expect more maintenance and possible sealing over time.
- If you choose epoxy or another high-performance grout rated for showers, you usually get better stain resistance and less upkeep.
- If the waterproofing system calls for a flood test, do it before first use and before you assume the shower is finished.
I like this stage because it reveals whether the earlier steps were done right. If the pan holds water, drains cleanly, and the transitions stay neat, the system usually has a much better chance of lasting. At that point, the only thing left is a final check for the mistakes that most often turn a good install into a problem job.
The mistakes I check for before I call it done
The fastest way to ruin a shower floor is to assume the surface layer can rescue weak preparation. I look for a few specific problems before I hand over the job, because they are easier to correct now than after the first week of use.
- A flat spot near the drain that slows drainage or leaves water standing.
- Hollow-sounding tile that was never fully bedded in mortar.
- Grout locked into corners, curb joints, or other movement areas.
- Mixed components from different systems that were never meant to work together.
- Premature use before mortar, grout, and membrane have cured as directed.
If the floor drains, stays quiet, and the corners move independently, the installation is doing its job. That is the standard I use on every shower base, because a shower floor that lasts is usually boring in the best possible way.