A DIY platform bed is one of the most useful weekend carpentry projects I know because it solves three problems at once: it supports the mattress without a box spring, opens up storage underneath, and lets you set the finished height yourself. The version I would build for a real bedroom is a raised frame with a rigid support deck, not a decorative shell that starts squeaking after a month. In this guide, I walk through the design choices, the build sequence, the support options, and the mistakes that usually ruin an otherwise solid project.
What matters most before you cut a single board
- Support first: the mattress needs a rigid, ventilated base, not just a nice-looking perimeter.
- Height second: decide how much under-bed storage you want before you pick lumber lengths.
- Center support matters: queen and king builds need a beam and legs, or sagging will show up quickly.
- Slat spacing matters: keep gaps tight, especially with foam and hybrid mattresses.
- Expect a realistic budget: a basic frame often lands around $120 to $300, while drawers or casters can push the total higher.
Why this bed style works without a box spring
I design platform beds around direct mattress support. A box spring adds height and bounce, but most modern mattresses do not need that kind of springy underlayer, and many sleep better on a firm, even base. What matters is that the load is carried across the whole frame, with enough airflow to keep moisture from collecting under the mattress.
That is why I prefer a frame with slats or a ventilated panel instead of a solid, unbroken sheet of plywood. A solid deck can work in some builds, but only if the mattress maker allows it and the surface still breathes. Once that choice is clear, the next question is not style, it is height: how high do you want the mattress to sit, and how much room do you actually need underneath?
Size the frame around the mattress and the storage you actually want
I start with two numbers: the mattress size and the finished height. Standard U.S. mattress footprints are twin at 38 x 75 inches, full at 54 x 75, queen at 60 x 80, and king at 76 x 80, so I always cut the inside opening with a little allowance for bedding and seasonal wood movement. If the bed is too low, storage becomes useless; if it is too high, the room starts to feel cramped and getting in and out of bed becomes awkward. For most bedrooms, I like the top of the mattress to land somewhere around 24 to 27 inches from the floor, but that depends on mattress thickness and personal preference.
If you want space for bins or drawers, use the clearance table below as a starting point. I treat it as a planning tool, not a law, because a 10-inch mattress and a 13-inch mattress need different frame heights to end up at the same sitting level.
| Goal | Clearance below frame | What it works for |
|---|---|---|
| Low-profile look | 8 to 10 inches | Shallow bins, a cleaner visual profile, less storage capacity |
| Useful everyday storage | 12 to 14 inches | Lidded bins, suitcases, seasonal items, easier access without lifting the mattress too high |
| Roll-out storage | 16 to 18 inches | Casters, drawers, and better hand clearance for pulling containers in and out |
| Comfortable sit height | Usually ends up around 24 to 27 inches at the top of the mattress | Most adults find this easier to use daily |
One practical shortcut helps here: support height = desired top-of-mattress height minus mattress thickness. If the mattress is 12 inches thick and you want a 25-inch sitting height, the support surface should land about 13 inches off the floor. After that, the frame layout becomes much easier to design, because the carpentry can follow the storage target instead of fighting it.
Build the frame so it stays square and quiet
The part most beginners underestimate is not cutting the wood; it is locking the frame into a shape that stays true. A bed that is even slightly out of square tends to rack, which means it twists side to side under load. That is where squeaks start, drawers stop fitting, and the mattress begins to drift.
I would build the base like a shallow box with a center beam, then add legs or feet wherever the span gets long. For a queen or king, I would not skip the middle support. If the frame is built from 2x lumber, wood glue plus screws or bolts gives a far better result than screws alone, especially at the corners. Before moving on, I always measure the diagonals corner to corner; when those numbers match, the frame is square.
- Use straight lumber and reject twisted pieces before assembly.
- Pre-drill near the ends so the wood does not split.
- Clamp each corner before driving fasteners.
- Add felt pads or rubber feet where the frame touches a hard floor.
- Sand exposed edges so bedding and skin do not catch on sharp corners.
Once the box is solid, the next decision is the support deck, because that is what determines whether the mattress feels firm, breathable, and durable.

Choose a support deck that matches your mattress
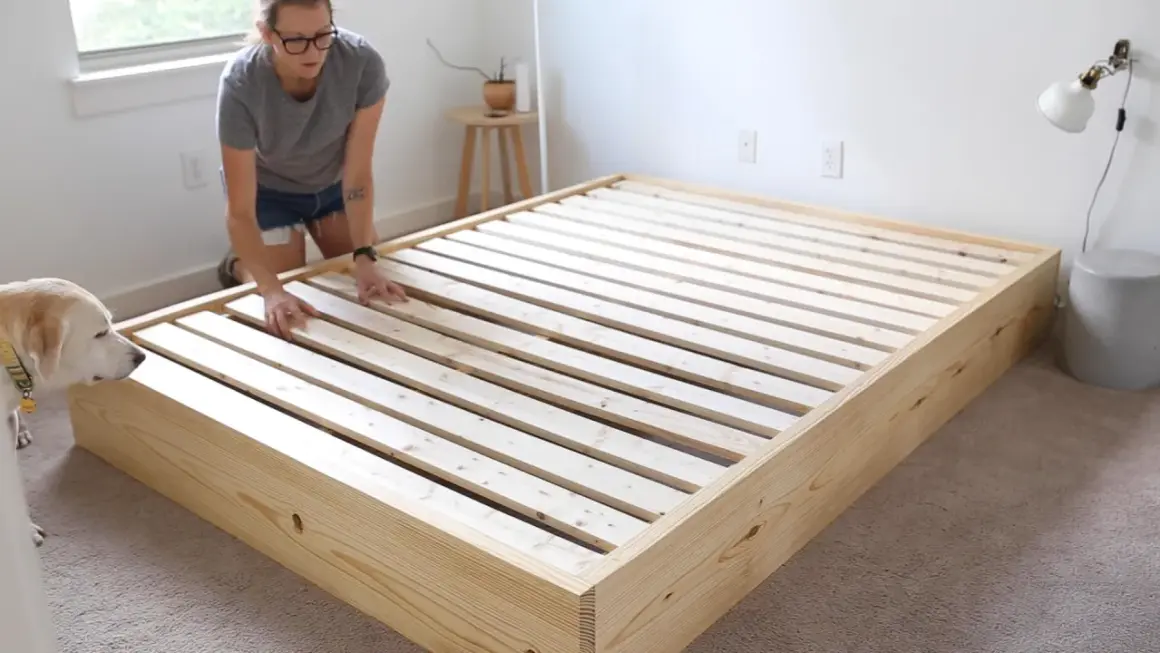
I think of the support deck as the real heart of the bed. It can be slats, plywood, or a hybrid of both, but the right choice depends on the mattress type and how much airflow you want. For foam and hybrid mattresses, I aim for tight, even support and I am cautious about wide gaps.
| Support option | Best for | Advantages | Tradeoffs |
|---|---|---|---|
| Wood slats | Most foam, hybrid, and innerspring mattresses | Better airflow, lighter weight, easier to inspect and replace | Requires careful spacing and more pieces to cut |
| Ventilated plywood deck | Clean, simple builds where the mattress maker allows solid support | Fast to assemble, good for a smooth surface, easy to hide in a storage bed | Needs ventilation holes or slots, and it adds weight |
| Slats over a partial panel | Storage beds that also need better airflow | Good balance of structure, breathing room, and clean look | More labor and slightly more material cost |
My rule of thumb is simple: keep slat gaps around 2 to 3 inches for foam mattresses, and do not stretch that farther unless the mattress maker explicitly allows it. If you use plywood, I would not leave it solid without openings; I would add a pattern of large ventilation holes or slots so moisture does not get trapped. That detail matters more than most people think, because a mattress that cannot breathe will eventually feel stale even if the frame itself is perfectly built.
With the support solved, the underside becomes usable space rather than empty air, and that is where the storage design starts to pay off.
Turn the underside into storage instead of dead space
Storage under the bed sounds simple, but the details decide whether it is genuinely useful. Open bays are easiest to build, bins are easiest to live with, and drawers are the cleanest solution if you are willing to spend the extra time on hardware and fit. I usually choose based on what will be stored there every week, not on what looks best in a sketch.
| Storage style | Best use | Build difficulty | What to watch |
|---|---|---|---|
| Open bays | Suitcases, boxes, seasonal bedding | Low | Dust buildup and a less finished look |
| Loose bins | Clothes, linens, children’s items | Low | Measure the bin height before you lock in the frame height |
| Roll-out drawers | Daily-use storage, shoes, folded clothes | High | Needs accurate squareness, floor clearance, and quality slides or casters |
If I were building a bed for a real bedroom, I would design the storage opening around the container first and the wood second. That avoids the common mistake of ending up with four inches of clearance that looks fine in the shop but is too tight for any bin worth using. Drawers are worth the effort when you want a cleaner room, but they only work well when the frame is square and the floor is reasonably level. That leads directly to the failures I try to prevent before the mattress ever goes on.
The mistakes that usually ruin a good build
Most platform bed problems come from a small set of avoidable errors. I see the same ones over and over: not enough center support, slats that are spaced too far apart, and a frame assembled quickly without checking squareness. Those mistakes do not always show up on day one, which is exactly why they are so annoying later.
- Too little support under the middle: the frame slowly sags, especially on queen and king sizes.
- Wide slat spacing: foam mattresses can dip between supports and lose consistency.
- No airflow path: solid decks without ventilation can trap moisture.
- Weak joinery: screws alone are usually not enough for a bed that gets daily stress.
- Ignoring floor conditions: an uneven floor can make a perfectly built frame feel unstable unless the feet are adjusted or shimmed.
- Skipping finish work: raw edges, splinters, and open plywood edges make the bed feel unfinished even when the structure is sound.
The good news is that these are all solvable before the mattress goes on. If the frame is square, the support is close enough together, and the underside is planned for real storage rather than leftover space, the bed will usually feel better than many store-bought options. The last step is simply following a build order that keeps the project manageable.
What I would check before calling it finished
When I close out a bed build, I go through the same final checks every time. They take only a few minutes, but they save hours of frustration later. I want the frame solid, the mattress supported evenly, and the storage area usable without forcing the structure to work against itself.
- Recheck the diagonals and corner tightness after the first full assembly.
- Press down on the center of the deck to confirm that the support does not flex more than expected.
- Slide a bin or drawer into the opening before finishing the wood, not after.
- Make sure every exposed edge is sanded and sealed.
- Test the bed on the actual floor where it will live, because carpet and hardwood behave differently.
A simple frame can be built in a weekend, while a version with drawers or a more refined finish usually deserves another day or two. If I had to reduce the whole project to one principle, it would be this: build for support and ventilation first, then fit the storage around that structure. That order gives you a bed that is quieter, sturdier, and genuinely useful long after the project dust is gone.