A good crown molding installation is part carpentry, part visual trick: it softens the wall-to-ceiling transition, hides minor framing flaws, and gives a room a finished edge. The work looks simple from the ground, but the real results come from layout, corner math, and clean finishing, not from rushing the saw. In this guide, I walk through the choices, cuts, fasteners, and finishing steps that matter most in a typical U.S. home.
What matters before the trim goes up
- Most of the difficulty comes from imperfect corners and wavy walls, not from the molding itself.
- Inside corners usually look best when they are coped; outside corners are usually mitered.
- Many stock profiles use spring angles around 38°, 45°, or 52°, but the actual piece should always be measured.
- Backing, adhesive, and a consistent nail pattern matter as much as the saw cut.
- In 2026, standard installed work in the U.S. commonly lands around $14 to $22 per linear foot, before paint and repairs.
Choose a profile that suits the room
I start with scale, not cuts. A profile that looks elegant in a 10-foot room can feel heavy in a standard 8-foot room, while a tiny trim line can disappear under a taller ceiling. The safest approach is to match the molding to the room’s proportions, the rest of the trim package, and the finish style you want the eye to notice.
| Material | Best use | Strengths | Trade-offs |
|---|---|---|---|
| MDF | Paint-grade rooms, dry interiors | Smooth, inexpensive, easy to paint | Hates moisture and dents more easily |
| Finger-jointed pine | Paint-grade DIY work | Light, affordable, easy to fasten | Grain and joints can show if finishing is rushed |
| Solid pine or hardwood | Stain-grade or premium interiors | Authentic look, durable, refined | Costs more and moves more with humidity |
| Polyurethane | Moisture-prone spaces or light-weight runs | Light, stable, easy to handle | Can look less convincing up close than wood |
If the room is paint-grade and fairly dry, I usually lean toward MDF or finger-jointed stock because it is easier to keep crisp. If the goal is stain-grade work, solid wood earns its keep, but it demands more care with movement, seams, and seasonal change. Once the profile is chosen, the real job is turning a room full of imperfect measurements into a cut list that actually fits.
Measure the room before you cut anything
Before I pick up the saw, I map the room like a trim carpenter, not like a decorator. I mark every inside corner, outside corner, and termination point, then I locate studs and ceiling joists so I know where the trim can actually be fastened. A small amount of planning here saves a lot of caulk later.
- Measure each wall separately instead of assuming opposite walls match.
- Mark studs, joists, and any solid backing you can use for fasteners.
- Check the wall-to-ceiling line for dips, humps, and out-of-plumb corners.
- Decide where seams will land so they do not sit in the middle of a bright sight line.
- Let wood acclimate in the room for at least a day or two if it has come from a different climate.
- Make a story pole if the room is irregular; a marked stick often beats repeated tape measurements.
I also note any cabinet tops, soffits, or built-ins that meet the same ceiling line, because those pieces should feel visually connected rather than accidental. If the wall is especially uneven, I do not fight it with wishful thinking; I plan around it with backing, shims, or a smarter seam location. With the room mapped, the saw setup stops being guesswork and starts being repeatable.
Set up the saw so the cuts match the profile
Crown trim is not cut like flat stock. It sits at an angle between wall and ceiling, which means the profile has a spring angle, the tilt it makes when installed. Many stock profiles fall around 38°, 45°, or 52°, but I never trust the box alone; I measure the actual piece and make a test cut before touching the full run.
| Situation | Best cut | Why it works |
|---|---|---|
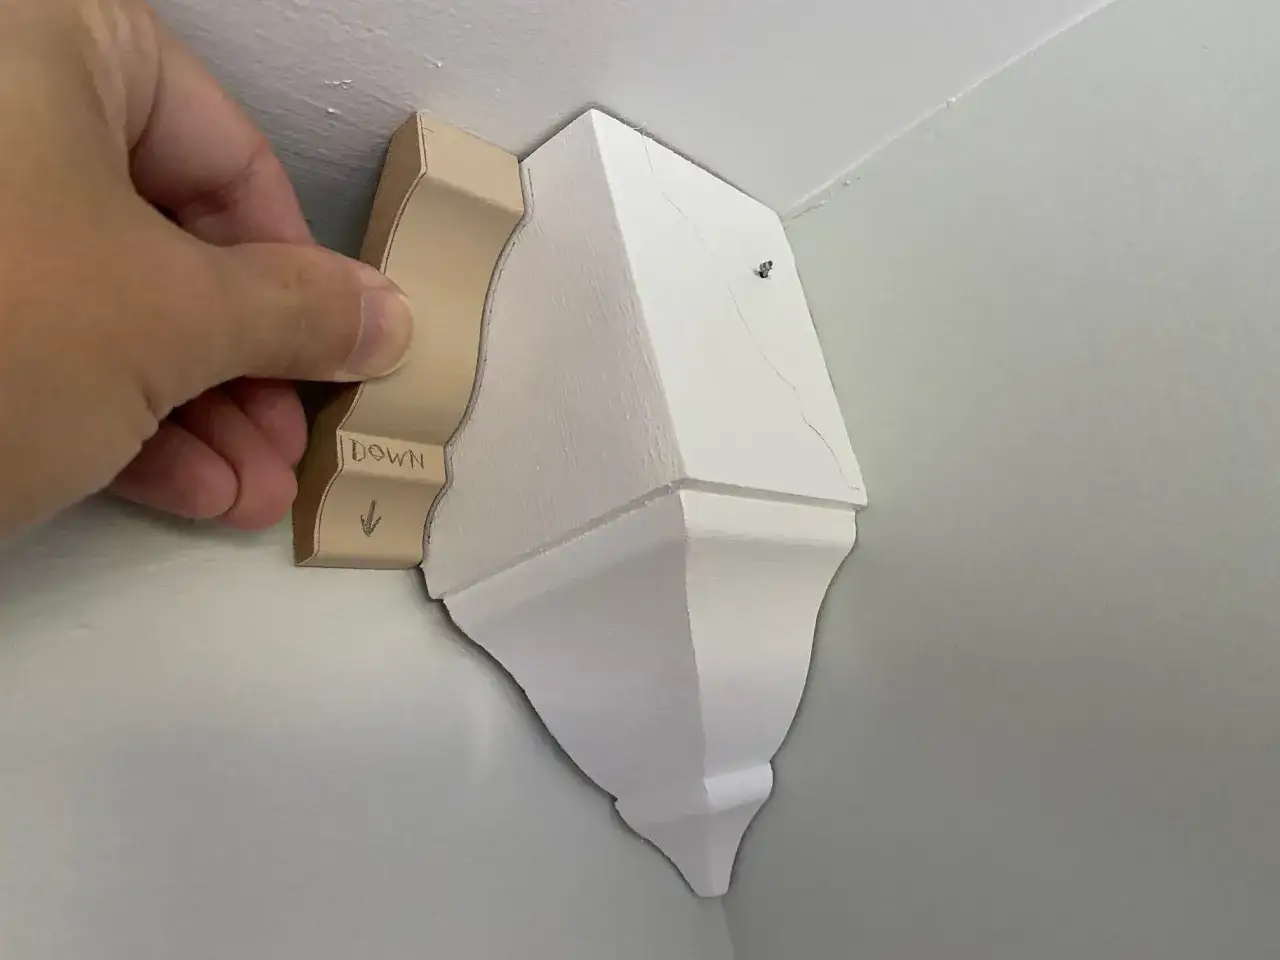
| Inside corner | Coped joint | Handles slight wall and corner imperfections better than a tight miter |
| Outside corner | Precise miter | Wraps the profile cleanly around the corner |
| Long straight run | Scarf joint over a stud | Makes the seam less visible and easier to support |
| Run ending at a wall or cabinet | Square cut with a return if needed | Finishes the end neatly without exposing the profile’s side |
I prefer a crown jig or a repeatable fence setup because it removes mental math from the process. If you are setting up the saw by hand, mark the orientation carefully and cut a short test piece first; one wrong flip can waste an expensive stick in seconds. Coping is worth learning for inside corners, because it gives the joint a little forgiveness when the room is not perfectly square. Once the cuts are predictable, the actual install goes faster and wastes far less material.
Install the runs without forcing the room flat
The biggest mistake I see is trying to make the room behave like a drawing. It will not. I install the first run slightly long, test-fit it, and then sneak up on the final length rather than cutting to the exact mark and hoping the walls cooperate.
- Dry-fit the first long piece and confirm the wall and ceiling contact points.
- Apply construction adhesive sparingly to the back where it will actually touch framing or backing.
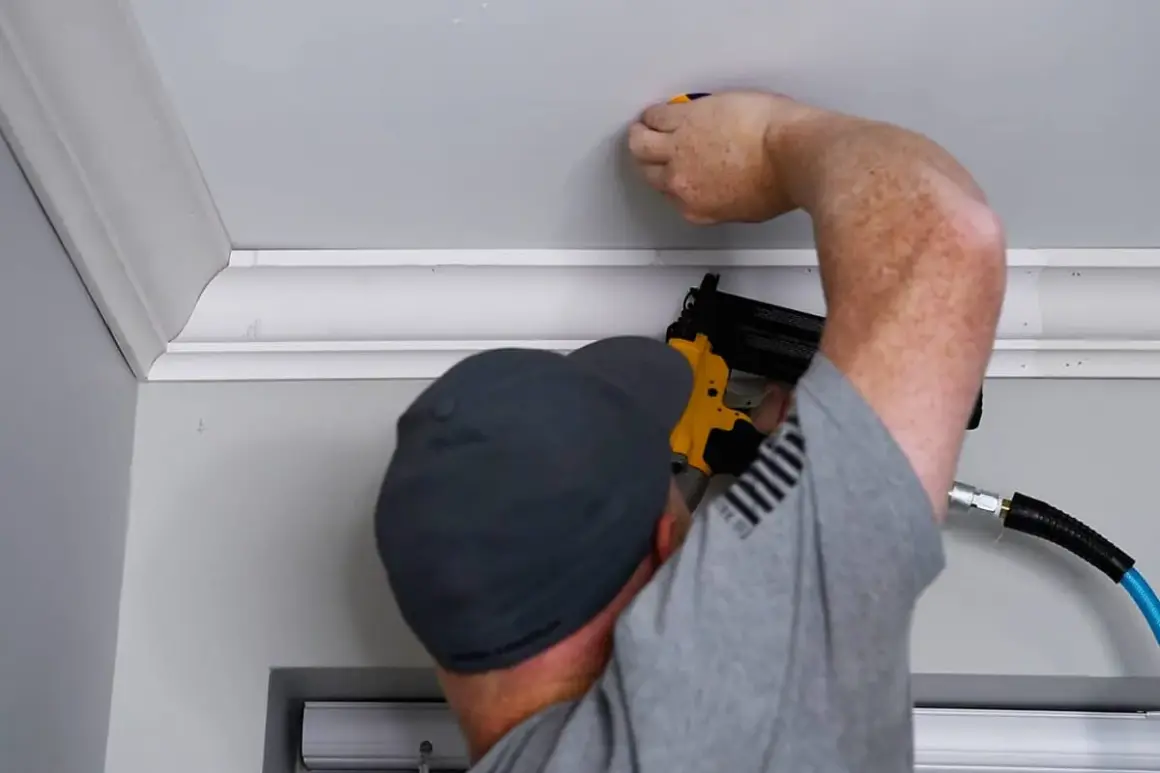
- Fasten with finish nails or brads into studs, joists, or backing, keeping the pattern tight enough to hold the line.
- Leave the last few feet near a corner loose until the joint is fully closed.
- Use shims where the wall bows instead of crushing the molding into a twist.
- Join longer runs over a stud with a shallow scarf seam rather than a blunt butt joint.
- Check the reveal after every few nails so the profile stays level and visually even.
A second pair of hands helps more than most people expect, especially on long pieces that want to sag while you are lining up the corner. I also like to use enough fasteners to hold the trim, but not so many that the molding starts fighting the wall shape. If the framing is sparse where the crown needs support, I would rather add backing than rely on extra caulk to hide a bad plane. After the molding is up, the finishing work decides whether it looks installed or custom.
Finish the joints so the eye sees one continuous line
Finishing is where the room becomes believable. For paint-grade work, I fill nail holes, caulk the top and bottom edges lightly, sand the patches smooth, and then prime and paint. For stain-grade work, I am much stricter about the cuts and the seam quality, because caulk will not disappear on finished wood the way it can on painted trim.
| Finish type | What I do | What I avoid |
|---|---|---|
| Paint-grade | Fill, caulk lightly, sand, prime, and paint | Leaving open gaps or overloading joints with caulk |
| Stain-grade | Use cleaner cuts, color-matched filler, and careful sanding | Depending on caulk to hide movement or rough seams |
I treat caulk as a visual tool, not a structural fix. If the bead has to be huge, the trim is telling you the plane is off. A thin, neatly tooled line is enough to soften small gaps; anything larger usually means the layout or backing needs another look. If you are hiring out paint as part of the job, it commonly adds a few dollars per linear foot, so it is worth deciding early whether you want the trim prefinished, painted in place, or left for a later stage. That cost-and-complexity check is the last decision point before the room starts looking finished.
Know when the project stops being a weekend job
For a simple U.S. interior in 2026, I would expect standard professional installation to land roughly around $14 to $22 per linear foot in favorable conditions, with paint adding more on top. A 100-linear-foot room can therefore move into the $1,400 to $2,200 range before extra prep, patching, or finish work. Material-only costs vary much more widely, but a rough working range of about $1 to $15 per linear foot is realistic depending on whether you are buying basic MDF or a premium hardwood profile.
| Project type | Typical cost signal | Best fit |
|---|---|---|
| Simple DIY paint-grade room | Lower material cost, more sweat equity | Square rooms, standard ceilings, easy access to studs and joists |
| Standard professional install | About $14 to $22 per linear foot installed | Most rooms where speed, fit, and finish matter |
| Paint add-on | About $2 to $4.50 per linear foot | When you want the trim fully finished and touched up |
| Complex or premium work | Above the standard range | High ceilings, historic homes, heavy hardwood, lots of odd angles |
I would lean pro when the ceilings are tall, the corners are far from square, or the material is heavy enough to make solo handling awkward. DIY makes more sense when the room is compact, the profile is paint-grade, and the framing is easy to read. For a room with built-ins or cabinet runs, the same logic applies: the cleaner the backing and the straighter the layout, the better the top line will look across the whole space. If I had to reduce the job to one rule, it would be this: spend more time on layout and corner planning than on the decorative profile itself. The cleanest rooms are the ones where the trim follows the architecture instead of fighting it.