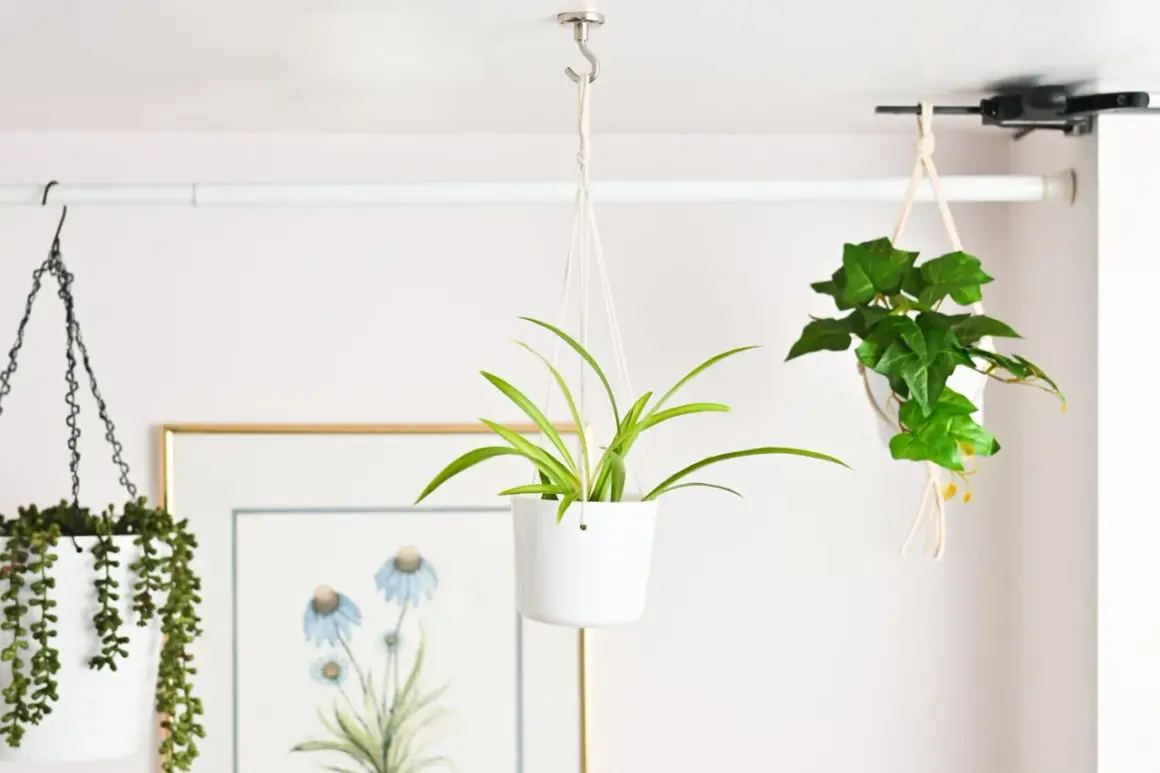
Hanging a plant overhead is one of the cleanest ways to save floor space, but the success of the project depends far more on structure and weight than on the hanger itself. This guide breaks down how to hang plants from the ceiling safely, from finding framing and choosing the right fastener to sizing the pot, avoiding damage, and deciding when a no-drill option is the better call.
The safest ceiling setup starts with the structure above the drywall
- Target framing first. A joist, beam, or solid blocking is always more reliable than plain drywall.
- Use the wet weight. Soil and water make a planter heavier than it looks, especially after watering.
- Match hardware to the ceiling. Screw hooks, lag eyes, and toggle anchors solve different problems.
- Avoid weak or off-limits areas. Skip light fixtures, sprinkler heads, vents, and smoke alarms.
- Leave working room. Give yourself enough clearance to water, prune, and remove the pot without forcing it.
The safest setup starts with the structure above the drywall
I always start by identifying what is actually holding the ceiling up. In many U.S. homes, joists are spaced 16 inches on center, sometimes 24 inches, which means there is usually solid framing available if you take the time to locate it. A stud finder helps, but I still like to confirm with a small pilot hole before I commit to a hook, especially in older homes where the ceiling may be plaster and lath, not modern drywall.If I can hit a joist, beam, or added blocking, that is the best path. If I cannot, I stop and rethink the location rather than relying on the ceiling board alone. A drop ceiling is its own category too, and I never hang a potted plant from the grid itself. If the plan is to use a different anchor point, I want to know that the weight is going into structure, not into a finish surface that was never meant to carry it. Once I know what the ceiling can actually carry, the hardware choice becomes much easier.
Choose hardware that matches the ceiling, not the other way around
The right hanger depends on whether you have solid framing, hollow drywall, exposed beams, or a ceiling that cannot be drilled without more work. I prefer the simplest strong option available, because every extra adapter adds another point of failure.
| Hardware | Best use | My take | Main limitation |
|---|---|---|---|
| Screw hook or lag eye into a joist | Most hanging pots in finished rooms | The cleanest and most dependable choice when framing is reachable | Requires accurate joist location and a pilot hole |
| Heavy-duty toggle anchor in drywall | Light to medium pots when framing is out of reach | Useful when you cannot hit a joist, but I treat it as a compromise | The drywall itself still limits what I trust it to hold |
| Clamp-on hanger for exposed beams | Beams, rafters, unfinished spaces | Very practical when the structure is visible and accessible | Only works where a beam or flange is already exposed |
| Adhesive or suction hardware | Very light decorative plants | Fine for temporary use, not my pick for a real potted plant | Weakest long-term choice, especially with humidity and watering |
For most real indoor planters, I want a screw hook or lag eye going into solid framing. If I am forced into hollow drywall, I keep the plant light and the expectations modest. That is the part people skip, and it is usually where the trouble starts.
Install the hook with a pilot hole and a slow hand
The mechanical part is straightforward if the layout is correct. I mark the point carefully, drill a pilot hole, and drive the hook or eye straight so the load is centered. A pilot hole should be sized to the fastener, not guessed at random, because the wrong hole can split wood or make the hook bite poorly.
- Mark the exact center of the joist or blocking.
- Drill a pilot hole that is slightly smaller than the screw shank.
- Drive the hook or lag eye in slowly and keep it square to the ceiling.
- Stop when the shoulder seats firmly, then check that the hook points where you need it.
- Hang the empty planter first, then add soil and water, and recheck the fastener after the first full watering.
If the ceiling is plaster, I go slower and use a sharp bit to reduce cracking. If the fastener starts to wander or the ceiling finish begins to crumble, I do not force it. In a finished room, a clean hole is worth more than a fast but ugly one. Once the hook is in place, the next question is how much mass you are asking it to carry.
Size the plant for its wet weight, not the nursery tag
This is where many DIY setups are underbuilt. A planter does not weigh the same in the store as it does after it is filled with soil, watered, and grown out. My rule of thumb is simple: under 10 pounds is light, 10 to 20 pounds is moderate, and anything above 20 pounds is a structural decision, not just a decor choice.
Pot material matters too. Ceramic and terracotta usually add more dead weight than thin plastic, and a plant that looks compact in spring can become much heavier once it is watered thoroughly and starts pushing long vines. I also think in terms of maintenance weight, not just day-one weight. If I know the plant will be watered weekly and repotted eventually, I want more margin than the minimum.
A light trailing plant in a small liner pot is a very different load than a large glazed planter full of damp soil. That is why I prefer to choose the hanger after I know the final pot size, not before. With the weight sorted out, the next decision is whether you need to drill at all.
No-drill options work, but only in the right cases
There are good reasons to avoid drilling into a ceiling, especially in rentals or rooms with unknown construction. The tradeoff is that no-drill solutions are usually more limited, and I would not treat them as a universal replacement for a real ceiling anchor.
- Tension rods work when the plant can be supported between two solid walls, not across open ceiling space.
- Clamp-on beam hangers are excellent when you have exposed framing or a structural beam to grab.
- Magnetic hooks can be strong on steel surfaces, but they only make sense if the ceiling element is actually magnetic metal.
- Adhesive hooks are best reserved for very light trailing plants and temporary displays.
When I use one of these alternatives, I still think like a carpenter. I ask whether the support is real, whether the finish will be damaged, and whether the plant can be removed without tearing something up. If the answer is shaky, I would rather relocate the plant than rely on a workaround that only looks sturdy.
The mistakes that cause sagging, cracks, and dead plants
The failures I see most often are surprisingly basic. People hang from drywall alone, use a light fixture box as if it were a plant hanger, or forget that a pot gets heavier after watering. I also see plants placed too close to HVAC vents or right under a ceiling fan, which dries them unevenly and makes the setup feel more temporary than intentional.
- Hanging from drywall when there is no structural support behind it.
- Using a fixture canopy, sprinkler pipe, or other non-structural component as an anchor point.
- Ignoring wet weight and choosing hardware only for the dry pot.
- Forgetting clearance for doors, cabinets, windows, and swing radius.
- Skipping a drip tray or watering plan, which leads to stains and runoff.
- Placing the plant where it rubs against paint, trim, or plaster every time it moves.
I also avoid hanging over beds, electronics, or anything that should never be exposed to a sudden drip. A plant overhead should feel deliberate, not risky. Once the obvious mistakes are out of the way, the remaining work is mostly maintenance and judgment.
A ceiling plant setup that keeps paying off
The best ceiling-mounted planter is the one you barely think about after it is installed. It clears floor space, gets enough light, and stays secure because the support point, fastener, and pot all match each other. I like to recheck hooks after the first watering, then again whenever I repot or move the plant to a heavier container.
If the room has old plaster, hidden damage, or a ceiling you cannot confidently identify, I treat that as a carpentry question before it becomes a decor project. That is usually the line between a tidy hanging plant and a repair job. For a finished home, the cleanest result is one strong anchor, one appropriate plant, and enough clearance to water it without fighting the ceiling every week.