A successful awning installation starts with the wall, not the fabric. I focus first on height, structure, and how the shade will actually work over a patio, door, or window, because those details decide whether the project feels solid or frustrating from day one. This guide covers the choices that matter, the step-by-step process, typical U.S. costs, and the mistakes I would avoid on any outdoor living project.
What matters most before you drill a single hole
- Pick the awning type based on how much shade, control, and permanence you want.
- Mount into real structure, not just siding or trim, and keep the bracket line level.
- A practical mounting height is usually 7 feet 6 inches to 9 feet, depending on headroom and pitch.
- Professional projects often land between $1,455 and $4,646, with many homeowners around $3,038.
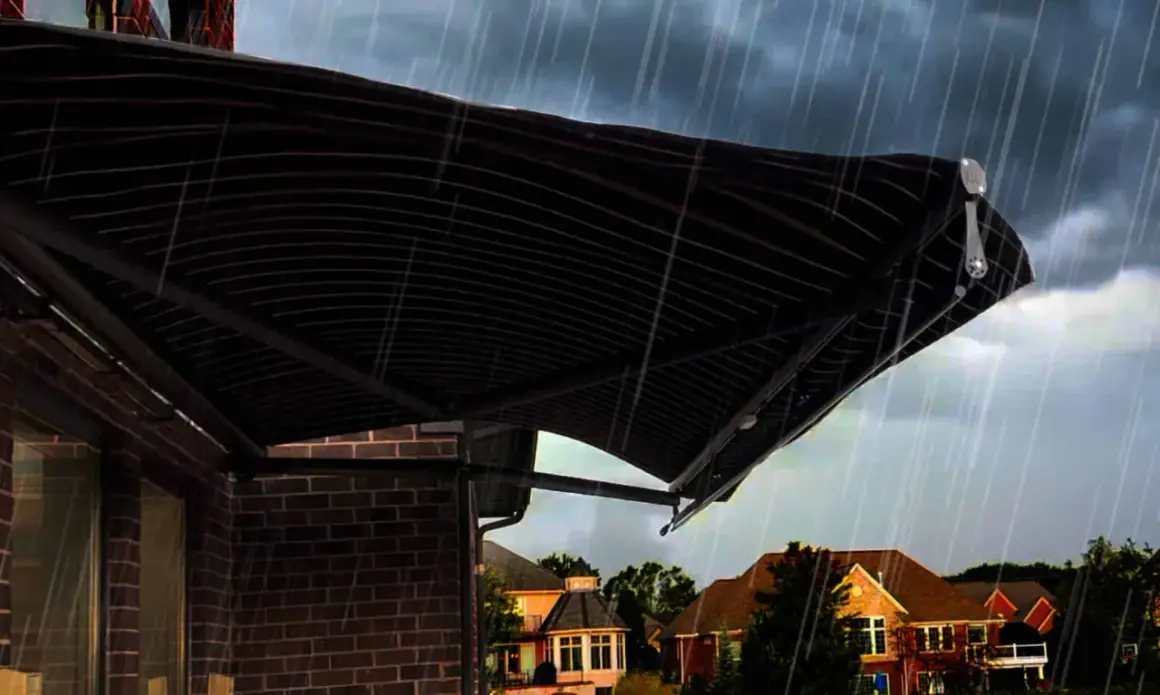
- Retract the awning in heavy rain, snow, and strong wind so water does not pool on the fabric.
Choosing the right awning for the space
When I compare options, I separate what looks good from what actually fits the wall. A fixed awning is simpler and usually cheaper to install, while a retractable model gives you more control over sun and shade but asks for better alignment and, in motorized versions, electrical planning. The right choice depends on how often you will use it and how much effort you want to put into upkeep.
| Type | Best for | Mounting difficulty | Typical installed cost |
|---|---|---|---|
| Fixed metal awning | Permanent shade over a door, window, or simple patio edge | Moderate | About $450 to $1,250 |
| Manual retractable awning | Homeowners who want shade only when needed | Moderate | About $1,500 to $3,500 |
| Motorized retractable awning | Frequent use, larger patios, and convenience-focused setups | Higher | About $3,000 to $7,000 |
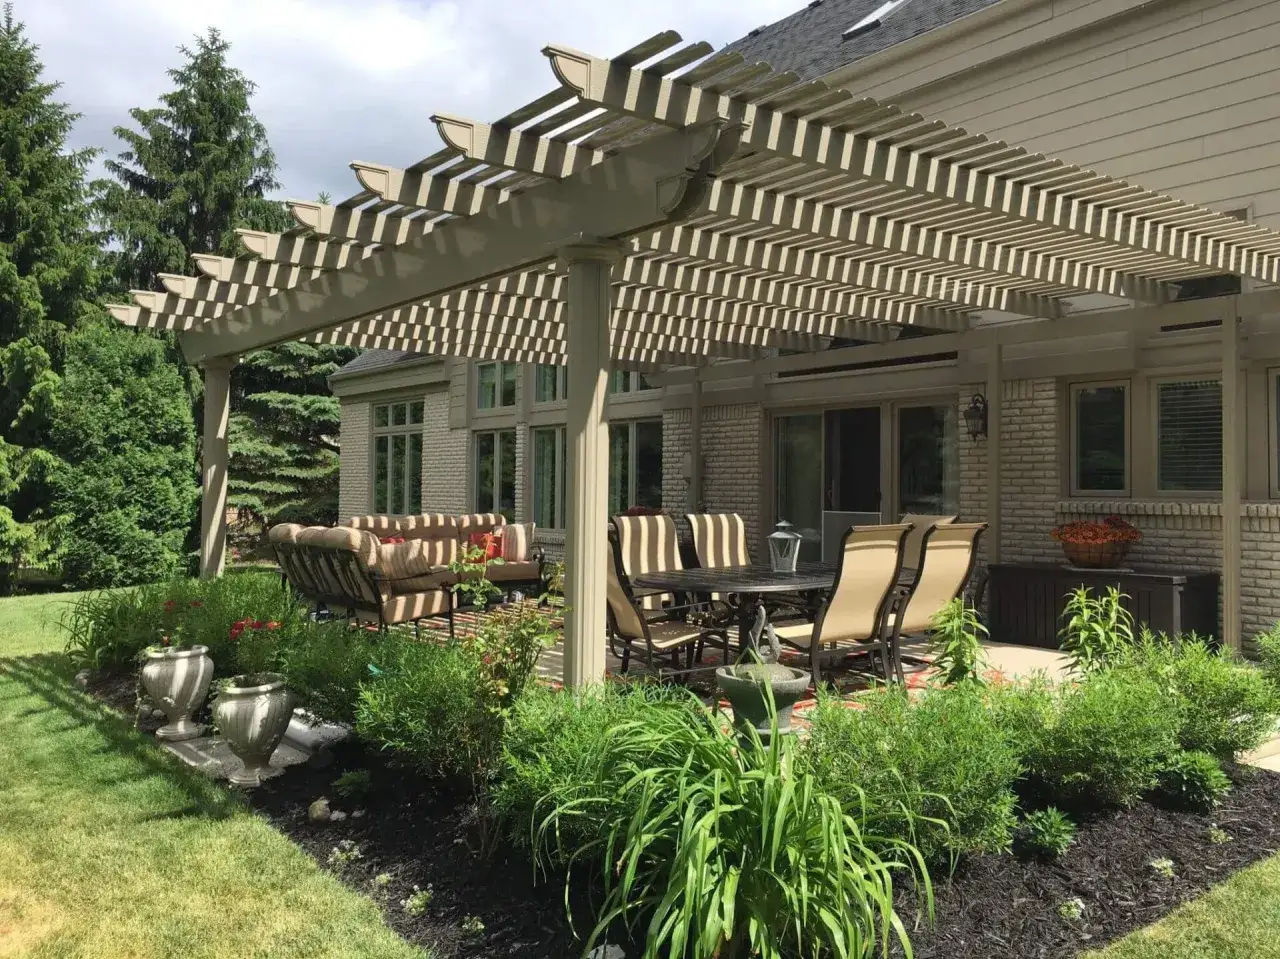
If the goal is year-round shade over a patio, a fixed system can make sense. If you only need shade during part of the day or part of the season, a retractable frame usually earns its keep. Once that decision is settled, the wall itself becomes the real project.
Measuring the wall and confirming the mounting surface
Before I touch a drill, I inspect the wall for studs, joists, headers, masonry quality, and any obstruction along the full width of the awning. That matters because the bracket line has to carry the load evenly. If I cannot land fasteners in solid structure, I stop there and rethink the project.
- Check clearance above windows and doors, including how far they swing open.
- Confirm the wall is flat enough for the brackets or plan shims and mounting blocks.
- Locate studs from inside if exterior access is awkward or the siding hides them.
- For stucco, brick, or stone, plan the right masonry bit and fasteners before you start.
- Avoid loose stone, damaged brick, soft trim, or rotted fascia as anchor points.
For wood-frame walls, I want fasteners into studs or headers. For masonry, I want the correct anchors and a flat, trustworthy surface. On uneven siding, a mounting block can keep the brackets level instead of forcing the hardware to twist against the wall. With the surface mapped, the installation steps become far more predictable.
Installing the brackets and the awning
The actual install is not complicated, but it is unforgiving. I usually work with a helper, two ladders, a long level or laser level, a stud finder, a drill, sockets, a chalk line, and the correct masonry bits if the wall calls for them. If the awning is motorized, I also verify the power plan, outlet protection, and cord routing before the unit goes up.
- Set the height so the awning clears people, windows, and doors. I usually want at least 7 feet 6 inches of clearance, and 9 feet or more when the wall allows it.
- Snap a level line and mark bracket locations on the structural members.
- Drill pilot holes to the required depth and install the brackets tightly.
- Close and secure the awning before lifting it with a helper.
- Lift the awning into the brackets, then secure it with the retaining hardware.
- Open the awning fully and set the pitch so water can run off instead of sitting on the fabric.
For wall mounts, the bracket line has to stay straight and level, and the fasteners need to bite into real structure. On soffit or overhang installs, the geometry changes, but the same rule applies: if the support is questionable, the install is questionable. Once the frame is fixed, the rest is adjustment.
What the project usually costs in the United States
Recent U.S. estimates put professional awning projects at $1,455 to $4,646, with many homeowners around $3,038. That range is wide because the price moves with size, material, motorization, the condition of the exterior wall, and whether electrical work or permits are needed.
| Extra cost | Typical range | Why it appears |
|---|---|---|
| Permit fees | $25 to $100 | Some cities or counties require approval for structural attachment or electrical work. |
| Electrical work | Varies by home | Motorized models may need a proper outdoor-rated outlet or circuit adjustment. |
| Accessories | Varies by choice | Hoods, covers, curtains, and mosquito netting can improve comfort and durability. |
If I am helping a homeowner budget, I also flag the fact that motorized versions usually cost more than manual retractables, and fixed metal systems are often the cheapest path only when the wall is simple. The cheapest quote is not automatically the best value; the bracket work is where mistakes get expensive. That is why the next section matters just as much as the budget.
Common mistakes that cause failures
Most bad installs fail for boring reasons: the brackets missed the structure, the line was not level, or the awning was mounted too low to open and close cleanly. I also see homeowners underestimate how much a patio door swing, downspout, or light fixture can interfere once the front bar projects outward.
- Fastening into siding or trim instead of studs, joists, headers, or solid masonry.
- Skipping the dry layout and drilling before confirming the line from end to end.
- Mounting too low, which leaves no room for pitch or head clearance.
- Ignoring pooled water and treating light rain like a harmless test.
- Using the same hardware for every wall type, even when the surface is stucco, brick, or stone.
The more expensive the awning, the more those small errors matter. A 10-minute measurement mistake can become a permanent hole pattern in the wall, which is why I would rather spend extra time on layout than rush the fastening. That caution leads straight into maintenance, because a correctly mounted awning still needs the right day-to-day habits.
Keeping the awning safe after installation
Once the frame is up, the job is not finished in the way many people think. The fabric and arms need different care than the brackets, and the weather can punish both. SunSetter’s installation guidance is blunt on this point: retract the awning during heavy rain or snow, and do not leave it extended in strong wind. Water pooling is not just a cosmetic issue; it can bend the frame or collapse the fabric span.
- Retract the awning when rain starts to collect on the fabric.
- Clean the fabric when it is dry so mildew has less chance to take hold.
- Inspect fasteners and bracket alignment at least once a season.
- If the system is motorized and exposed, use a drip loop and an in-use weatherproof cover for the outlet.
- If the awning is not protected by an overhang, a cover or hood helps shield the motor housing from rain.
- If the model includes a wind sensor, test it after setup instead of assuming the factory setting will suit your patio.
I also like to cycle the awning a few times after installation, because a binding arm or loose pitch adjustment is easier to fix on day one than after a season of use. With that routine in place, the awning becomes part of the landscape instead of a maintenance headache.
The checks I make before I call the project finished
Before I walk away from a patio shade project, I open and close the awning all the way, confirm that both ends stay level, and make sure the front bar clears every door and window it crosses. I also check that the retaining hardware is tight, the wall surface around the brackets is not cracking, and the fabric rolls up without rubbing. On a motorized unit, I test the power source, remote, and any safety sensor before I hand it over.
- The bracket line is straight and the fasteners are fully seated.
- The awning reaches full projection without sagging or binding.
- The pitch sheds water instead of trapping it in the middle.
- The wall, siding, or masonry around the anchors looks clean and undamaged.
- The homeowner knows when to retract it and what weather to avoid.
That final review is what separates a solid outdoor upgrade from a project that looks fine on the first day and then gives trouble later. If I had to reduce the whole process to one rule, it would be this: match the awning to the wall, not the other way around, and the rest of the work becomes much easier to trust.