Poison ivy is one of those yard problems that rewards patience more than brute force. The real answer to how to kill poison ivy naturally is to match the method to the plant’s size: dig tiny seedlings, starve larger vines, and use heat or acidity only where you can afford collateral damage. I’ll walk through what actually works, what usually fails, and how to clean up without dragging urushiol through the rest of the yard.
The safest path depends on plant size and persistence
- Small seedlings are the easiest win. Dig them after rain, remove the root crown, and bag the debris.
- Established vines need repeat pressure. Cutting, mowing, and smothering work better than hand-pulling a large patch.
- Boiling water, vinegar, and salt are contact tools. They scorch exposed growth, but they are not magic root killers.
- Never burn or compost poison ivy. Urushiol stays active on dead vines, clothing, tools, and pet fur.
- Expect follow-up work. A stubborn patch often takes more than one season to put down for good.

Which natural method fits the patch you have
I separate poison ivy into jobs, not into one big category. A seedling in loose soil, a vine climbing a fence, and a patch at the edge of a wooded lot all call for different tactics, and the wrong tactic wastes time while exposing more skin than necessary.
| Situation | Best natural approach | Why I choose it | Main limitation |
|---|---|---|---|
| Very small seedlings | Dig and pull by the root crown | Removes the whole plant before it spreads | Only works when the plant is still small |
| Small patch along a lawn edge | Repeated mowing or cutting | Weakens the plant by starving new growth | Needs repeat visits across the season |
| Climbing vine on a tree or fence | Cut at the soil line and leave the upper vine alone | Stops the live root from feeding the climb | The dead vine still carries urushiol |
| Cracks, gravel, and other sacrificial spots | Boiling water | Useful where no desirable plants are nearby | Usually kills only the exposed tissue |
| An empty patch you can spare for a season | Smothering with cardboard, mulch, or a tarp | Blocks light and slowly exhausts regrowth | Slow and edge control matters |
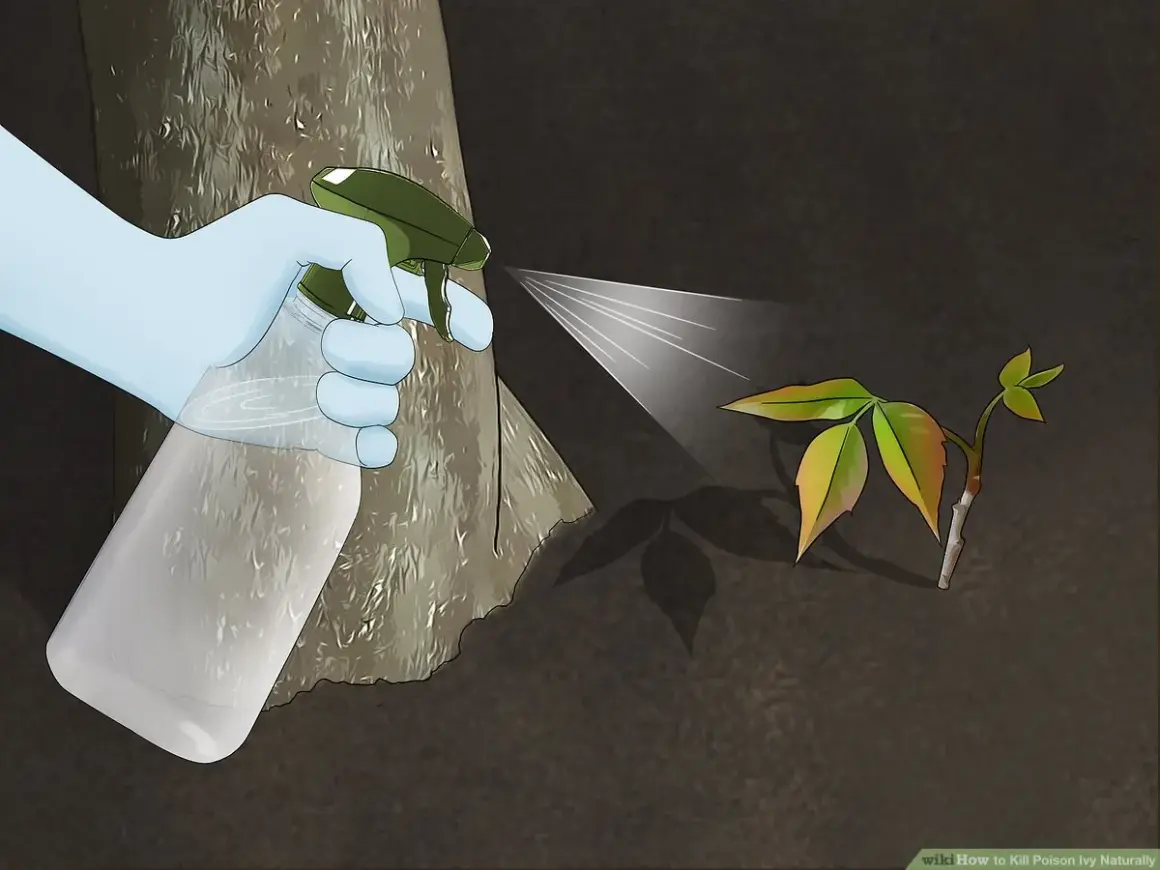
| Very small patch where you can accept collateral damage | Vinegar or salt spray | Easy to apply as a contact scorch | Weak on roots and rough on soil or nearby plants |
That table is the part most people skip, and it is usually where the mistake starts. A homemade spray can make leaves look defeated by dinner time, but an established root system can push fresh growth right back up if you never touched the plant’s stored energy. Once you know which job you are dealing with, the cleanest win is usually the smallest plant you can remove without tearing up the whole bed.
From here, the order matters: I always start with the young plants I can remove cleanly, then move to the bigger stuff that needs patience.
Dig young poison ivy out before it turns into a vine
Only very small plants are worth digging or pulling by hand. The best time is after a soaking rain or a deep watering, when the soil loosens enough to let the root system come up without a fight, and the plant is less likely to snap off and regrow.
- Put on waterproof gloves, long sleeves, long pants, and boots before you touch anything.
- Use a trowel or spade to dig wide enough to get the root crown, which is the thick top of the root system where new shoots restart.
- Lift the plant gently so you do not shake sap or soil back onto your clothes.
- Seal the debris in a bag if people, pets, or livestock can reach the area; otherwise let it dry where it cannot be touched.
- Wash clothing, gloves, and tools immediately after you are done.
I do not keep tugging once the stem breaks or the plant is bigger than a small clump. That is the point where you stop trying to win with a hand tool and switch to a method that targets the whole patch instead of your forearms. The next step is usually not more force, but more patience.
Starve established vines with cutting, mowing, or smothering
For established poison ivy, repeated clipping is boring and effective, which is usually a better bargain than clever and incomplete. I like that about it: no recipe, no mystery, just steady pressure on the plant until it runs out of stored energy.
Repeated cutting and mowing
Cutting poison ivy at or near ground level can eventually control it, but it is not a one-time job. In a lawn, frequent mowing is often enough to suppress smaller patches; on rough ground, you may need several clippings a year for several years before the plant gives up. If the vine is climbing a tree or post, cut it at the soil line and leave the upper vine in place so you do not drag contaminated material across bark, bark dust, and your own skin.
Read Also: Paver Walkway Ideas - Design for Durability & Style
Smothering isolated patches
Smothering works best where the patch is isolated and you can leave it alone long enough to matter. I use overlapping cardboard, thick mulch, landscape fabric, or an opaque tarp to block light and slow regrowth. This is a season-long tactic, not a weekend fix, and it works only if the edges stay sealed so new shoots cannot sneak out around the perimeter.
That approach is slow, but it is also predictable, which is more than I can say for a lot of homemade sprays. If you need faster top-kill on a crack, gravel strip, or other place with no nearby ornamentals, heat or acidity can help, but the trade-offs get sharper fast.
Use boiling water, vinegar, or salt only where the surface can take it
These methods are best understood as contact killers. They damage the tissue they touch, which is useful in the right place, but they do not behave like a systemic herbicide that moves through the plant’s full root network.
- Boiling water works well where the plant is isolated from anything you want to keep, such as cracks in concrete, gravel, or the base of a fence. It burns exposed growth on contact, but repeated applications are often needed, and steam can be just as annoying as the water if you are working too close.
- Vinegar spray can scorch leaves and tender stems. I treat it as a surface burn, not a root solution, because mature poison ivy often sends up fresh growth after the first round looks successful.
- Salt is the bluntest option of the three. It can leave the soil less friendly to anything you want to grow later, so I only see it as a last resort in places where you are willing to sacrifice the soil for a while.
My rule is simple: if the patch sits inside a perennial bed, near turf you care about, or beside shrubs you want to keep, I would rather cut and smother than spray the ground with a homemade mixture. The cleanup that follows is just as important, because the plant may die while the oil stays dangerous.
Clean up like the oil is still there, because it is
Urushiol, the oil that triggers the rash, does not stop mattering just because the leaves are dead. The FDA notes that it can linger on clothing, tools, pets, and other surfaces for years, which is why a cleanup step can create a second exposure if you rush it.
I follow three rules every time:
- Never burn poison ivy. Smoke can carry the oil into your throat and lungs.
- Never compost it. If you cannot leave debris to dry where nobody can reach it, bag it for trash and keep it sealed.
- Wash everything that touched it. Skin, gloves, tools, clothing, and pet fur all need attention before they get back into the house or the rest of the yard.
If you suspect contact, wash with cool water and soap as soon as you can. I try to do it within minutes, because the earlier you remove the oil, the less chance it has to bond to skin. For clothing and gloves, use a separate hot wash. For tools, rubbing alcohol or a strong detergent wash is a sensible first pass, followed by a rinse and dry.
That cleanup discipline is what keeps a removal day from turning into a week of itching. Once that piece is handled, you can turn the focus back to the landscape itself and make it harder for poison ivy to come back.
A 30-day plan that keeps the patch from bouncing back
Poison ivy usually wins by returning at the edges, along fence lines, and at the border between lawn and woods. A short, repeatable plan works better than a dramatic one-off cleanup, especially on U.S. properties where a neglected strip of ground can become a permanent source of regrowth.
- Days 1 to 3: Map the patch, suit up, remove the smallest plants, and cut any climbing vines at the soil line.
- Week 1: Smother the remaining patch if it sits in an area you can leave undisturbed, or mow and clip the regrowth if it is in a lawn edge.
- Week 2: Check for fresh shoots after rain, especially around tree bases, fence posts, and buried roots you may have missed.
- Week 3: Re-seat tarp edges, add mulch where light is leaking in, and remove any new growth before it gets leafy.
- Week 4: Walk the whole border again and plan the next pass for the following month or season if the patch is still active.
If I had to reduce the whole job to one principle, it would be this: small, repeated pressure beats a single aggressive attempt. That is how you get poison ivy out of a yard naturally without pretending the first spray or the first pull is the end of the problem.