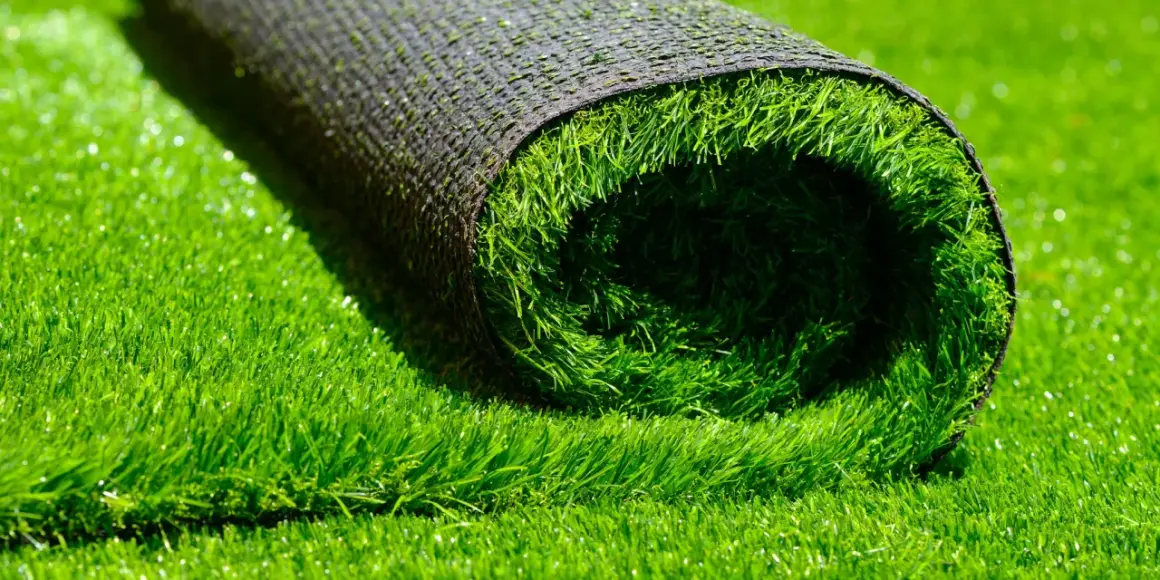
Installing artificial grass is less about rolling out a green carpet and more about building a stable, draining base that will not ripple, lift, or trap water. This guide explains how to install artificial grass in a way that actually lasts, from measuring and excavation to seams, infill, and the finishing brush that makes the surface look believable. I also break down the differences between soil, concrete, and deck installs so you can choose the right method before you cut the first roll.
The essentials before you start
- Check HOA rules if they apply, and call 811 before you dig.
- Plan on roughly 2.5 to 4 inches of excavation on soil, plus a compacted aggregate base.
- Keep all rolls facing the same grain direction so the finished lawn reads as one surface.
- Use seam tape and adhesive for joins, then fasten edges at the spacing your turf calls for.
- Add infill at the manufacturer’s rate, often around 1 to 1.5 lb per square foot.
- Brush the blades upright at the end; that step changes the final look more than most people expect.
Choose the turf and map the layout first
Before I lay a single roll, I decide what the turf has to do. A front lawn, a dog run, a patio border, and a play area all punish the surface in different ways, so the right product is not just the prettiest one on the shelf.
| Feature | Why it matters | My rule of thumb |
|---|---|---|
| Face weight | Helps determine how well the blades stand up to traffic | Heavier is usually better for active yards |
| Pile height | Changes the look and the feel underfoot | Shorter is easier to maintain, taller looks fuller |
| Backing and drainage | Controls how quickly water moves through the turf | Essential for pets, patios, and rainy climates |
| UV resistance | Helps the color hold up in sun | Worth paying for in full-sun yards |
| Infill compatibility | Affects stability and blade support after install | Choose turf that matches the infill your project needs |
Measure the space carefully and sketch the layout before you order. Curves, corners, and irregular beds usually need 10% to 20% extra material, and the grain should run in one direction across the whole project. If the lawn will be visible from the street, I like to face the grain toward that main viewing angle so the color reads as one clean field instead of a patchwork of reflections. Once the layout is clear, the base work becomes much easier to plan.
Soil, concrete, and decking change the install
The surface underneath changes the job, and this is where a lot of DIY installs go sideways. Artificial turf over soil needs excavation and compaction; over concrete or decking, the focus shifts to cleaning, leveling, and adhesion.
| Surface | What I do | Main caution |
|---|---|---|
| Soil or lawn | Remove sod and roots, install a weed barrier, add aggregate, and compact it | Drainage and compaction matter most |
| Concrete or patio | Clean the slab, repair cracks, let it dry, then use adhesive and seam tape if needed | Do not trap moisture under a dirty or cracked slab |
| Deck or wood surface | Check that the surface is sound, add underlayment if needed, and fasten appropriately | Flex and runoff are the problems to solve |
If the surface already slopes toward the house or pools water after rain, fix that before the turf goes down. Synthetic grass hides the finish, but it does not correct bad drainage. On any surface, I also want the area clean, dry, and free of loose debris before I start trimming or fastening.
Prepare the ground and build a compact base
On soil, I treat the base as the real lawn and the turf as the visible finish. That mindset keeps the job honest: remove the old growth, build a firm subbase, and give water a path out of the area.
- Remove sod, roots, mulch, and debris. Never lay turf over existing grass; it creates bumps, weeds, and drainage problems.
- Excavate about 2.5 to 4 inches, depending on the site and the base depth you need.
- Grade the area so it does not trap water in shallow pockets.
- Lay weed barrier fabric with 4 to 5 inches of overlap, then secure it every few feet.
- Add 2 to 4 inches of aggregate, lightly wet it, and compact it until it feels firm underfoot.
- If the area meets a slab or walkway, keep the finished base about 1 to 1.5 inches below the surrounding edge so the turf sits cleanly.
Compaction is not optional. A loose base may look level on day one, but it will settle unevenly after the first rain and the first few months of foot traffic. I also keep gloves, knee protection, and eye protection on hand here, because a utility knife and a load of aggregate are not forgiving when you rush. Once the base is solid, the next job is cutting and joining the turf without fighting the material.
Lay the turf, seam it, and secure the perimeter
Let the rolls relax before you start making final cuts, then line them up so every section faces the same direction. That one decision affects how uniform the color looks, and it is especially important where the lawn is visible from a road, driveway, or patio.
- Roll the turf into place and trim the rough edges with a sharp utility knife from the backing side.
- Minimize the number of seams. A single clean seam is better than two awkward ones trying to hide in a tight area.
- Place seam tape under the joint, overlap the turf by about 3 inches, and apply adhesive according to the product instructions.
- Weight the seam while the adhesive cures so the bond stays flat and tight. Clean bags of sand work well for this.
- Fasten the perimeter with nails or landscape anchors, typically every 8 to 12 inches, and closer, around 4 to 6 inches, in pet runs or other high-stress spots.
- Trim around posts, drains, tree rings, and other fixed points only after the main field is positioned.
I like to think of seams as the place where a project either looks custom or looks rushed. If the cuts are square, the grain matches, and the fasteners stay out of sight, most people will never notice where one roll ends and the next begins. That is the standard worth aiming for before you move on to infill.
Add infill and brush the fibers upright
Infill is what gives synthetic turf its planted, settled feel. It adds ballast, supports the blades, and helps the surface resist movement, so I never treat it like an optional afterthought.
- Use the manufacturer’s recommended rate. Many residential products land around 1 to 1.5 lb per square foot, while some systems call for 1.5 to 2.5 lb.
- Apply infill in light passes with a broadcast or drop spreader instead of dumping it all in one place.
- Brush after each pass so the granules settle to the base and the fibers stand back up.
- For pet areas, consider odor-control infill such as zeolite if the product allows it.
- In hot, sunny yards, ask whether the turf or infill is designed to help manage heat.
Once the infill is in, I brush the lawn more than once. That is the easiest way to make the surface read as a lawn instead of a rolled mat, and it is one of the quickest visual upgrades in the whole process.
Common mistakes that show up after the first rain
The failures that frustrate homeowners most usually trace back to one of a few avoidable decisions. None of them are glamorous, but they are the difference between a lawn that sheds water and one that needs constant repairs.
- Skipping compaction, which leaves soft spots and ripples underfoot.
- Ignoring slope, which lets water stand in low areas and shortens the life of the install.
- Mixing grain directions, which makes seams obvious from normal viewing angles.
- Fastening too sparsely, which leads to lifted edges and corners after temperature swings.
- Using the wrong amount of infill, which can make the turf feel flat, gritty, or uneven.
- Installing near reflective windows or shiny surfaces without checking for concentrated heat.
That last point matters more than people think in sunny parts of the United States. Artificial fibers can be damaged by reflected heat, so I pay attention to glass, metal, and other shiny surfaces before the turf ever goes down. Once those risks are handled, the only question left is whether the job is still a smart DIY move.
When DIY makes sense and when a pro is the smarter move
A straightforward rectangle on good soil is a solid DIY project. Once the area gets larger, more curved, or more technical, the work shifts from simple labor to careful detailing, and that is where mistakes become expensive.
- DIY makes sense for small-to-medium spaces with straightforward edges and good drainage.
- A pro starts to make sense when the project goes over roughly 200 square feet, because the material handling and seaming become labor-intensive.
- Hire help sooner if you need irrigation capped, drainage corrected, steps or retaining edges finished, or a patio-to-lawn transition held perfectly flush.
- If the site has many curves, islands, or odd angles, extra waste from bad cuts can erase the savings of doing it yourself.
I am not against DIY here; I just think the smartest decision is the one that matches the site, not the one that flatters the budget on paper. If the geometry is simple, a careful homeowner can do a clean job. If it is not, speed matters less than getting the base and seams right.
The finishing habits that help turf age well
After installation, the goal is not constant maintenance. It is light, deliberate care that protects the surface you just built. A quick rinse after pet use, a brush-up after furniture moves, and a leaf blower for debris are usually enough to keep the lawn from looking tired.
- Brush high-traffic paths before the fibers mat down.
- Rinse spills and pet areas promptly so residue does not settle into the backing.
- Clear leaves, pine needles, and dust before they compact into the pile.
- Check edges and seams after freeze-thaw cycles or heavy storms.
- Keep grills, fire pits, and reflective decor far enough away that heat cannot build on one spot.
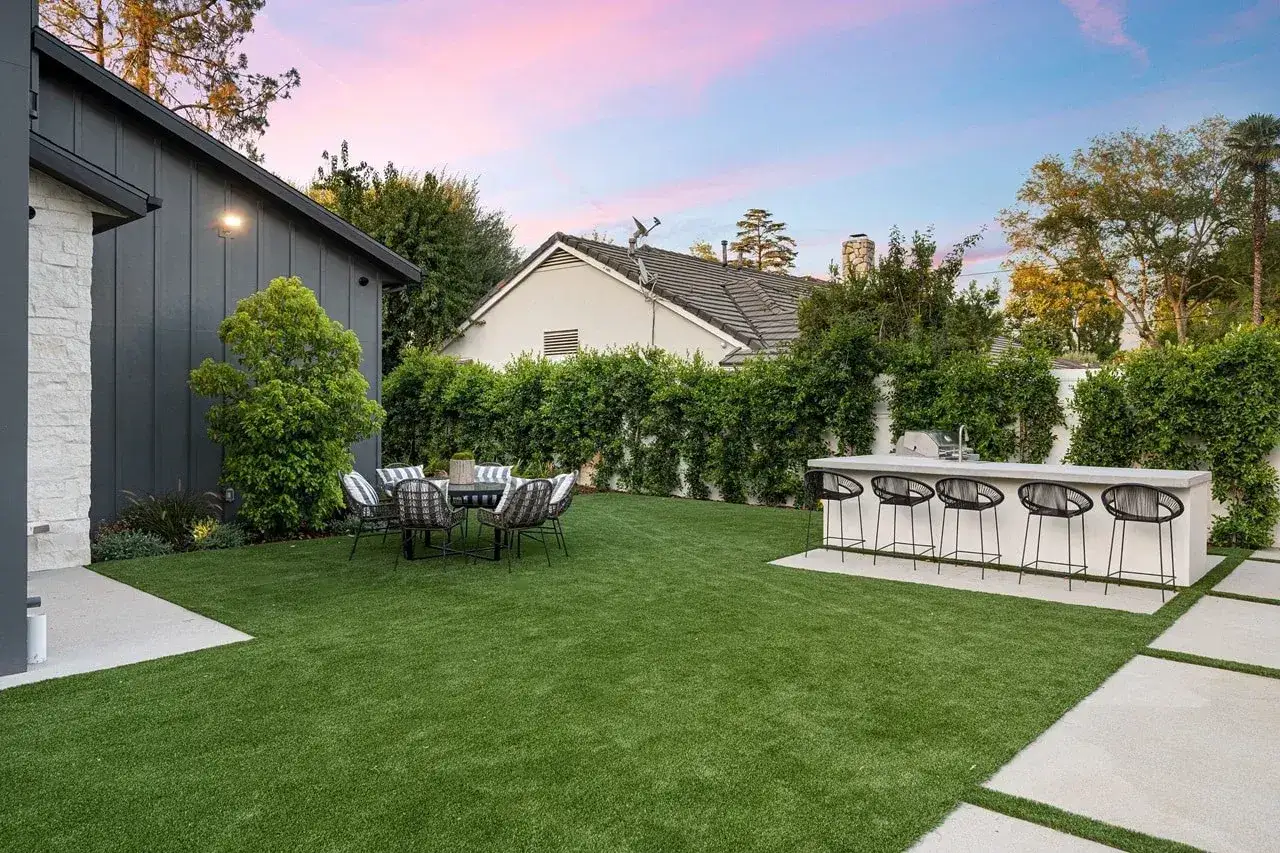
If you get the base right, align the grain, and resist the temptation to rush the seams, artificial turf becomes a stable outdoor surface instead of a fragile cover-up. That is the standard I aim for on every install: flat, drained, and believable from the curb as well as up close.