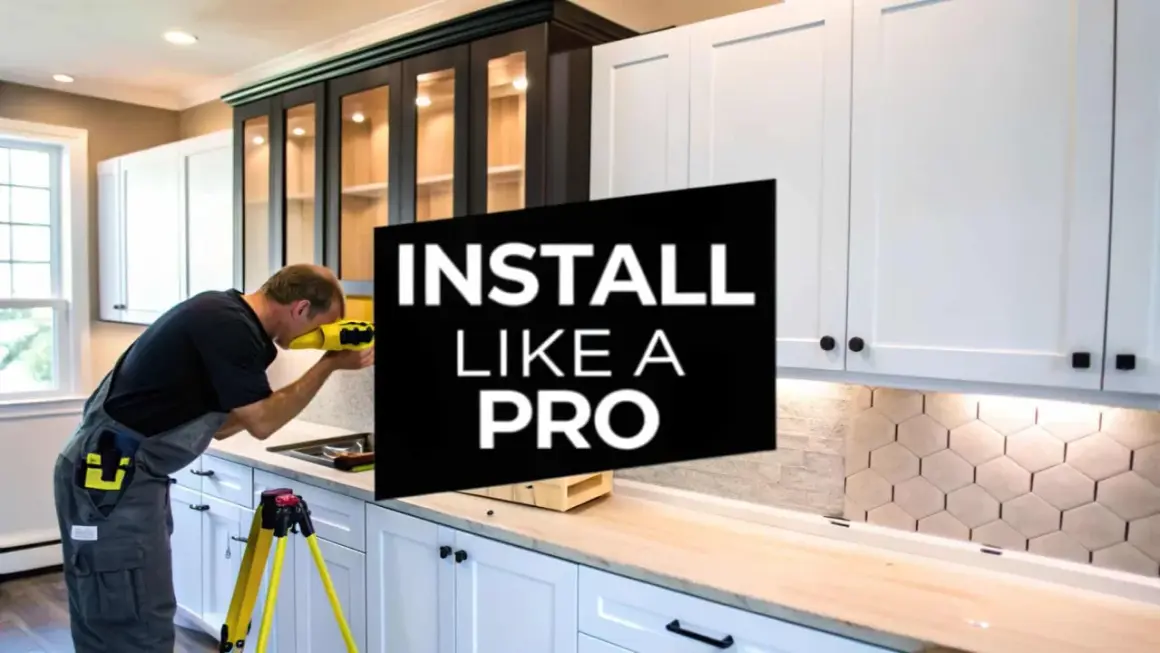
Learning how to hang cabinets is mostly about structure, layout, and patience. The cabinet itself is rarely the problem; the wall behind it is. I focus on finding solid fastening points, establishing one true level line, and setting the first box so the rest of the run has something honest to follow.
The shortest route to a straight, load-bearing install
- Confirm the wall type first; standard wood-stud drywall is the easiest case, while metal studs, masonry, and old plaster need a different approach.
- Use a temporary ledger board or cabinet support so the cabinet does not have to be held in the air while you fasten it.
- Fasten into studs with cabinet screws or manufacturer-approved structural screws, not drywall anchors alone.
- Shim the low spots until the face is plumb and the front edge stays flat across the whole run.
- Clamp adjoining cabinets together before you join them, then recheck level after every few screws.
Read the wall before you pick up the cabinet
I always start by asking what kind of wall I am dealing with, because that decides almost everything else. In many U.S. homes the studs are 16 inches on center, sometimes 24 inches, but I never trust the spacing until I verify it with a finder and a quick measurement. I also look for switches, outlets, plumbing runs, and any sign that the wall is bowed or out of square. If I am drilling near electrical boxes, I cut power first and treat the wall as if hidden wires are close by.| Wall condition | What changes | My approach |
|---|---|---|
| Wood studs in drywall | Most common in U.S. homes | Mark stud centers and fasten directly into studs |
| Metal studs | Fasteners strip easily if the wrong screw is used | Use approved fasteners or add blocking before hanging heavy cabinets |
| Masonry or block | Needs a different anchor strategy | Use masonry fasteners or a cleat system designed for the wall |
| Old plaster and lath | Studs can be harder to locate reliably | Confirm the framing before committing screws |
If the wall is standard wood framing, the job is straightforward. If it is metal stud, masonry, or old plaster-and-lath construction, the support method changes and sometimes the safest answer is to add blocking or use a different mounting system altogether. Once the wall is understood, the rest of the job becomes a controlled sequence instead of a gamble.
Choose tools and fasteners that match the wall
The right kit makes a wall cabinet install feel calm. I want a 4-foot level or laser level, a stud finder, tape measure, drill/driver, countersink bit, clamps, shims, a straight ledger board, and a helper or cabinet jack if the cabinet is large. For fasteners, I prefer cabinet screws or structural wood screws about 2 1/2 to 3 inches long, sized to bite solidly into the stud after passing through the cabinet back or hanging rail. Plumb means perfectly vertical, and level means perfectly horizontal, so those two checks stay on my mind the whole time.
- Level or laser level for a true reference line.
- Stud finder to locate and confirm the center of each stud.
- Clamps to keep cabinet faces flush while you join boxes.
- Shims to correct wall dips without forcing the cabinet out of square.
- Ledger board to hold the weight while you fasten the cabinet. A ledger board is a temporary straight board that supports the cabinet at the right height.
- Pre-drill and countersink bits to reduce splitting and keep the screw head seated cleanly.
- Safety glasses and a dust mask for drilling and old-wall cleanup.
I do not treat drywall anchors as the main support for a full-size wall cabinet. They are fine for light accessories, but upper cabinets store real weight, and that load belongs in the framing. With the gear sorted, the layout becomes a measuring problem instead of a guessing problem.
Mark the layout and the first reference line
If the cabinets are going over a finished counter, I usually work from the counter height rather than from the floor, because floors are often the least level surface in the room. In a typical kitchen, the bottom of the wall cabinet line often lands around 54 inches above the finished floor, but the real reference is the top of the counter and the cabinet spec sheet. For storage walls, laundry rooms, and garages, I still use a level line, but I measure from the surface that actually matters in that room.
- Pick the final cabinet height and decide where the bottom edge needs to land.
- Snap or draw a level line for the bottom edge, then extend it far enough to cover the full run.
- Transfer stud centers to the wall and mark them clearly all the way up the install zone.
- Mark cabinet widths, fillers, appliance gaps, and any trim interruptions before lifting anything.
- Use a story pole if several heights need to repeat. A story pole is a marked scrap of wood that transfers the same measurements cleanly from one point to another.
One extra habit saves trouble later: I mark the stud centers all the way up the wall before I lift the cabinet. That way I am fastening to a layout I can see, not just to a few pencil marks hidden behind the box. When the wall is marked correctly, the first cabinet becomes a reference instead of a moving target.
Set the first cabinet and let it define the run
The first cabinet matters more than the last one. I start by fastening a temporary ledger board on the level line so the cabinet can rest on something straight while I work. Then I lift the cabinet into place, check plumb on the face and side, and adjust with shims until the back sits flat against the wall without twisting. Shims are thin wedges used to correct small gaps and keep the box square.
- Hang the cabinet on the ledger or support it with a jack or helper.
- Check the cabinet for plumb, level, and the correct height.
- Pre-drill through the approved fastening points or rail into the marked stud centers.
- Drive the screws until snug, but leave a little movement until all attachment points are in.
- Add shims at stud lines where the wall dips or bows.
- Tighten the screws gradually so the box stays square.
I like to think of the first cabinet as the straightedge for the whole wall. If that box is off by even a little, the gap multiplies with every cabinet that follows. Once the first cabinet is locked in, the rest of the run is mostly about keeping faces flush and screw tension under control.
Bring the rest of the cabinets into line
After the first cabinet is stable, I set the next one beside it, clamp the visible front edges together, and compare the front edges before I drive any joiner screws. This is where the work stops being about brute force and starts being about alignment. The face frame, on framed cabinets, or the front edge, on frameless cabinets, should read as one continuous plane, not a series of small steps.
The checks I keep returning to are simple:
- The top edge stays level across the run.
- The front faces stay flush from one cabinet to the next.
- The vertical edges stay plumb, especially near fillers and exposed ends.
- The shims sit at the stud locations, not in random spots that let the box rock.
- The cabinet doors still swing cleanly after the screws are tightened.
If the wall bows, I would rather shim consistently than pull the cabinet into shape with the screws alone. A cabinet that is forced to follow a bad wall may look fine at first, but the doors and reveals usually expose the mistake later. After the second cabinet is aligned, the remaining units go faster because the pattern is already established.
Avoid the mistakes that make a cabinet run feel cheap
Most bad installations fail for boring reasons, not dramatic ones. The common mistakes are easy to name, and once you see them, they are hard to ignore:
- Skipping the stud check and landing screws in drywall only.
- Using the wrong fastener for metal studs, masonry, or another nonstandard wall.
- Torquing one screw down fully before the cabinet is aligned.
- Ignoring a crooked reference line and hoping trim will hide it later.
- Forgetting appliance and door clearances until the boxes are already on the wall.
- Letting the cabinet bridge a bow instead of shimming the support points properly.
I also see a lot of installers trust a short level when the run is long. On a two- or three-cabinet span, a small error can hide. On a full wall, it usually shows up as a wandering reveal or a door that never quite looks right. The errors that cause callbacks are usually small at the start and obvious at the end, which is why I like to name them early.
The details that keep the installation solid over time
A good install should still look good after the room has been used for a while. I go back and check screw tightness, hinge adjustments, and any filler strips once the cabinets are carrying real weight. If a filler is needed to close an uneven edge, I scribe it to the wall rather than forcing the cabinet out of square. Scribing means trimming the filler to match the wall profile, which gives a cleaner edge than a big, hidden gap.
- Recheck the doors after a day or two and adjust hinges if the run settled slightly.
- Keep a note of stud locations for future shelf, rail, or accessory installs.
- Touch up exposed screw heads, shim edges, and trim cuts before the job is considered finished.
- If the wall is metal stud, masonry, or badly out of plumb, stop and change the fastening plan instead of forcing the standard method.
When I install wall cabinets, I want the result to feel quiet: no rocking, no obvious twists, no door that keeps reminding you where the wall was off. That is the real payoff of doing the setup carefully. It is not just a cleaner look; it is storage that stays useful, square, and trustworthy long after the tools are back on the shelf.