This guide breaks down gutter guard installation in plain English and focuses on the details that actually change the result: the guard style, the roofline, the climate, and the safety setup. I am less interested in sales claims than in whether a system keeps water moving without turning your gutters into a second maintenance job. If you want to decide between DIY and pro work, this is the practical version.
What matters most before you start
- Match the guard to your debris load; pine needles and fine seed pods usually need finer mesh.
- Clean, inspect, and flush the gutters first; guards do not fix sagging runs or blocked downspouts.
- Simple one-story runs are often DIY-friendly, but steep roofs and micro-mesh systems are harder to fit cleanly.
- Expect less cleaning, not zero cleaning; a quick spring and fall check still makes sense.
- Budget widely: a full professional job can land around $3,000-$6,000 for 200 linear feet, while many projects average far less.
What gutter guards really change
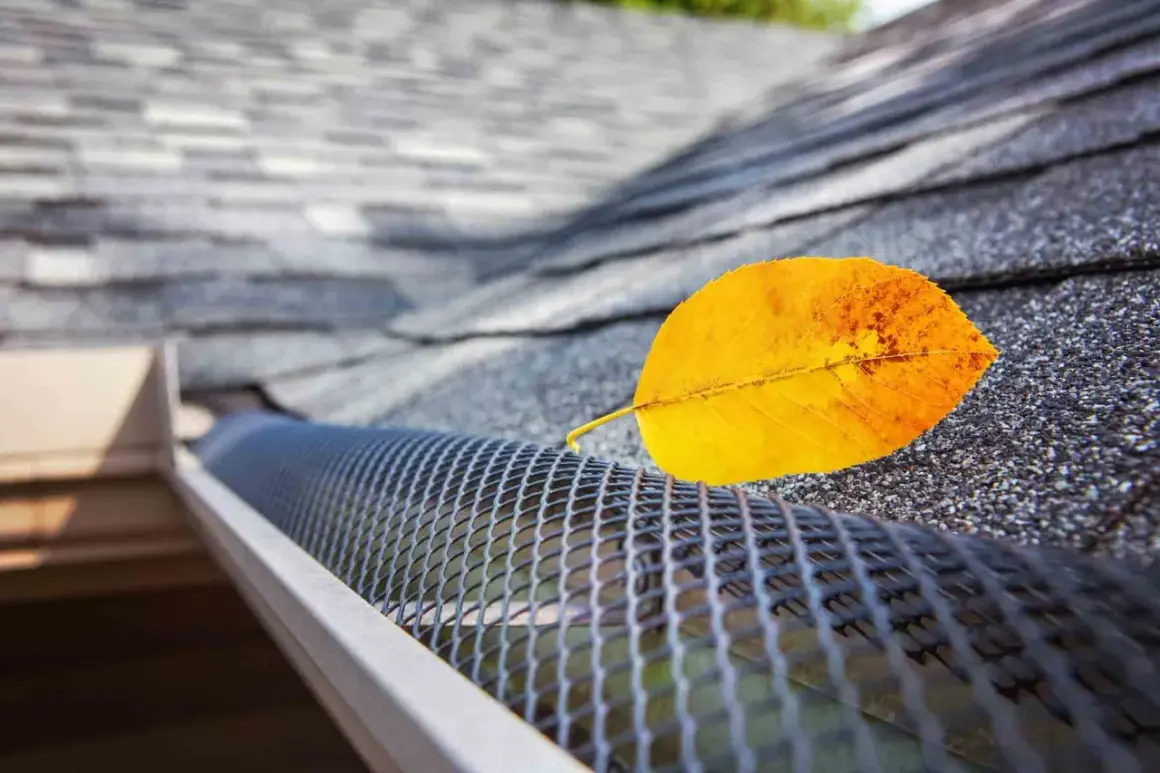
I treat gutter guards as filtration, not a magic fix. Their job is to slow the buildup of leaves, needles, and roof grit so water can keep moving toward the downspouts instead of spilling over the front edge or backing up in corners. That matters because overflowing gutters can push water onto the roof edge, fascia, siding, landscaping, and foundation.
Without guards, I still expect a full cleanout at least twice a year, usually in spring and fall. With guards, the work normally gets easier and less frequent, but it does not disappear. If a system cannot handle the rainfall rate or the kind of debris your yard drops, it will fail exactly where you do not want it to: at valleys, tight corners, and clogged downspouts. That is why the guard style matters more than the marketing copy, and it leads straight into the next decision: what type actually fits the house.
Which guard style fits your home best
I start with the debris, not the price tag. A home under pines needs a different solution than a home with broadleaf trees, and a dry climate has different demands than a storm-heavy one. The table below is the simplest way I know to compare the common options.
| Type | Best for | Install difficulty | Maintenance | Main tradeoff |
|---|---|---|---|---|
| Brush | Cheap DIY coverage on simple runs | Easy | Frequent | Catches debris in the bristles and clogs sooner |
| Foam | Quick installation on light-debris roofs | Easy | Frequent | Water filtration is weaker in heavy rain |
| Screen | General-purpose use and midrange budgets | Moderate | Moderate | Small debris can still pass through or stick |
| Micro-mesh | Fine debris, pine needles, and long-term performance | Harder | Low | Higher cost and more precise fitting |
| Reverse-curve | Homeowners who want low maintenance and are willing to pay for it | Best left to pros | Low | Quality and fit matter a lot, especially around roof edges |
My rule of thumb is simple. If the yard drops mostly leaves and twigs, a decent screen can be enough. If the property is surrounded by pines, I move toward micro-mesh because fine needles are the kind of debris that sneaks through coarser products. In fire-prone parts of the U.S., I also prefer noncombustible metal over foam or plastic inserts. Once the guard choice is clear, the real work is in the prep and fit, which is where many DIY jobs succeed or fail.
How I would install them on a standard roofline
A straightforward DIY job on a one-story home can take 3 to 5 hours once the gutters are already clean, while a more complex roof or a system that needs trimming can take a full day. I always tell people to slow down at the prep stage, because that is where most mistakes get baked in.
- Inspect the roof edge, fascia, shingles, and gutter slope. If the gutters sag, leak, or sit loose against rotted wood, repair that first. Guards do not compensate for a failing base.
- Clear the gutters and flush the downspouts. Start with any visible debris, then run water through the system until each elbow flows freely. If the outlet is blocked, fix that before you add any covering.
- Measure every run and buy extra material. I like to add about 10% for cuts, corners, and small mistakes because those are normal on real jobs.
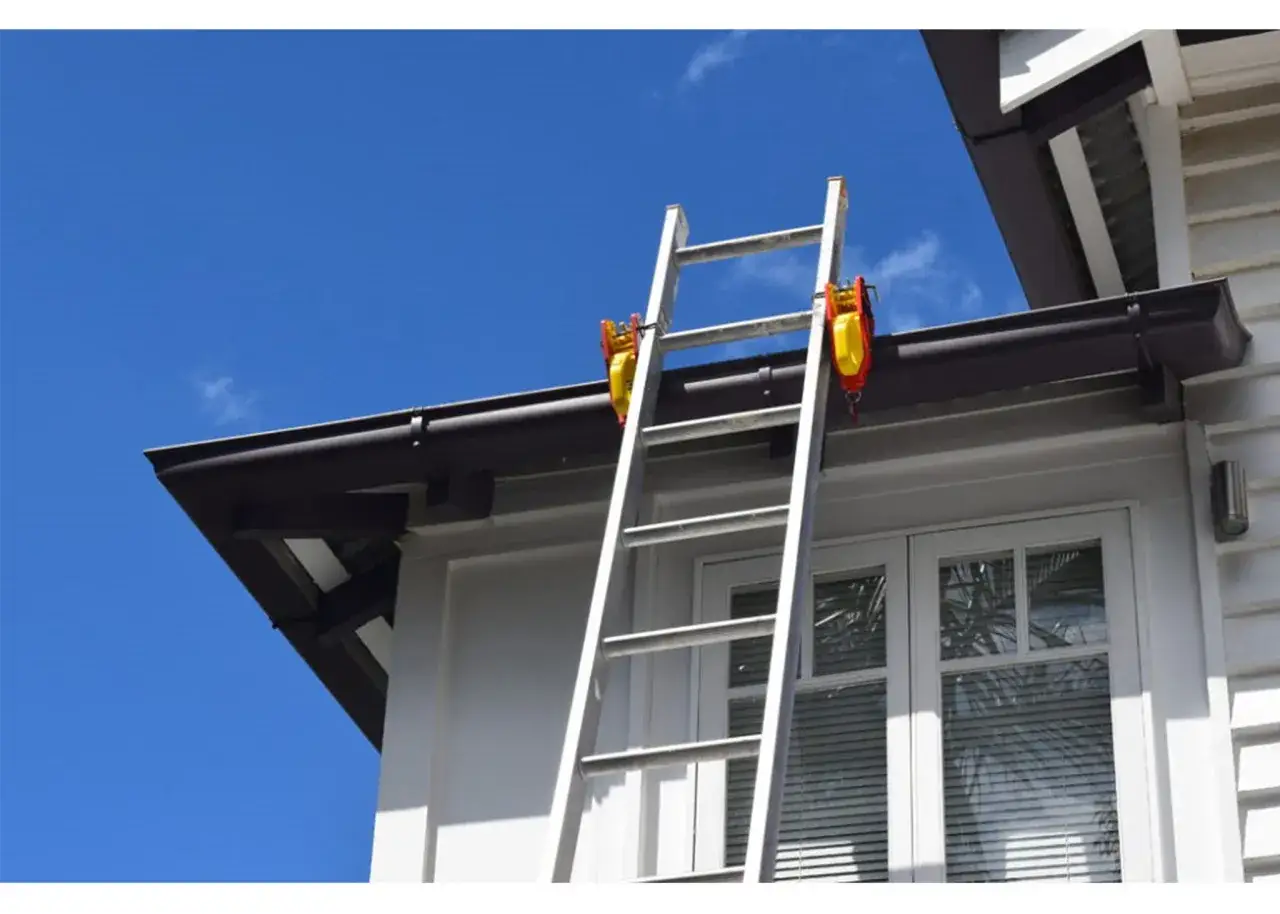
- Set the ladder on stable, level ground and use a standoff or stabilizer when possible. I do not lean a ladder directly on the gutter, because that can dent the metal and it is a bad balance point.
- Dry-fit the first section before fastening anything. If the guard needs trimming, do it in small passes so the fit stays tight at the ends and around corners.
- Install according to the product style. Some systems snap in, some screw down, some clip in, and reverse-curve units often need a more exact fit under the first row of shingles. If the instructions call for lifting shingles, stop and reassess if the shingles are brittle or already near the end of their life.
- Check seams, valleys, and end caps carefully. These are the points where overflow usually appears first, especially during a hard rain.
- Test the run with a hose and watch how water moves. I want to see water enter cleanly and debris stay on top, not shoot over the front edge or pool in one spot.
If the system passes the hose test, I still walk away assuming there will be a small amount of seasonal upkeep. That is the difference between a good installation and a sales pitch, and it is also the point where the DIY versus professional decision becomes clearer.
When a professional install is the better call
For gutter guard installation, recent U.S. survey data from This Old House puts professional jobs around $3,000-$6,000 for 200 linear feet, or about $16 per linear foot. Angi's current average is $1,520, with most homeowners spending $654-$2,458. I read that gap as different mixes of products and project complexity, not a contradiction. DIY systems can drop the price to roughly $1,262-$1,556 on a 200-linear-foot project, but they usually trade away some durability and wind resistance.
I usually push people toward a pro when the roof is steep, the gutters are on a second story, the layout has a lot of valleys or tight corners, or the chosen system is micro-mesh or reverse-curve. Those are the jobs where precision matters more than the sticker price, because a sloppy fit defeats the whole point. I also think professional help makes sense when the gutters already need repairs, when the fascia looks questionable, or when you want a warranty tied to both materials and labor. If your only reason for going DIY is saving money, make sure you are not quietly paying for that choice later in rework or runoff problems.
There is one more reason I value pro installation: the installer is forced to look at the whole water-management problem, not just the cover itself. That broader view often catches issues like bad slope, loose hangers, or weak outlets before they turn into repeat leaks. Even if you stay DIY, the same project fails for the same predictable reasons, and that is worth checking before you buy.
The mistakes that cause early failure
Most bad installs do not fail because the product is useless. They fail because the system around the product was ignored. These are the mistakes I see most often:
- Buying for price alone instead of debris type. A cheap screen can be fine on one roof and useless on another.
- Installing over dirty gutters. If leaves and sludge are already packed in place, the guard just hides the problem.
- Ignoring slope and sag. A gutter that does not drain well will still overflow, guard or no guard.
- Leaving gaps at corners, end caps, and valleys. Those small openings are where overflow starts.
- Using the wrong fasteners or forcing clips into brittle shingles. That can damage the roof edge and create a leak path.
- Expecting the guard to replace maintenance entirely. It is a filter, not a substitute for seasonal checks.
The biggest mistake, in my view, is treating the guard as the whole solution instead of one part of the drainage system. If you avoid those errors, the system usually comes down to routine care rather than repeat repairs, which is exactly where it should be.
What a good installation should look like over the long run
A solid setup should move water cleanly, leave only a light layer of debris on top, and make cleanup quick when it is needed. I like a spring inspection, a fall inspection, and one extra look after severe storms. In wooded neighborhoods, I also check the sections closest to valleys and roof transitions more often, because that is where debris tends to collect first.
Keep an eye on the details that tell you the system is working. Water should not be running behind the gutter, spilling from one corner, or shooting past the downspout opening. If you see those signs, it usually means the slope, fit, or product choice needs attention. The best result is not zero maintenance; it is fewer clogs, fewer ladder trips, and a gutter line that does its job quietly when the weather turns.