Steep roofs punish weak prep. If you want to understand how to shingle a steep roof, start by treating it as both a roofing job and a safety job: the pitch changes footing, nailing rhythm, water flow, and the margin for error. In this guide, I cover the safer way to approach steep-slope shingling, from fall protection and underlayment to starter strips, fastening, and the details that keep the roof sealed.
The essentials at a glance
- OSHA treats a roof steeper than 4:12 as a steep roof, and fall protection kicks in at 6 feet or more above lower levels.
- Guardrails, safety nets, or a personal fall arrest system should be part of the plan before bundles go up the ladder.
- A steep roof needs a sound deck, drip edge, underlayment, and a real starter strip before the first visible course goes on.
- Follow the shingle line's nail pattern; 4 nails is common, but 6 nails is normal on some high-wind or warranty-sensitive systems.
- Very steep slopes, cold weather, and dusty or windy conditions can require hand-sealing for a proper bond.
- If you cannot work confidently with stable footing and staging, the smartest choice is to stop and bring in a crew.
What makes a steep roof different
In roofing terms, steep means more than 4:12. That matters because water sheds faster, shingles are easier to slide around while you position them, and every small mistake is more likely to show up later as a lift, a blow-off, or a leak. I also think of steep roofs as pacing jobs: you move slower, you carry less, and you plan more carefully than you would on a low-slope section.
I always check the pitch, the roof layout, and the shingle instructions before I touch the deck. The product sheet decides the nail count, sealing behavior, and any limits on very steep or mansard-like sections, and local code can add its own rules on top. Once that is clear, the next question is how to make the roof safe enough to work on.
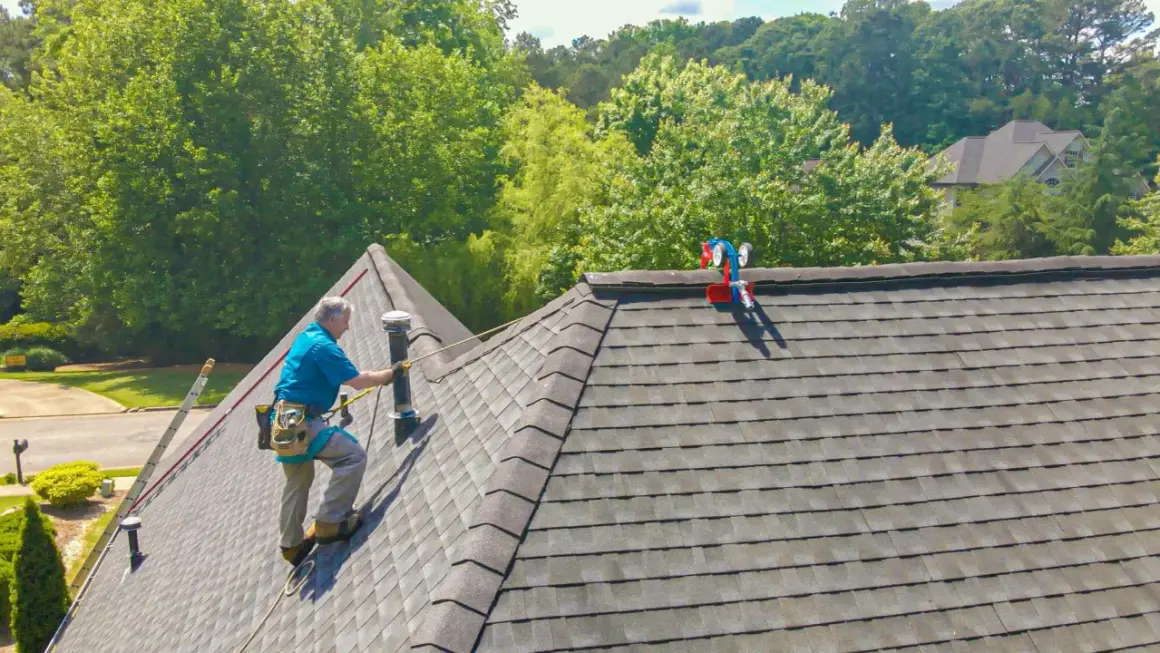
Set up the roof for safety first
I never want the roof to decide where my feet go. On a steep slope, I want the access, tie-off, and staging figured out before I open the first bundle, because OSHA treats a steep roof as one above 4:12 and requires fall protection when the work surface is 6 feet or more above a lower level.
| Setup item | What I use it for | Why it matters |
|---|---|---|
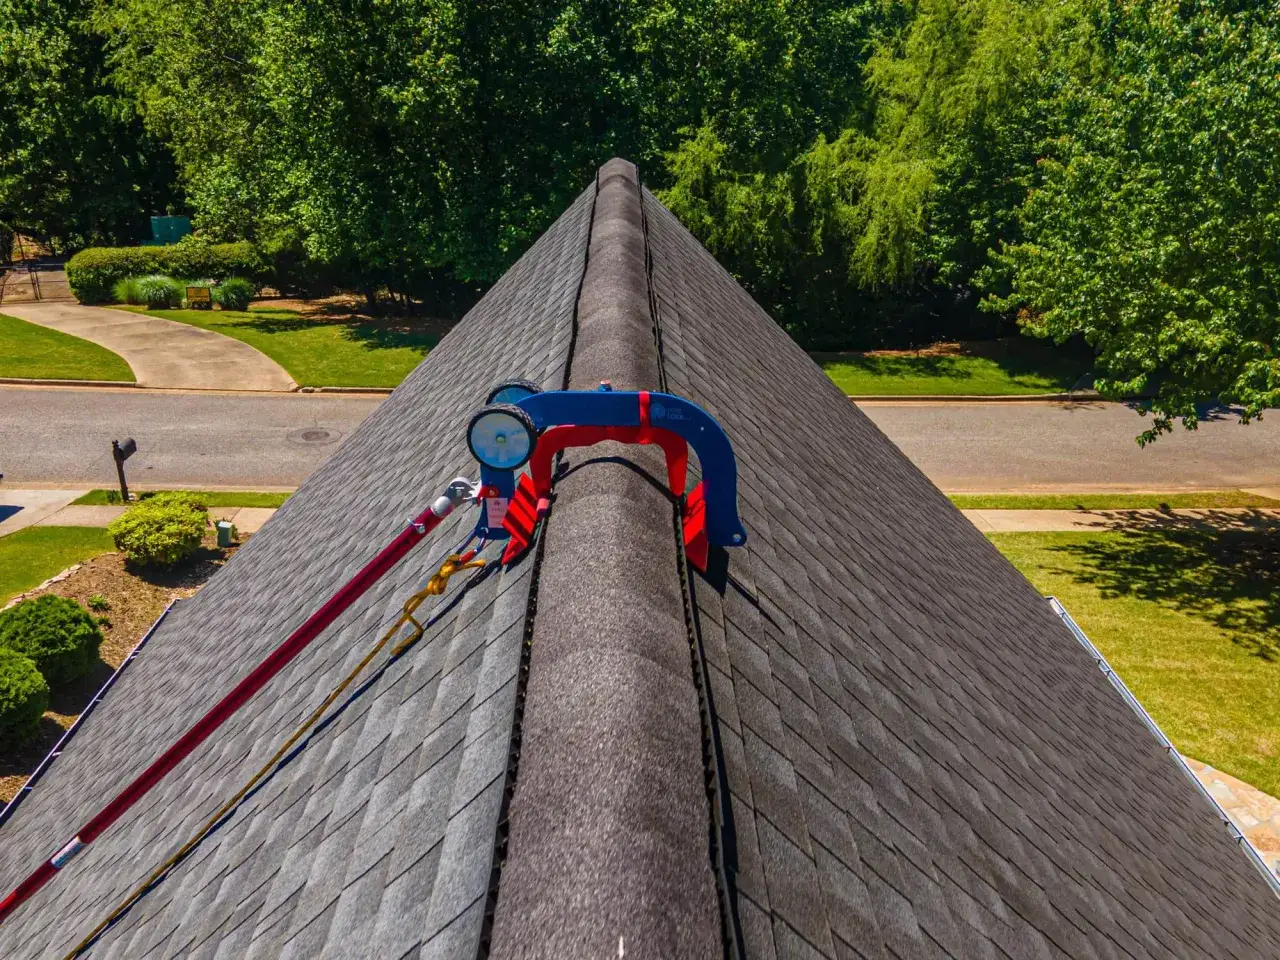
| Roof anchor and harness | Stays connected while I move and nail | A slip on a steep plane is not something I want to test |
| Roof jacks and planks | Creates a stable standing platform | Better footing than balancing directly on fresh shingles |
| Ladder stabilizer | Widens the ladder landing at the eave | Helps protect gutters and reduces side sway |
| Tool pouch and bucket line | Controls small tools, nails, and waste | Less clutter means less slipping and less dropped material |
If the roof is slick, wet, frosted, or too steep to move on with control, I stop treating it like a normal install. The right answer may be a scaffold, a more substantial staging setup, or a roofing contractor with the equipment and crew to handle the slope safely. Once the jobsite is stable, the roof layers themselves come next.
Prepare the deck, underlayment, and starter course
A steep roof can only perform as well as what is underneath it. I inspect the sheathing for rot, soft spots, loose fasteners, and uneven joints, then replace anything that will make the shingles bridge or flex. After that, I put the water-management layers in the right order: drip edge, ice-and-water membrane where required, underlayment, and starter strip.
| Layer | What it does | Common mistake |
|---|---|---|
| Drip edge | Moves runoff into the gutter and off the fascia | Skipping it or placing it wrong at the eave or rake |
| Ice-and-water membrane | Helps seal vulnerable edges, valleys, and penetrations | Stopping it too short in snow country or around tricky details |
| Underlayment | Provides a secondary water-shedding layer | Wrinkles, exposed fasteners, or torn laps |
| Starter strip | Locks the first shingle course in place and closes the eave edge | Using cut tabs instead of a proper starter product |
For a roof above 4:12, one layer of underlayment is the typical baseline, but I still follow the specific shingle instructions and local code because some products and jurisdictions ask for more. I also snap chalk lines before the shingle work starts; on a steep plane, straight reference lines save time and keep the layout from drifting sideways. With the deck prepared, the actual courses go on more cleanly and with fewer surprises.
Lay the shingles in a pattern that stays straight
For most steep roofs, I work from the eave upward and keep the layout in a stair-step pattern unless the product instructions say otherwise. That pattern helps me keep the butt joints staggered, maintain a constant exposure, and avoid the messy look that happens when someone tries to rush straight up one column.
- I place the starter strip first, then set the first visible course so it covers the starter fully.
- I nail only in the designated nail zone, because stray nails are a leak risk and can void parts of a warranty.
- I keep the nail head flush, not buried and not proud, so the shingle can seal without tearing.
- I stagger the vertical joints from course to course so water does not have an easy straight path.
- I stop and re-snap a chalk line if the courses begin to drift, because a small error at the bottom becomes a visible problem at the ridge.
| Fastening pattern | When I see it | Why I use it |
|---|---|---|
| 4 nails per shingle | Common on many standard laminated shingle installs | It is the default pattern on a lot of products when the weather and code allow it |
| 6 nails per shingle | High-wind areas or product lines that require it | Extra holding power and, on some systems, a warranty condition |
If the weather is cold or the slope is especially severe, I hand-seal tabs where the manufacturer calls for it. Hand-sealing means a small, thin dab of roofing cement under the tab so the shingle bonds immediately instead of waiting for sun and heat. I use just enough, because too much cement can blister the shingle or run down the face. Once the field courses are on, the edges and terminations become the next place where mistakes show up.
Finish the ridges, flashings, and cleanup
The roof is not really finished when the field shingles reach the top; the vulnerable details are the edges, penetrations, valleys, and ridge. I pay extra attention there because wind and fast runoff attack those spots first.
On walls, chimneys, skylights, and dormers, I want the flashing sequence to be correct and fully integrated with the shingle courses. Step flashing is the individual metal piece used where a sloped roof meets a vertical wall, and it should be layered so water always moves onto the next piece and back onto the roof, not behind it. At the top, ridge caps should cover the peak cleanly, and any vents or plumbing penetrations should be sealed exactly as the product instructions require. For valleys, I keep nails out of the waterway and follow the cut pattern the shingle system specifies, because valley leaks usually come from lazy fastening, not from the valley itself.
I also clean the site as I go. Granules, offcuts, and loose nails in the gutters or at the base of the roof are not harmless clutter; they point to sloppy work and they can cause drainage problems later. If the gutters stay in place during the job, I make sure the drip edge feeds water into them correctly and that they are not packed with debris from the tear-off. That cleanup sets up the final inspection, which is where I catch the mistakes nobody wants to discover after the first storm.
What I would check before I call the roof done
Before I call the roof done, I look for the boring details that usually separate a solid install from a problem roof.
- Every shingle course is straight, flat, and fully seated.
- Nails are in the correct zone, with no exposed heads and no obvious overdriven spots.
- Ridge caps, hip caps, and starter edges are sealed where they should be.
- Flashing around walls, chimneys, vents, and skylights is integrated cleanly.
- Gutters and downspouts are clear enough to move water away without backing up at the edge.
- The attic or ceiling stays dry after the first hard rain.
If any of those checks fail, I fix them while the roof is still accessible. And if the pitch, height, or complexity makes you hesitate at the start, that hesitation is useful data: on a steep roof, the safer choice is often to bring in a crew rather than force a solo install.