What you need to get right before changing attic airflow
- Ventilation is a system, not a single product. Intake and exhaust have to work together.
- The common U.S. baseline is the 1:300 rule: 1 square foot of net free vent area for every 300 square feet of attic floor space.
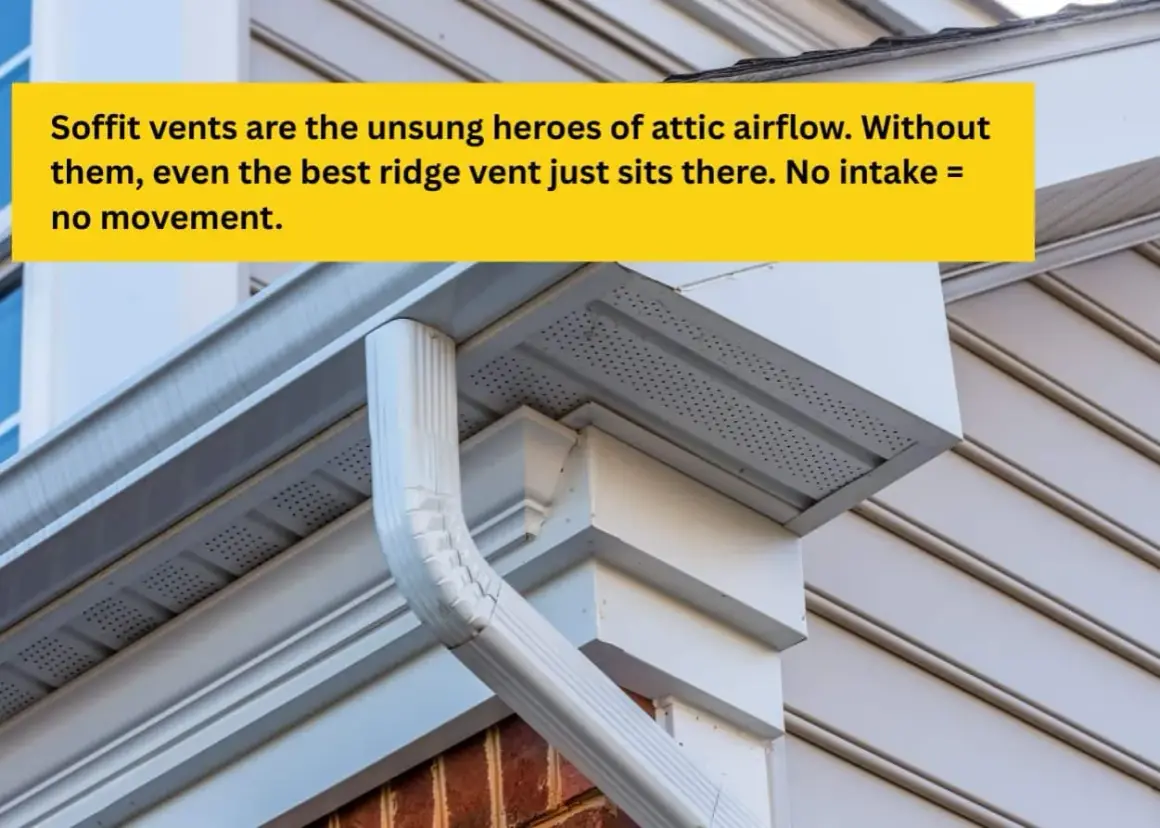
- Soffit intake and ridge exhaust are the most reliable passive pairing for simple roofs.
- More vent openings do not automatically improve performance if the intake path is blocked or weak.
- Ice dams, mold, warm bedrooms, and gutter overflow often point to air leaks and poor balance, not just a lack of vents.
How a vented roof actually moves air
I usually think about attic ventilation as a moisture-control system first and a cooling aid second. In a healthy setup, outside air enters at the lowest part of the roof, picks up heat and moisture from the attic space, and exits near the peak. ENERGY STAR describes the result well: a well-vented attic helps push superheated air out in summer and helps protect shingles while reducing moisture buildup.The physics are straightforward. Warm air rises, but wind also helps create pressure differences across the roof. That is why the placement of intake and exhaust matters so much. If you only add exhaust, or if the soffits are packed with insulation, the system becomes lopsided and the airflow can stall. In that case, the roof may look ventilated while the attic still traps heat and humidity.
The other piece people miss is the ceiling plane. Ventilation does not replace air sealing. If warm indoor air leaks through recessed lights, attic hatches, bath fans, or plumbing penetrations, the attic gets fed from below and the roof deck pays the price. Once that basic airflow path makes sense, the next step is choosing the hardware that fits the roof shape.
The main vent designs and where each one fits best
| Vent type | What it does | Best use | Limits |
|---|---|---|---|
| Continuous soffit vent | Brings in cool outside air along the eave line | Most vented roofs with full soffits | Fails if insulation blocks the intake path |
| Ridge vent | Exhausts warm, moist air at the roof peak | Simple gable and hip roofs with enough ridge length | Needs strong intake below; not ideal for very short ridges |
| Box or static vent | Provides point exhaust near the upper roof | Retrofits where a continuous ridge vent is not practical | Airflow is less uniform than a ridge vent |
| Roof turbine | Uses wind and convection to spin exhaust blades | Breezy sites that benefit from a mechanical boost without electricity | Performance varies with wind and moving parts need maintenance |
| Power attic fan | Actively pulls attic air out with an electric motor | Special cases where passive flow is weak and intake is already adequate | Consumes power and can amplify problems if the ceiling plane leaks |
| Gable vent | Moves air through the side wall of the attic | Older homes or designs built around gable openings | Can short-circuit ridge and soffit flow if mixed carelessly |
For most standard homes, I still prefer a balanced passive system with soffit intake and ridge exhaust. It is simple, quiet, and easy to explain to a homeowner. Off-ridge vents, turbines, and powered fans still have a place, but they are usually the exception rather than the default. Once you know the hardware, the real question becomes how much of it the roof actually needs.
How I size a balanced system
The common starting point in the U.S. is the 1:300 rule: 1 square foot of net free ventilation area for every 300 square feet of attic floor area, split roughly evenly between intake and exhaust. “Net free” matters because screens, louvers, and vent geometry reduce the actual open area. GAF’s guidance and similar manufacturer calculators use that same logic, and they also stress that intake should equal or slightly exceed exhaust so the system is not choked.
Here is the practical version. If an attic floor measures 1,200 square feet, I need 4 square feet of net free vent area total. That equals 576 square inches. Half of that should be intake and half exhaust, so I am aiming for about 288 square inches on each side. If the roof design or local code requires a different ratio, I follow the code and the vent manufacturer’s NFVA rating, not a guess.
The upper and lower openings also need to be placed where the air can actually move. Intake belongs at or near the eaves. Exhaust belongs near the ridge or, in limited designs, as high as the roof allows. That is why a system can be technically “large enough” on paper and still work poorly in the real world. Once the sizing is right, the next step is avoiding the mistakes that quietly ruin the whole setup.
The mistakes that make a roof look vented but perform badly
- Blocked soffits from insulation, paint, debris, or poorly cut vent slots. If air cannot enter low, nothing else works well.
- Mixing exhaust types in the same attic, such as ridge vents with box vents or powered fans, which can create competing pressure zones.
- Too much exhaust and too little intake, which chokes the system instead of improving it.
- No baffles at the eaves, so insulation crowds the air channel and kills the intake path.
- Ignoring air leaks in the ceiling plane. A vent cannot compensate for a leaky attic hatch or unsealed penetrations.
- Adding vents to the wrong roof assembly, especially one that was designed to be unvented from the start.
The pattern I see most often is simple: the homeowner bought more venting, but the real problem was airflow balance. Fixing the intake path usually does more than adding another fan or cutting another hole. That leads to the bigger design question, which is whether the roof should be vented at all.
When a vented assembly is the wrong solution
Some roofs are designed as unvented assemblies, especially conditioned attics and certain cathedral ceiling builds with spray foam or other roof-deck insulation strategies. In that setup, the thermal and moisture control layers move to the roof deck instead of relying on outside air flushing the cavity. If that is the design, punching in vents can undermine the assembly rather than improve it.
This is the part many DIY repairs get wrong. A hot attic does not automatically mean “add a vent.” It may mean the roof should be air sealed better, the insulation should be upgraded, or the assembly should be evaluated as vented versus unvented before any new openings are cut. I am cautious here because the wrong retrofit can create a harder moisture problem than the one it was meant to solve.
So I treat unvented roofs as a design choice, not a repair shortcut. If the attic is inside the home’s thermal envelope, the better move is often to tighten the air barrier and respect the existing roof strategy. From there, the decision becomes less about theory and more about what the fix will cost and what condition the roof is actually in.
What I would check before I call a roofer
| Typical fix | Common installed range | What it usually means |
|---|---|---|
| Ridge vent retrofit | $300 to $650 | Best for simple passive upgrades during re-roofing or a targeted correction |
| Roof vent installation per vent | $200 to $750 | Useful when you only need a small, localized solution |
| Attic fan installation | $300 to $1,500 | Reserved for cases where passive venting is not enough and intake is already right |
| Roof turbine vent | $50 to $300 | Low-cost option, but performance depends heavily on wind and installation quality |
- Check whether soffit openings are actually clear from end to end.
- Look for insulation piled against the roof deck and add baffles if needed.
- Inspect the attic for frost, mold staining, damp sheathing, or rusty fasteners.
- In cold climates, look at the eaves and gutters for ice dam traces or repeated overflow.
- Verify whether the roof is meant to be vented or unvented before changing the design.
If I can solve the issue with clear intake, balanced exhaust, and better air sealing, I will always start there before buying a powered fix. That approach usually costs less, performs more consistently, and causes fewer warranty headaches later. When roof venting systems are designed that way, they disappear into the background and simply do their job, which is usually the best outcome a roof can have.