Ceramic and porcelain tile are only as reliable as the surface beneath them. This guide explains how to install concrete board the right way, from substrate checks and cutting to fastening, seam treatment, and waterproofing, so the tile assembly stays flat and stable instead of turning into a repair job. I am using “concrete board” in the common trade sense here: cement board, or cementitious backer unit, the panel that gives tile a moisture-tolerant, tile-friendly base.
The essentials for a solid backer-board install
- Cement board is a tile underlayment, not a structural repair. If the floor bounces, fix the framing or subfloor first.
- Most floor installs use a bedding layer of mortar. The board is embedded into it before fastening.
- Fasteners usually land every 8 inches on center. Keep heads flush and do not crush the panel.
- Panel seams need alkali-resistant tape and mortar. Drywall tape and joint compound are the wrong materials here.
- Wet areas need more than board. Showers and tub surrounds still need a waterproofing plan.
- Manufacturer spacing matters. Gap sizes, board thickness, and fastener type vary by product.
Why cement board matters in a tile assembly
I treat cement board as the quiet part of a tile job that decides whether the finish will last. It gives tile a stable, dimensionally reliable surface and helps separate the tile layer from wood movement below, but it does not make a weak floor strong or a wet area waterproof on its own.
That is the first thing I want readers to understand: the board is part of the system, not a shortcut around the system. If the subfloor flexes, the joists are undersized, or the framing is out of spec, the tile can still crack even if the backer board was installed neatly. Current tile standards still treat this as an assembly problem, not a product-only problem.
In practice, the installation succeeds when the base is stiff, the panel is bedded correctly, the joints are treated properly, and the waterproofing strategy matches the room. Once those pieces are clear, the rest of the job becomes much more predictable.
Choose the right board and confirm the base
Before you buy panels, decide where they are going. Floor, wall, shower, and countertop applications do not all use the same thickness or the same backing requirements, and I would rather spend five minutes checking that now than spend a weekend correcting a bad substrate later.
| Application | Typical board thickness | What I check first |
|---|---|---|
| Tile floors | 1/4 inch is common; some systems also allow 1/2 inch or 5/8 inch | Sound wood subfloor, low bounce, clean surface, proper fastener base |
| Walls and shower surrounds | 1/2 inch or 5/8 inch | Stud spacing, plumb framing, and a waterproofing plan for wet zones |
| Countertops | 1/4 inch to 5/8 inch depending on the system | Rigid plywood base and enough support under the top |
For wood floors, I want a subfloor that is at least 5/8 inch APA span-rated plywood or OSB with an Exposure 1 classification or better. On walls, the framing usually needs to be within 16 inches on center, and the assembly should meet the stiffness requirements that tile needs, not just what the board itself can tolerate.
One practical rule: cement board is most at home over wood subfloors and framed walls. On a concrete slab, I would check the specific product sheet before assuming a board is the best choice, because many tile jobs on slab use a different assembly altogether.
Once the panel thickness matches the substrate, the job becomes mostly about prep and layout, which is where good installs start to separate from average ones.
Gather the right tools and prep the surface first
I like to stage everything before I open the mortar. Cement board installation moves quickly once the bedding layer is spread, and there is no reason to be hunting for screws or tape while the mortar skins over.
- Cement board panels sized for the room
- Modified thinset or latex-fortified mortar for the bedding layer
- Alkali-resistant fiberglass mesh tape
- Backer-board screws or corrosion-resistant roofing nails
- 1/4 inch square-notch trowel for the board bedding layer on floors
- Utility knife and straightedge for scoring
- Dust mask and eye protection
- Hole saw or carbide-tipped blade for cutouts, if needed
- Rasp for smoothing cut edges
Then I prep the surface with a simple mindset: remove movement and remove debris. Loose fasteners, swollen subfloor edges, protruding nails, paint ridges, dust, and old adhesive all create voids or high spots under the board. If the floor sounds hollow, feels springy, or looks uneven, I fix that before I think about cement board.
Dry-lay a few panels if the room is awkward. Bathrooms, hallways, and kitchen nooks can fool you into cutting too early, and a dry layout helps you place seams where they cause the least trouble.
After the room is ready, the layout lines determine whether the install feels clean or awkward.
Lay out and cut the panels with the seams in mind
Good layout is not just about making the sheets fit. I want seams staggered, edges supported, and cut lines planned so the tile layer above has the best chance of staying quiet under foot.
- Dry-fit the sheets and decide where the seams will land.
- Keep panel edges back from walls, cabinets, and fixed fixtures by the gap size specified for the product.
- Stagger seams so they do not line up with each other or with the subfloor joints below.
- Avoid having four corners meet at one point.
- Cut openings for plumbing and floor penetrations before fastening the sheets.
As a practical rule, I keep panel joints offset from subfloor joints by at least 8 inches and avoid seam intersections that create a weak spot. Some manufacturers want a 1/8 inch gap between sheets on floors, while others call for 1/4 inch, so I follow the panel sheet exactly instead of guessing.
For cutting, I prefer scoring with a knife and straightedge when the product allows it. It is cleaner, quieter, and less dusty than power cutting. If I have to use a saw, I want dust collection and a low-RPM setup, because cement board dust is not something I want hanging in the room. For holes around pipes, a hole saw or a scored cut and punch-out works well, depending on the opening.
If the board has a smooth face and a rough face, I pay attention to that too. The smoother side can help with adhesive coverage in some systems, and the rougher side can improve mortar grip. That is a small detail, but on a big tile job small details are where repeatable results come from.
With the sheets cut and positioned, the actual fastening step becomes much faster.
Fasten, bed, and tape the board the right way
This is the part people rush, and it is also the part that quietly decides whether the tile floor sounds solid or hollow. My preference is to treat the mortar under the board as a bedding layer, not as glue. It fills low spots and supports the panel; the fasteners hold everything in place while the mortar cures.
- Spread modified thinset or latex-fortified mortar with the recommended notched trowel.
- Set the panel into the wet mortar using a slight sliding motion so it seats fully.
- Fasten the board while the mortar is still fresh.
- Keep fasteners about 8 inches on center across the field and around the perimeter unless the product specifies otherwise.
- Set screw heads flush with the surface. Do not overdrive them.
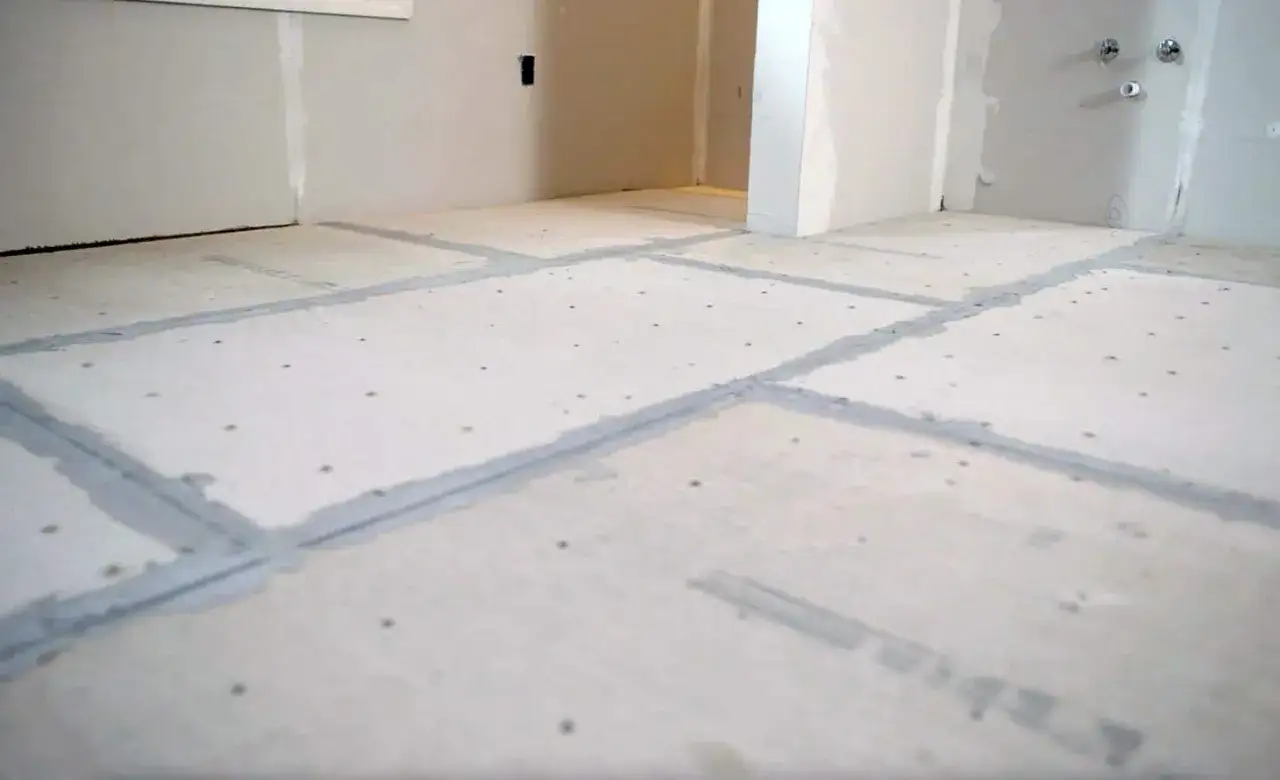
- Use alkali-resistant fiberglass tape on the seams and embed it in mortar right away.
For many floor systems, 1-1/4 inch backer screws or corrosion-resistant roofing nails are standard on wood framing. On walls, the fastener length and type depend on whether the framing is wood or steel, but the same rule holds: the board should sit tight to the framing without being crushed.
I also watch the edges. A common mistake is driving a fastener too close to the corner and breaking the panel edge, which weakens the sheet right where you want it strongest. Another is spacing fasteners too far apart because the board “seems fine” after a few screws. It may seem fine today and sound hollow later.
Once the seams are taped and the panel is fully supported, the surface is ready to become a tile base instead of just a sheet of cement board.
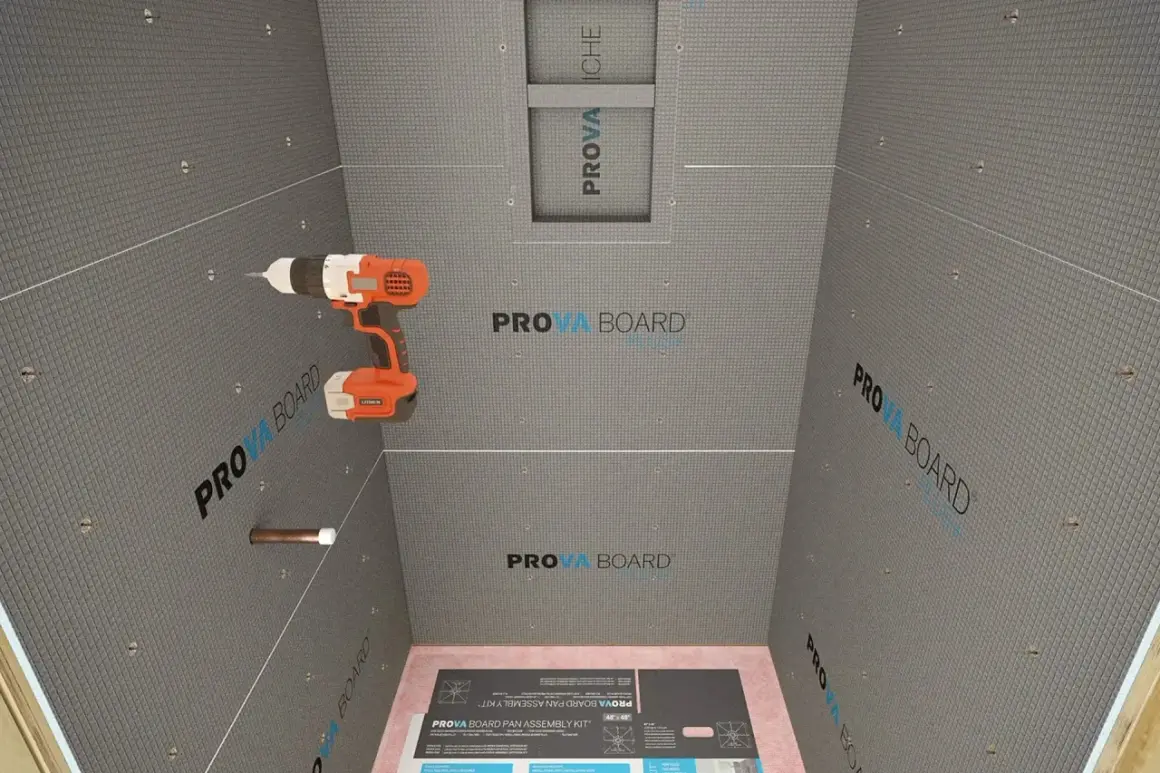
Handle showers, tubs, and other wet areas separately
Wet zones are where I become more careful, not less. Cement board can handle moisture far better than drywall, but it is still not a waterproof finish. If the room is a shower, tub surround, steam area, or any other place that sees frequent wetting, the waterproofing strategy matters just as much as the board itself.
At tub and shower edges, I keep the bottom of the panel off the fixture with a spacer strip or shim, usually around 1/4 inch. That prevents the board from resting directly on the tub flange or shower pan where it can wick moisture or telegraph movement. The board should be held in place, not jammed tightly into the fixture.
If the assembly needs waterproofing, I apply a compatible membrane over the board or use the liquid membrane specified by the manufacturer. I do not rely on grout, tile, or the board alone to stop water. In a shower, that is the fastest way to create a hidden problem that shows up months later as swelling, staining, or mold.
In other words, the board is the substrate, not the whole waterproofing plan. Once that distinction is clear, the common failures become much easier to avoid.
The mistakes that usually cause failures later
Most backer-board failures are boring in the worst way. They come from skipping one small step or assuming the board can compensate for a bad structure. Here is the pattern I see most often.
| Mistake | What it causes | What to do instead |
|---|---|---|
| Installing over a weak or bouncy floor | Cracked grout, loose tile, hollow spots | Stiffen the structure before the board goes down |
| Skipping the mortar bed under floor panels | Voids under the board and poor support | Spread bedding mortar and embed the panel while wet |
| Using the wrong tape or joint filler | Seam failure at the tile layer | Use alkali-resistant mesh and mortar |
| Butting panels too tightly | Stress at the seams | Leave the manufacturer-specified gap |
| Overdriving fasteners | Crushed board and weaker holding power | Set fasteners flush, not recessed |
| Treating the board as waterproof | Moisture reaches the framing or subfloor | Add a proper membrane in wet areas |
The useful thing about these mistakes is that they are all preventable. None of them require special tools to avoid; they just require discipline and the willingness to follow the product sheet instead of the shortcut someone suggested on a jobsite.
Before tile, I want one last pass that confirms the assembly is ready, not just covered.
The last checks I make before tile goes on
Right before tiling, I slow down and inspect the board as if I had to defend the floor to a skeptical inspector. That usually saves time, because it is much easier to correct a problem now than after thinset and tile are in play.
- All fastener heads are flush and none are proud of the surface.
- Panel seams are taped and embedded where required.
- Perimeter gaps are still open and not packed with debris.
- No panel edge is loose, cracked, or unsupported.
- The substrate feels solid underfoot with no bounce or squeak.
- Wet areas have the intended waterproofing layer in place.
- The tile layout still makes sense after the board cuts are complete.
If everything feels solid underfoot, the joints are treated, and the wet areas are protected, you are ready for tile, not for hope. That is the difference a careful backer-board install makes: it turns the next layer into a normal tile job instead of a guessing game.