Strong landscape border ideas do more than tidy a yard; they give beds, walks, and lawn edges a deliberate line, make mowing easier, and keep mulch where it belongs. The best results come from matching the border to the job: a curved flower bed needs different treatment than a straight pathway or a front-yard edge that gets hit by the mower every week. In this article I focus on the border styles that actually hold up, how to choose the right material, what they cost, and the installation details that decide whether the finish looks polished or sloppy.
What matters most before you build an edge
- Start with function first, then choose the look.
- Flexible metal or rubber handles curves more easily than brick or stone.
- Depth, base prep, and staking matter more than the product photo.
- Most U.S. projects land around $3.50 to $11.50 per linear foot installed, with custom work higher.
- Cold-climate yards need extra attention because freeze-thaw cycles can move shallow borders.
Choose the border for the job first
I usually start with the practical question, not the decorative one: what is this border supposed to do? A good edge may need to hold mulch, separate lawn from a path, protect a bed from mower tires, or simply make a planting area feel finished. Once that job is clear, the material choice becomes much easier.
| Site or goal | Border type that fits best | Why it works | What I would avoid |
|---|---|---|---|
| Straight bed along lawn | Steel or aluminum edging | Clean line, low profile, easy to keep crisp | Overly decorative pieces that fight the simple geometry |
| Curved bed around trees or shrubs | Flexible metal or rubber edging | Bends without forcing awkward joints | Rigid brick or thick stone on tight radii |
| Mulch or gravel path | Paver, stone, or strong restraint edging | Holds loose material in place and keeps the path readable | Thin temporary plastic where foot traffic is heavy |
| Cottage or natural-style garden | Brick, stone, or a low planted border | Softens the transition and suits informal planting | Ultra-modern edges that feel disconnected from the planting |
| Front yard with weekly mowing | Concrete curb, sturdy metal, or set-in stone | Stays visible and survives repeated mower contact | Shallow edging that disappears after one season |
That decision-first approach keeps the project from becoming expensive rework. Once the job is clear, the next step is choosing a style that fits the space without fighting it.
Border concepts that look good and still behave
When I look at a yard, I want the border to earn its place. The best versions are not just decorative, they also solve a layout problem in a way that feels natural to the rest of the site.
- Cut soil edge - This is the simplest edge of all, and it can look excellent when the line is crisp. I like it for informal beds where the goal is a clean visual break rather than a hard barrier, but it needs refreshing more often than other options.
- Steel strip edging - This is the clean modern choice when you want the border to disappear and let the plants do the talking. It works especially well beside straight walks, tight curves, and gravel beds where a thin visual line looks intentional.
- Brick soldier course - Bricks set on edge create a familiar, classic look that fits formal gardens and older homes. The advantage is readability: people immediately understand where the bed ends and the walk begins.
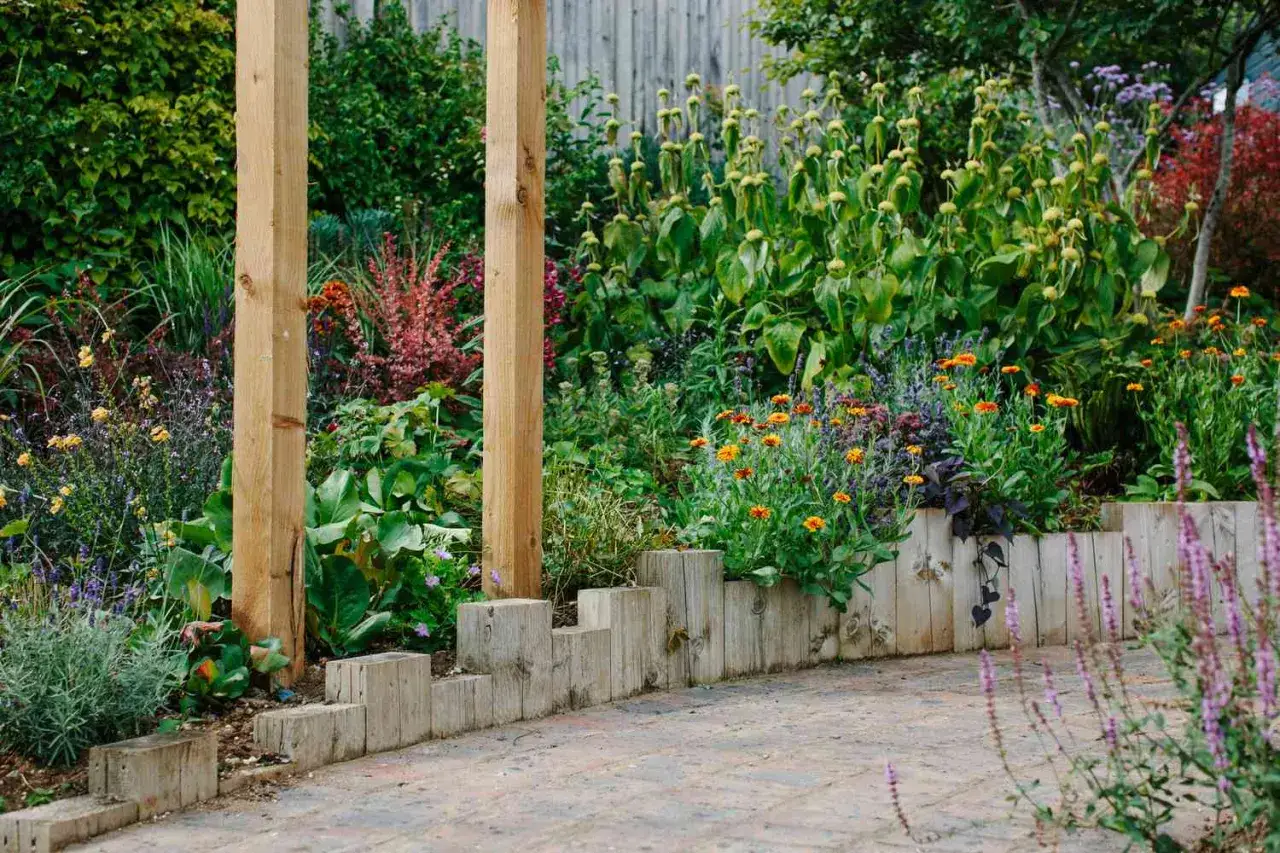
- Natural stone - Stone gives a border weight and texture that plastic can never fake. It is a strong choice for cottage gardens, woodland plantings, and homes that already use stone in the facade or hardscape.
- Gravel ribbon with restraint - A narrow gravel band between bed and path can look sharp and help drainage, but only if the restraint is sturdy enough to keep the aggregate where it belongs. I use this when I want a softer transition than concrete but a cleaner result than mulch alone.
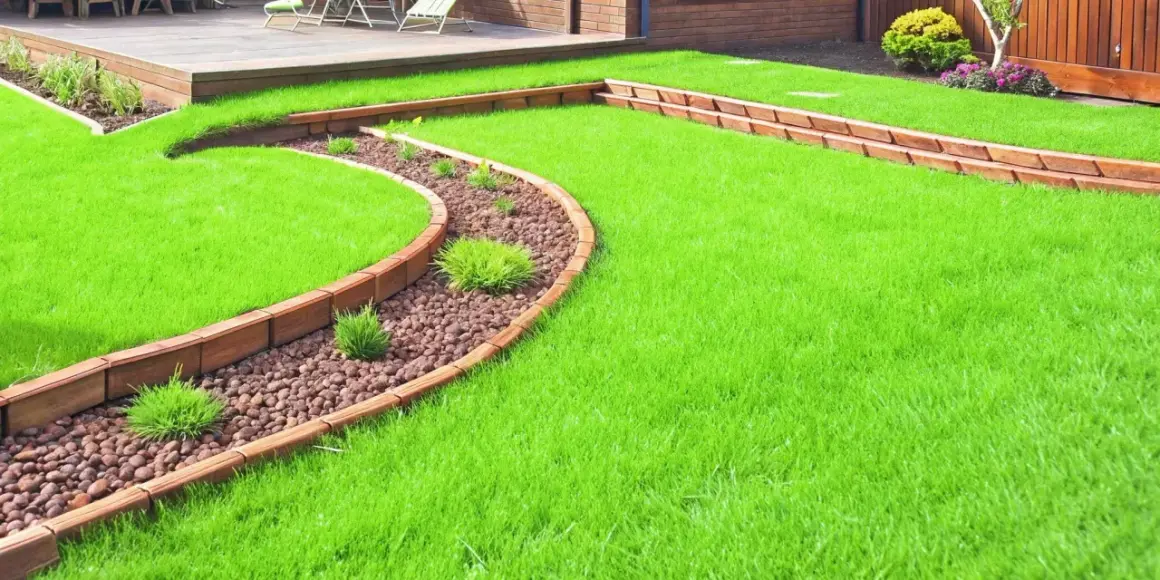
- Timber or bender board - Wood is useful when the budget is tight or the curve is gentle. It has a warmer feel than metal, but I would reserve it for projects where the homeowner is comfortable replacing it sooner in wet climates.
- Reclaimed brick or salvaged stone - Reused materials bring character and often lower the material bill. The tradeoff is time, because matching height and leveling irregular pieces takes patience.
- Low planted border - A strip of thyme, dwarf sedge, liriope, or another compact plant can soften a hard edge and tie the border into the planting plan. I treat this as a visual finish, not the only barrier, because plants alone will not stop mulch or aggressive grass.
The point is not to choose the fanciest material. It is to choose a border that looks like it belongs there and does not become maintenance drama six months later. From here, the real test is installation, because even the nicest border fails fast if the base is weak.
How to install a border that stays neat after the first season
Good edging is mostly about preparation. A straight line, a stable base, and the right burial depth matter more than branding. When I install or review a border, I think in terms of how the line will behave after rain, heat, mower contact, and seasonal movement.
- Mark the line clearly. Use a hose, string, or spray paint so you can step back and judge the shape before digging.
- Dig for the material you actually chose. Many plastic and rubber systems work with a trench around 3 to 4 inches deep and 1 to 2 inches wider than the edging. Timber and paver systems usually need more room so they can sit on a stable base.
- Build a firm base where needed. Stone and pavers do better on compacted sand or crushed stone than on loose soil. That base is what keeps the line from wandering.
- Set the visible edge at the right height. I like the top of the border to read clearly above the mulch or soil, but not so high that it becomes a tripping point or a mower obstacle.
- Anchor curves and joints carefully. Curves push on the edging from different directions, so stakes should be placed where the material wants to flex. Joints are another weak point, and they should be locked down instead of left to settle on their own.
- Backfill and compact as you go. This is boring work, but it is the difference between a border that stays tight and one that leans by the end of the season.
- Test the finish with the real tool. Walk the mower wheel, a shovel, or a hose along the line before you call it done. If the edge does not make sense in use, it is not finished yet.
For timber borders, a common approach is to set the piece deep enough that it sits below grade with room for drainage gravel, especially if the boards are around 6 inches tall. In colder regions, I also pay attention to frost movement, because shallow edges are more likely to shift when soil repeatedly freezes and thaws. That leads directly to the mistakes that cause most failed borders in the first place.
Mistakes that make borders fail early
Most border failures are not product failures. They are layout failures, or they happen because someone chose a material that looked right in a photo but did not fit the site.
- Using a rigid material on a tight curve. Brick and stone can be beautiful, but forcing them into a sharp bend usually creates gaps, wobble, or awkward cuts.
- Skipping the base layer. If pavers or stone sit directly on soft soil, settling starts almost immediately. The line might look fine for a while, then dip unevenly after rain.
- Setting the border too shallow. Edges that are barely buried become visible for the wrong reasons. They shift, lean, and get struck by mower tires.
- Ignoring drainage. Water that pools along the border will soften the base and speed up movement, especially in freeze-thaw climates.
- Forgetting roots and utilities. Tree roots, irrigation lines, and buried services can change the layout fast. I would always check before digging a long run.
- Making every line different. A yard can tolerate one strong curve and one straight axis, but too many competing shapes make the border feel accidental instead of designed.
When you avoid those mistakes, the border usually lasts longer than people expect. The other half of the decision is money, because the most durable option is not always the one that makes sense for the whole project budget.
What a realistic budget and maintenance plan looks like
In the U.S., a simple edging project can stay affordable, but the total climbs quickly once you add curves, trenching, hauling, and labor. As a practical planning range, many installed borders land around $3.50 to $11.50 per linear foot, while custom stone, poured concrete, or difficult access can push the number higher. I would always leave extra room in the budget if the layout includes roots, slopes, or a long curve.
| Material | Typical material cost per linear foot | Maintenance level | Best fit |
|---|---|---|---|
| Plastic or recycled composite | $1 to $3.50 | Low to moderate | Budget beds, temporary projects, gentle curves |
| Rubber | $1.50 to $4 | Low | Curves, family yards, areas that need flexibility |
| Brick | $2.50 to $6.50 | Moderate | Formal beds, classic paths, old-home styling |
| Wood | $2.50 to $7 | Moderate to high | Natural looks, short runs, lower upfront budgets |
| Precast or poured concrete | $3 to $8 | Low | Permanent lines, front yards, long straight runs |
| Stone | $3 to $21.50 | Low | Premium borders, natural landscapes, custom design |
| Metal | $5 to $11 | Low | Modern lines, crisp curves, high-use edges |
Maintenance is the part people underestimate. A cheaper border that needs constant releveling can cost more over time than a sturdier option that stays put. That is why I always think about the next two or three seasons, not just the day of installation. Once you frame the budget that way, the last decision is really about visual discipline.
The small design rules that make the border feel intentional
The borders that look best in real yards usually follow a few quiet rules. They do not try to shout. They repeat the architecture of the house, support the planting, and leave enough visual order that the garden feels finished even when the plants are still young.
- Repeat one material somewhere else in the yard. If you use brick at the bed edge, echo it in a path, step, or patio detail.
- Keep the edge height consistent. A border that rises and falls for no reason reads as sloppy, even if the individual pieces are good.
- Let curves stay generous. Forced curves always look tighter than they should. If the site allows it, soften the bend.
- Match the house style. Metal and stone suit cleaner contemporary homes; brick and planted borders usually feel more natural around traditional houses.
- Leave room for maintenance. A narrow mowing strip or a visible walking line will make the border easier to live with.
If I were building a new bed or path today, I would choose the simplest border that solves the site problem, then spend the extra effort on base prep and clean transitions. That is what makes the edge look deliberate a year later, not just on installation day.