Replacing a showerhead is one of the simplest plumbing upgrades in a bathroom, but the details matter: the right thread, the right seal, and just enough torque to stop leaks. This guide shows how to replace a shower head cleanly, what tools I keep nearby, how to deal with a stubborn fitting, and how to choose a new head that fits the way you actually shower.
What matters most before you tighten the new head
- Most U.S. showerheads use a standard 1/2-inch threaded connection, so many swaps are straightforward.
- Two to four wraps of PTFE tape on clean, dry male threads is usually enough for a watertight seal.
- Hand-tighten first; use a wrench only for a small final snug if the fitting still moves.
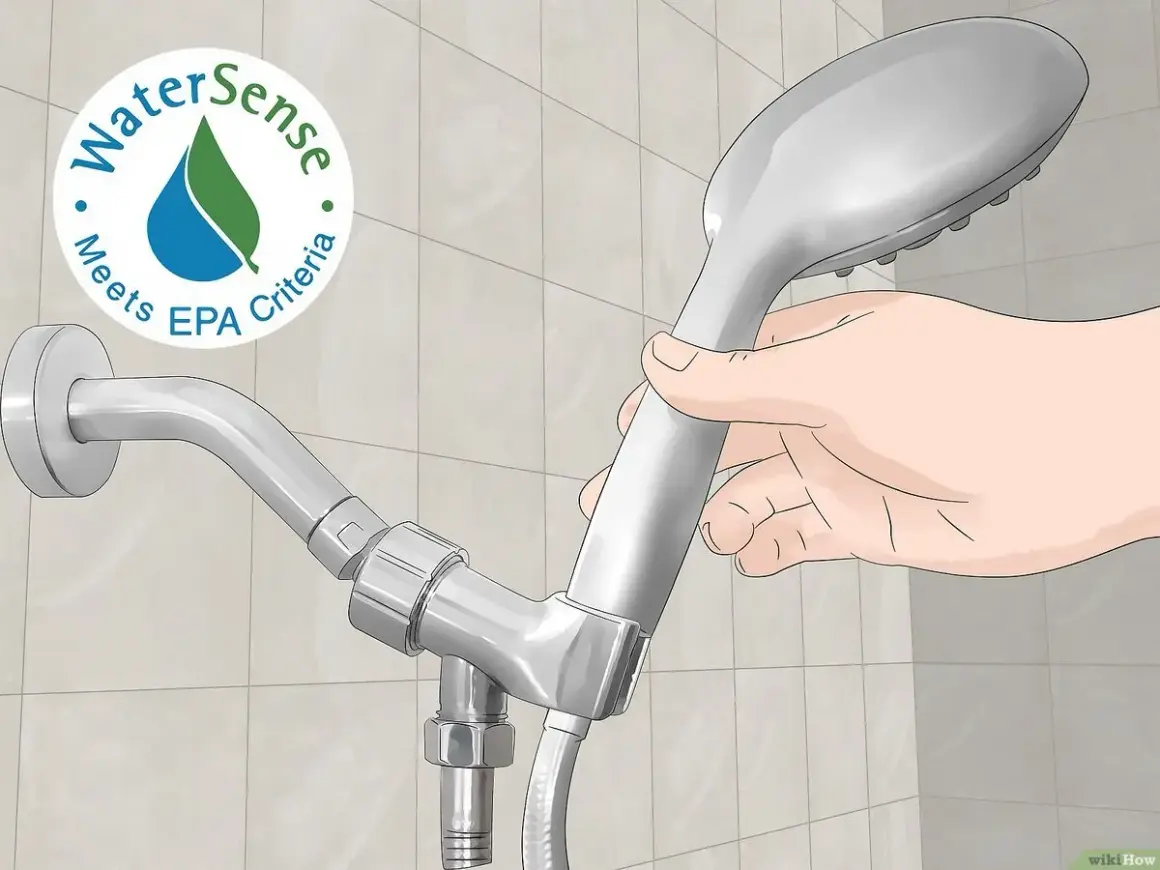
- Standard showerheads use 2.5 gpm, while WaterSense models are 2.0 gpm or less.
- If the arm is rusted, bent, or leaking at the wall, the fix may be bigger than the showerhead itself.
Check the connection before you buy anything
Before I unscrew the old head, I look at the arm that comes out of the wall. Most U.S. showers use a 1/2-inch threaded connection, but an old ball-end fitting or a damaged arm can change the plan fast. If I know the connection style, the head type, and the condition of the arm ahead of time, I avoid the most annoying kind of bathroom project: the one that stalls halfway through because a small part does not fit.
Tools I keep within reach
- An adjustable wrench or strap wrench
- A soft towel or rag to protect the finish
- PTFE thread seal tape
- A small bucket or bowl for any leftover water
- Vinegar or a mild descaler if the old fitting is crusted with mineral buildup
Read Also: How to Solder Copper Pipe - Leak-Proof Joints Every Time
What I inspect first
- Whether the current head is fixed, handheld, or a combo unit
- Whether the arm is straight, stable, and free of visible corrosion
- Whether the finish is chrome, brushed nickel, black, or something that scratches easily
- Whether there is enough room for the new head to sit at a useful angle
Once that is clear, the removal step is usually simple, and the real job becomes protecting the finish while I loosen the old part.
Remove the old showerhead without damaging the arm
The part that causes trouble is not the unscrewing itself. It is the force. I start by turning the old showerhead counterclockwise by hand. If it moves, great. If it does not, I cover the shower arm with a cloth or towel and use an adjustable wrench or strap wrench so I do not chew up the finish.
- Cover the drain and the tub opening before you start.
- Try turning the showerhead by hand, counterclockwise.
- If it sticks, protect the arm with a cloth and use a wrench or strap wrench.
- Hold the arm steady so it does not twist inside the wall.
- Set the old head aside and inspect the exposed threads.
If the connection is crusted with mineral buildup, I loosen the scale first instead of forcing it. A little descaler or vinegar around the joint can save a bent arm and a scratched finish. If the arm twists too easily or the wall connection feels loose, I stop there, because that is no longer a simple showerhead swap.
Install the new head so it seals cleanly
The part beginners usually underestimate is the seal, not the threading. Once the arm is clean and dry, I wrap the male threads with PTFE tape, a thin thread seal tape that helps threaded plumbing joints stay leak-free. I wrap clockwise, following the direction the head will tighten, so the tape does not unravel as I screw the new head on.
- Clean the threads with a rag and remove any old tape, rust, or sealant.
- Wrap PTFE tape clockwise two to four times, overlapping each pass slightly.
- Keep the tape back from the very end of the threads so no loose strip ends up in the joint.
- Screw the new showerhead on by hand until it feels snug.
- Adjust the angle, then use a wrench only for a small final snug if the fitting still moves.
- Turn the water on and check both the swivel and the wall connection for drips.
If the new head comes with a gasket or washer and the manufacturer says that part should do the sealing, I follow that instruction. The rule I care about is simple: do not stack so much tape that the joint becomes hard to seat or miserable to remove later. PTFE tape does not need cure time, so I test the connection right away.
Choose the right head for pressure, spray, and water use
The best replacement is not always the one with the most settings. I care about how the spray feels, how easy it is to clean, and whether the flow rate fits the bathroom’s goals. Standard showerheads in the U.S. use 2.5 gallons per minute, while WaterSense-labeled models use 2.0 gpm or less and are still tested for satisfactory spray coverage. A lower-flow head does not have to feel weak if the nozzle design is good.
| Type | What it does well | Trade-off | Best use |
|---|---|---|---|
| Fixed head | Simple, clean look with very few moving parts | Less reach and less flexibility | Small or low-maintenance showers |
| Handheld head | Easy rinsing, easier cleaning, better for kids or mobility needs | Hose can kink or leak if washers are worn | Flexible everyday use |
| Dual head | Lets you switch between fixed and handheld spray | More joints to seal and maintain | Families and shared bathrooms |
My practical advice is to think about use, not just appearance. A rain-style head can be pleasant, but it is not always the best choice if you want concentrated pressure. A handheld model is often the most versatile, especially if you clean the shower often or want an easier rinse after washing hair. What matters is the spray pattern, the flow rating, and whether the head fits the way the shower is actually used.
Know when the shower arm should be replaced too
Sometimes the head is not the problem. If the arm is rusted, bent, loose in the wall, or the threads are stripped, changing only the showerhead buys you a short break, not a fix. I replace the arm when I see leaks at the wall, obvious pitting, or a finish so damaged that the new head will never sit properly.
| What you notice | What it usually means | What I would do |
|---|---|---|
| Leak where the arm enters the wall | The wall seal or the arm connection may be failing | Stop and inspect before installing a new head |
| Arm turns too easily | The threads may be worn or the connection may be loose | Replace the arm instead of tightening forever |
| Head points in the wrong direction | The arm length or bend is wrong for the shower layout | Swap to a different arm style or length |
| Heavy rust or green corrosion | Age and moisture have started to eat the metal | Replace the arm before the threads seize |
Most replacement arms still use the same basic 1/2-inch threaded connection, so the job can stay simple when the wall connection itself is sound. If water is coming from behind the flange or from inside the wall, I stop there and treat it as a plumbing problem, not a showerhead problem. That is the point where forcing the repair usually makes it worse.
The small checks I make after the install
- Run the shower for a minute, then dry the joint and look again.
- Check the connection after it has sat under pressure for a few hours.
- Wipe mineral buildup from the nozzles before it hardens.
- Keep a spare roll of PTFE tape and the old washer on hand for the next small repair.
After the install, I check it again the next day: if the joint is still dry after a full pressure cycle, the job is done. That extra look catches the slow seep that does not show up during the first minute, and it is usually the difference between a clean DIY upgrade and an annoying repeat repair.