The job succeeds or fails before the first row goes down
- Match the plank type to the room, the moisture risk, and the subfloor, not just to the look.
- Keep the space conditioned and verify moisture in both the flooring and the substrate before you start.
- A flat subfloor and a clean starter line matter more than rushing the install.
- DIY works best in simple, square rooms; complex layouts and slab issues are better left to a pro.
- Budget for tear-out, leveling, transitions, trim, and waste, not only for the planks themselves.
Choose the right plank system for the room
I always start by asking what the room actually needs. A dry bedroom, a busy kitchen, a basement, and a rental unit all ask different things from the floor, even if the finished look is the same. The fastest way to create problems is to buy by appearance alone and ignore how the planks are meant to be installed.
| Plank type | Best use | Typical installation | Main strength | Main limitation |
|---|---|---|---|---|
| Solid hardwood | Living rooms, dining rooms, bedrooms with stable indoor conditions | Nail-down or glue-down, depending on the product | Can be refinished and has long service life | More sensitive to humidity and subfloor movement |
| Engineered wood | Most main-level rooms and some basements when approved by the maker | Nail, glue, or float | More dimensionally stable than solid wood | Still needs a dry, well-prepared substrate |
| Laminate plank | Budget-conscious remodels, bedrooms, hallways, dry living spaces | Floating click-lock | Fast installation and good scratch resistance | Less tolerant of moisture and not refinished like wood |
| Luxury vinyl plank | Kitchens, entries, basements, and other moisture-prone areas | Floating, glue-down, or click-lock | Very forgiving in wet or high-traffic spaces | Still needs a very flat floor and good detailing |
For U.S. homes, the practical question is often whether the room stays dry and climate-controlled year-round. The NWFA is blunt about this: flooring, substrate, and ambient conditions all need to line up before installation. If the room is a basement, a slab, or a space with big humidity swings, I narrow the material choice quickly instead of trying to force a favorite product into the wrong environment. Once the product matches the room, the real work becomes making the subfloor honest.
Prepare the room and subfloor like the floor depends on it
This is where I spend more time than most homeowners expect. For wood flooring, I want the room conditioned before the boxes are opened, not after the boards are already on the floor. A practical target is 65 to 75°F with 35 to 55% relative humidity, and I want the HVAC running before and during the install so the flooring sees normal living conditions instead of a temporary swing.
- Clear the room completely and remove baseboards, shoe molding, thresholds, and doors if needed.
- Vacuum, scrape, and fix obvious debris, squeaks, or loose spots in the subfloor.
- Check moisture in the flooring and the substrate with a proper meter, then compare the readings to the product requirements.
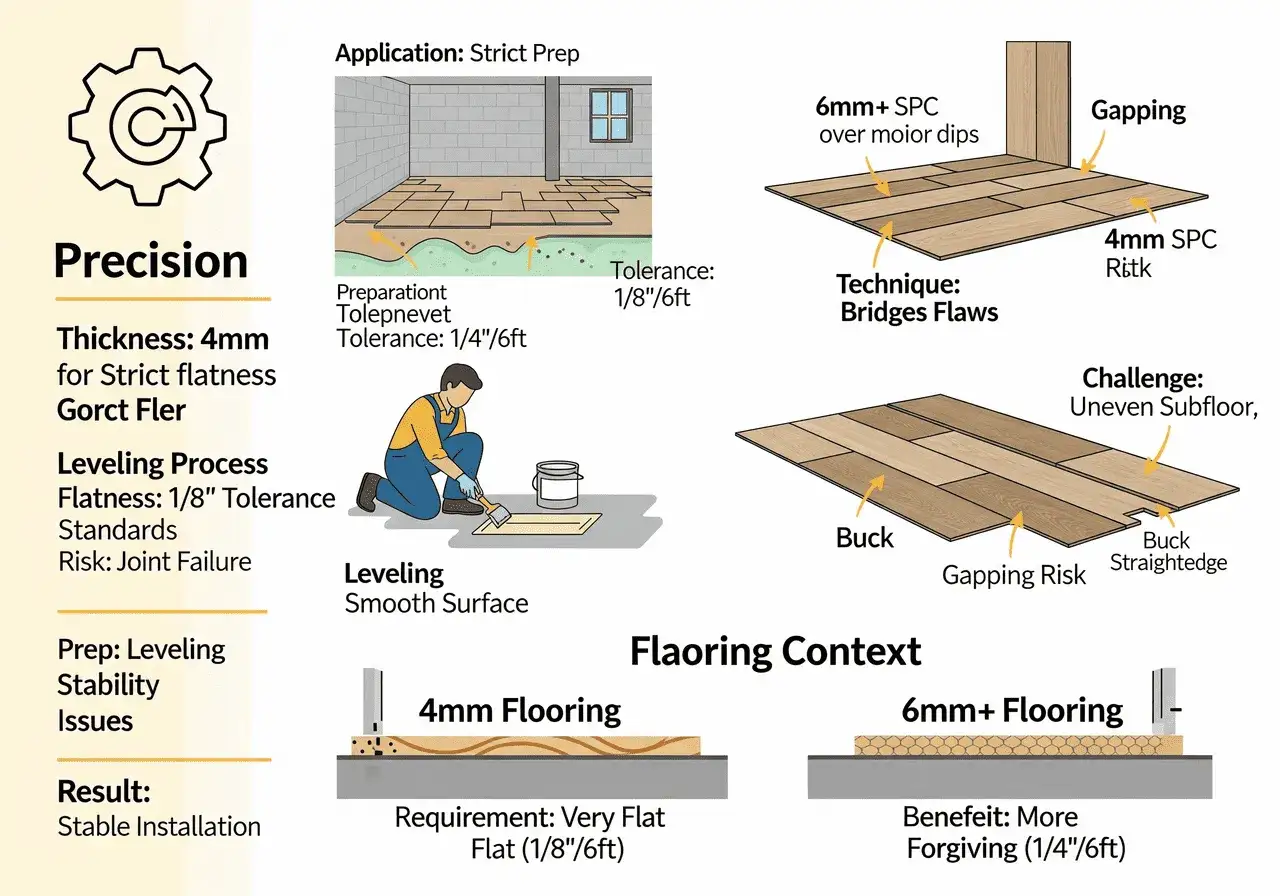
- Verify flatness before you begin. A useful benchmark is roughly 3/16 inch over 10 feet for many glue-down jobs, with some nail-down systems allowing a little more variation but still needing a flat base.
- Undercut door casings and jambs so the planks slide underneath cleanly instead of dying into ugly scribe cuts.
- Gather the right tools: moisture meter, chalk line, tapping block, pull bar, spacers, saw, knee pads, eye protection, and a dust mask or respirator for cutting.
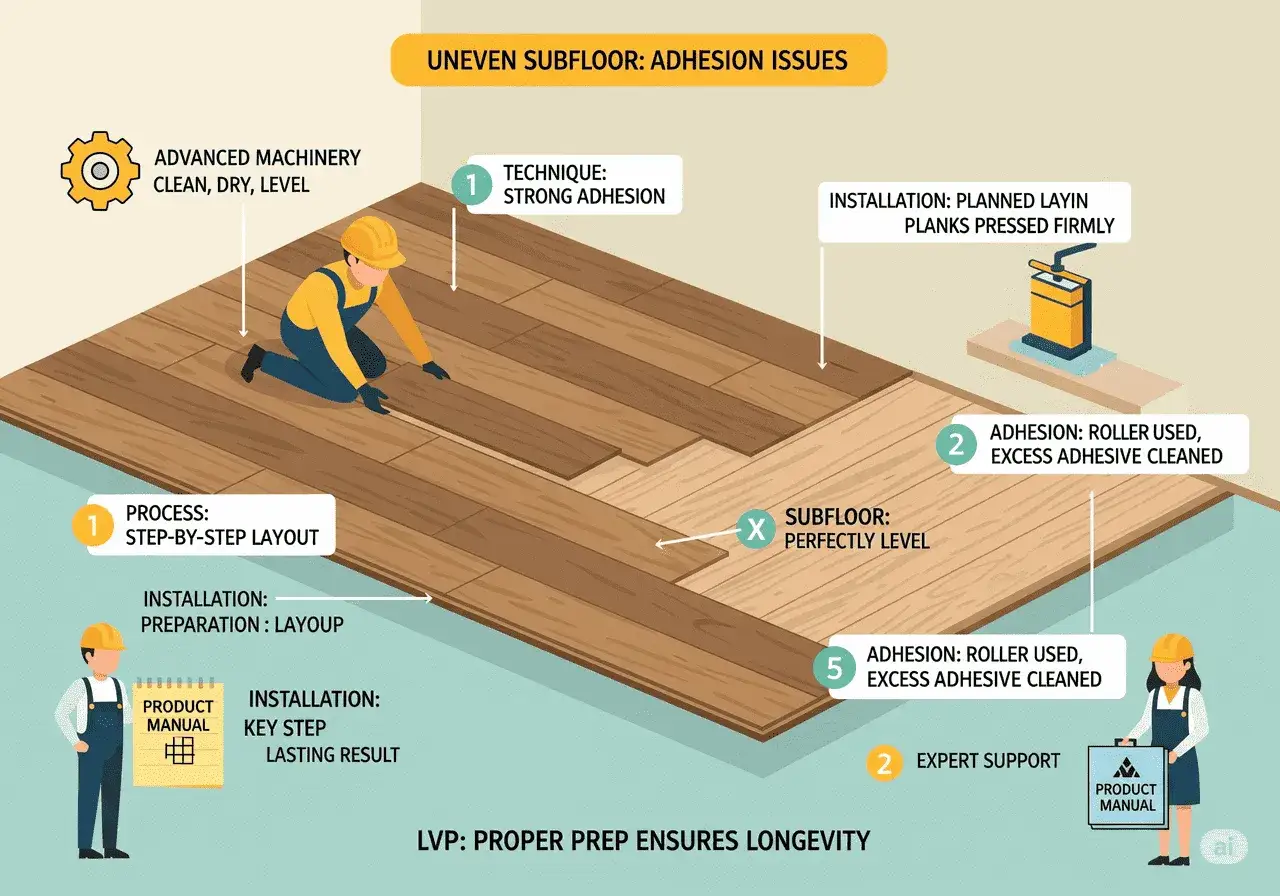
If I see slab moisture that is out of range, or a crowned wood subfloor that still needs work, I stop there and fix the substrate first. The floor itself does not solve those problems; it only records them in a more expensive way. With the room stable, I can start the first rows with confidence.
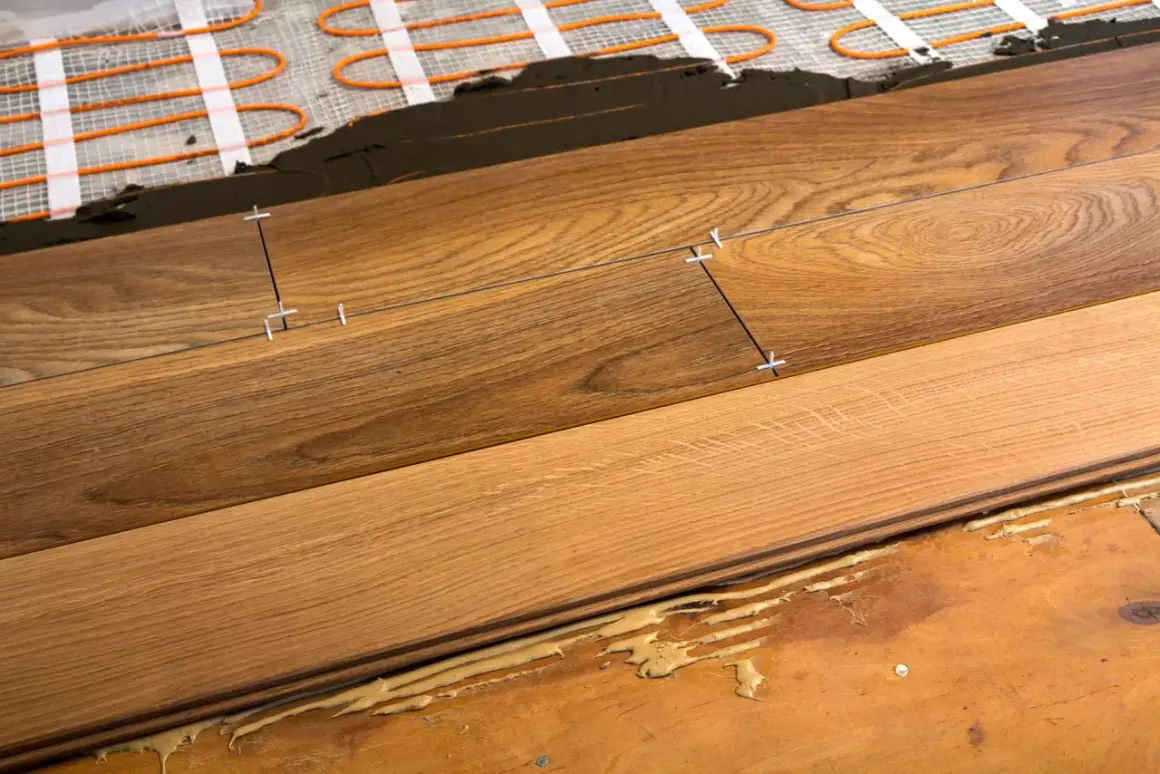
Lay the first rows with more patience than most people expect
The first course decides the whole room. I dry-fit several cartons, rack the boards to balance color and grain, and snap a reference line before I fasten anything. That extra half hour saves a lot of grief later, because once the starter row drifts, every cut after it is trying to disguise the same mistake.
- Start from the longest straight wall or the most visually important line in the room.
- Leave the perimeter expansion gap called for by the manufacturer; many hardwood jobs use about 1/2 inch, but some products need more, especially wide planks and floating systems.
- Stagger end joints so they are not lined up row after row, and aim for at least 6 inches of offset unless the product instructions say otherwise.
- Use the correct fastening method for the system: blind-nail, glue, or lock the profiles together without forcing them.
- Check straightness every few rows with a string line or straightedge, not just at the end.
- Fit the last row carefully so you do not pinch the expansion space when the wall is out of square.
I also avoid the habit of “persuading” bad boards into place. If a plank is bowed, damaged, or cut wrong, it is cheaper to reject it than to force the whole course to follow it. The first rows are where accuracy is earned; the remaining details are where it is protected.
Watch the details that prevent movement and callbacks
Most flooring failures do not start in the middle of a room. They start at a doorway, a transition strip, a wall, or a fixed object that accidentally trapped the floor. Wood moves. Some floating systems move even more visibly. The job is to let that movement happen in a controlled way.
- Do not bridge movement joints or lock the floor under cabinets if the system is supposed to float.
- Use proper transitions between rooms and at long runs so the floor can move as the house changes seasonally.
- Cover perimeter gaps with baseboard or shoe molding, not with tight filler that pins the floor in place.
- Match stair nosing, reducers, and thresholds to the actual plank system instead of improvising with generic trim.
- If the floor crosses a radiant-heat zone, stay within the maker’s temperature limit and bring the heat up or down gradually.
- Keep a few extra boards from the same lot for future repairs, because dye lots and grain variation are real.
In larger open-plan rooms, I sometimes plan a field expansion break before I make the first cut, because a long uninterrupted run is where seasonal movement becomes obvious. Shaw’s installation guidance also makes a useful point here: some hardwood products can work in basements, but only when proper conditions are met. That is the pattern with almost every detail in this trade. The floor is only as good as the conditions around it, which is why the next question is always money and scope.
Budget for prep, not just planks
This is the part most quotes hide in plain sight. A published Home Depot cost guide puts average total hardwood installation at about $6.40 per square foot, but that number rises fast once demolition, leveling, trim, stairs, or custom layout work enter the job. In real projects, the material cost is rarely the whole story; prep is where budgets drift.
- Add about 10% extra material for a straightforward room with mostly straight cuts.
- Move closer to 15% if the layout is diagonal, heavily angled, or pattern-driven.
- Budget separately for tear-out and disposal if you are replacing carpet, tile, or a failed floor.
- Expect subfloor repair or leveling to change the quote more than a small change in plank price.
- Remember trim, transitions, moisture barriers, underlayment, and stair parts before you compare bids.
I usually tell homeowners that DIY makes sense when the room is small, square, dry, and uses a forgiving system like a click-lock plank. I would hire out the job when there is slab moisture, a crooked subfloor, multiple transitions, stairs, or a wide-plank solid wood floor that needs a cleaner fastening pattern. If the quote looks cheap but the prep line is vague, the job is not inexpensive, it is unfinished. Once those numbers are clear, the last decision is whether the floor is simple enough to own yourself.
The checks I never skip after the last board is in
When the field is down, I do not rush furniture back into the room. I walk the floor, listen for hollow spots, check for ridges at the joints, and make sure the trim is not pinning the perimeter. I also keep the house conditioned so the floor settles into normal living conditions instead of being shocked by a sudden humidity change.
Three habits make a real difference after installation: keep HVAC running, store leftover planks flat and dry, and hold on to a few spare boards for future repairs. I also advise homeowners to watch the floor through at least one seasonal change, because that is when hidden moisture issues, tight gaps, or overfastened edges usually show themselves. If the room stays stable and the details were done right, the floor should look finished on day one and still look finished months later.